The simple secret to adding hand-drawn maps, sketches, and illustrations to your bullet journal spreads (or any other project).
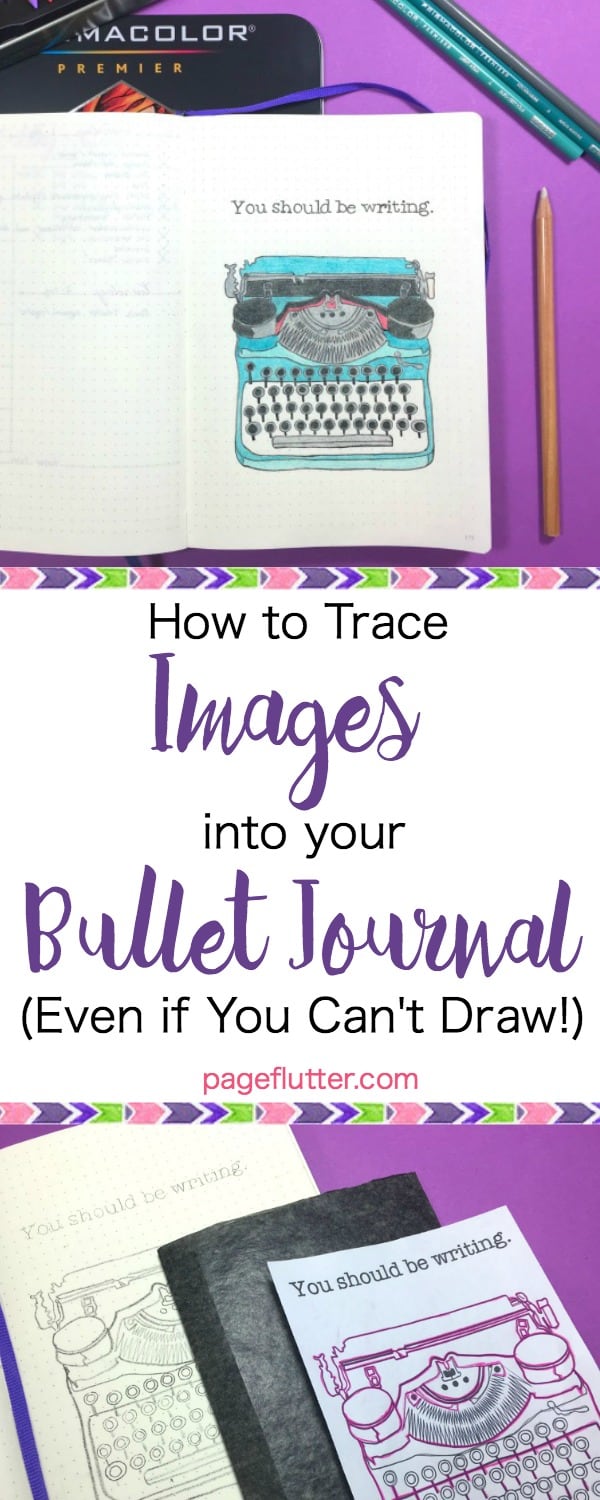
| How to Trace Images to Your Bullet Journal (Even if You Can’t Draw!) |
For the most part, I keep things simple in my bullet journal. I stay close to the original system: index, future planning, monthly spreads, a weekly snapshot, and the occasional collection.
For more on bullet journal basics, click >>HERE<<
And then I get the itch! Every couple of months, I want to add something artistic to my journal for the simple reason that it makes me happy. It’s another way to make my journal reflect my life and personality.
I’m not much of a sketch artist, so I’ve come up with an easy solution to transfer images to my bullet journal. Yes, I could print them and paste them into my journal, but I don’t like the extra bulk in my notebook. This trick is especially handy for detailed outlines that require precision (such as maps for travel spreads).
Let’s get started, shall we?
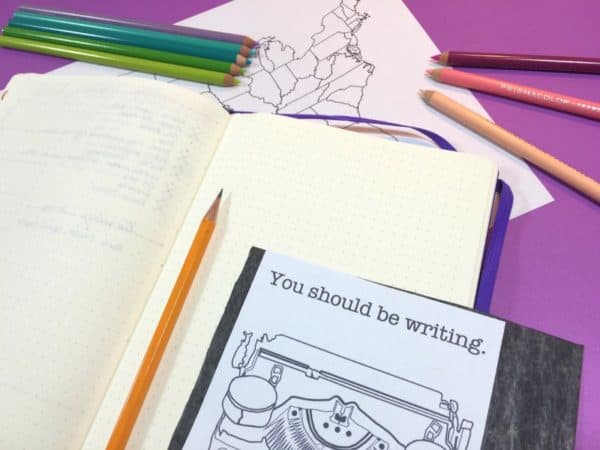
Step 1: Gather Supplies
I try to keep my journaling supplies to a minimum whenever possible. I just makes life easier.
This project was no different. You’ll need:
- Your image, obviously. I was browsing on Creative Market a little while back and bought this adorable vintage typewriter illustration. I thought it might look cute on the wall of my office, but it was also perfect for today’s procrastination project. I added some text and printed it in the right size for my journal (I use an A5 Leuchtturm1917). You can also see a map of the United States peeking out from under my journal for a travel spread I’m planning.
- (And yes, I should have been writing!)
- Graphite paper. You’ve probably seen graphite paper at some point, but it’s easy to confused it with carbon paper. Unlike carbon paper, graphite paper is erasable. Heck, yes! I believe in making mistakes and I can screw up even when I’m tracing. I’m not ashamed.
- A pencil and eraser
- Your favorite planning pen. I’m using my Faber-Castell Manga Drawing pens. I wanted thicker pens for outlining, and fine pens for the details on the typewriter.
- Colored pencils (optional). Tracing with a colored pencil will help you keep track of what you’ve traced. I used my Prismacolor pencils to transfer the image, then I finished the illustration in color.
Step 2: Trace Image Over Graphite Paper
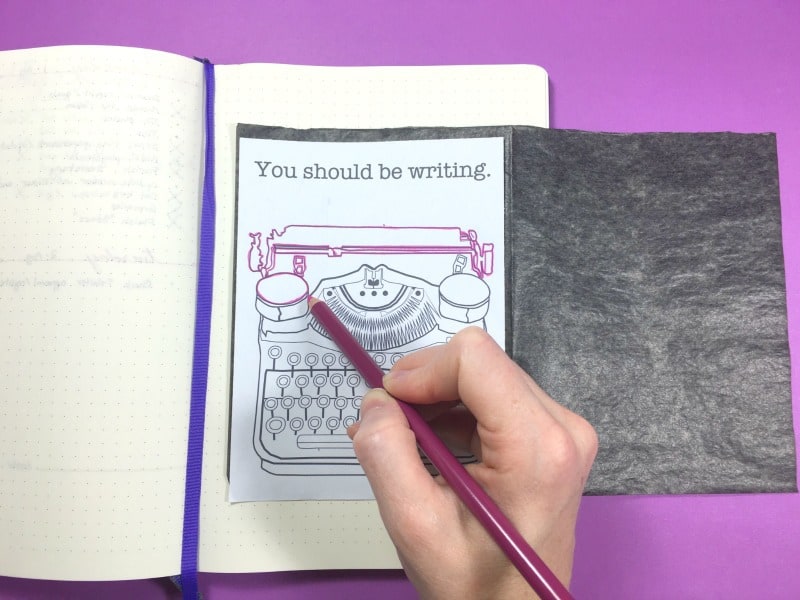
Place your graphic paper dark-side-down on your journal page. Hold the papers in place and carefully trace the entire image with a pencil. After using graphite paper a few times in my journal, I’ve picked up a few techniques:
- You don’t need to press very hard for the image to transfer. A lighter touch will ensure you can erase the graphite if you need to.
- I like using a colored pencil because it’s easier to keep track of where I’m drawing, but colored pencils are much softer, so they make a thicker line. Use a #2 pencil if you want a fine line.
- It’s much easier to center your image if you cut the graphite paper down to fit the project.
- Whatever you do, don’t move the image while you’re tracing it!
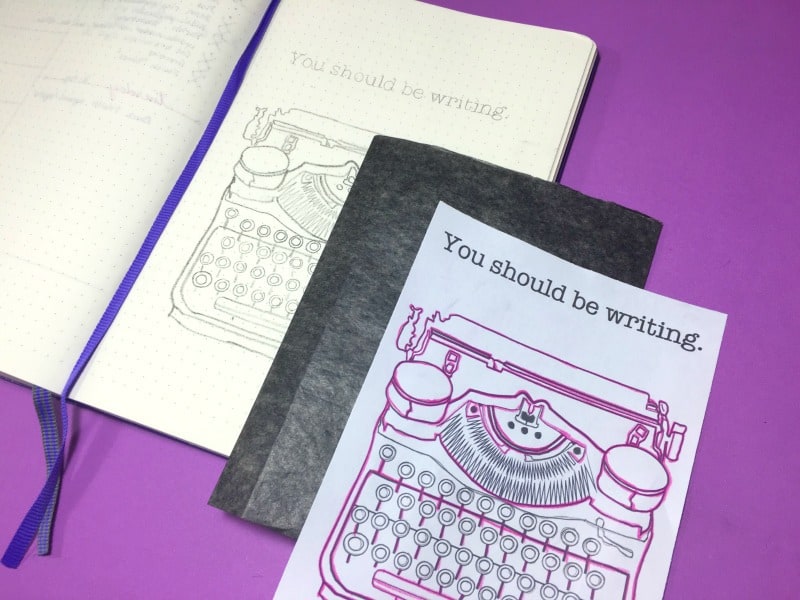
When you’re done tracing, you’ll have a nice pencil outline of your image. The graphite paper can be re-used, so save it for your next project.
Step 3: Trace With Ink

Graphite can smear, so I prefer pen in my journal. I re-trace the whole image using dark artist ink. My regular go-to pen for everyday writing is my fine-tipped Sharpie pen, but I needed more sizes for the details on this typewriter. My Faber-Castell Manga pens were perfect for the job. They have especially dark ink, which gives the image a sharp contrast.
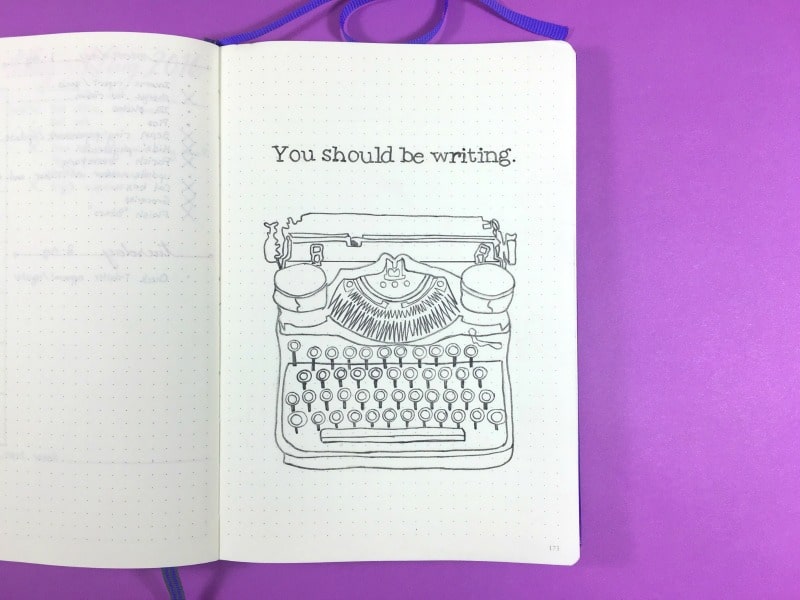
There you go! The finished ink drawing, right there on your journal page. Once the ink dries, run an eraser over it to remove any stray graphite marks.
No bulky printable, just a gorgeous hand-drawn image to adore your journal page. You can stop here if you like; pen and ink drawings add plenty of character on their own.
However, I’m a sucker for bright vintage typewriters, so…
Step 4: Add Some Color
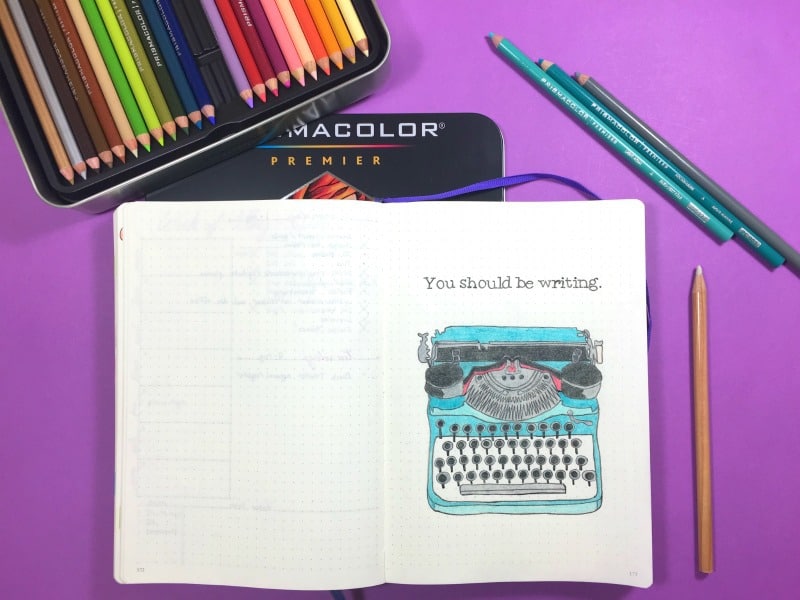
Prismacolor time! I bought this set during Amazon’s huge Prime Day sale (if you’re not a Prime member, you need to be. Free 2-day shipping is just the tip of the iceberg). Anyhow, back to my Prismacolors. Yes, I finally see what all the fuss was about. They’re the smoothest colored pencils I’ve ever used.
*Tip: To keep the colors from transferring to the opposite page, I used a very light touch, then went over each color with a blender pencil. This makes the colors buttery-smooth and they won’t smudge.
There you have it. Enjoy your new bullet journal super-power!
I’d love to hear how you use images, graphics, and illustrations in your journal. Shoot me a comment below with your tips & tricks for a better journal.
Brainstorm with me!
Subscribe to my newsletter for Page Flutter updates, posts, and announcements.
Don’t worry, I only deliver the good stuff. No spam.
Facebook // Twitter// Instagram // Pinterest


Love this! Trying to figure out if I have a legitimate excuse to buy graphite paper now or not. 😉
Oh, you do! 😉 Any excuse is legitimate, right? Graphite paper is fairly inexpensive, and you can find it in the drawing section of any art supply/hobby store. Or you can buy larger packs on Amazon. I’ve found a lot of uses for it beyond my journal…very handy to have!
I think you are my new favorite enabler. 😛
😉
… what are some of the other uses? i’ve never heard of graphite paper before this.
It’s sold in art stores, usually (near the sketch pencils). You can use it to copy pretty much anything! Tracing graphics onto wood and canvas before painting, making duplicates of hand-written notes, I even saw someone use it in an old typewriter they couldn’t find a ribbon for!
wow! thank you, it’s on my shopping list!
In the old days, we called this carbon paper — sandwich the carbon paper between two sheets of typing paper, you would have a carbon copy of your document.
Glad I could give it a fresh life. Old things never stop being useful; we just have to find their new purpose!
Love this bit of info! I like having doodles in my journal, but I’m a horrible doodler. Buying some graphite paper asap.
I knew I wasn’t the only one! Glad I could share my bluffing method. 😉
Glad it helped, Nikki! Some people have talent, the rest of us have graphite paper. 😉
This is awesome! I was trying to figure out how to get pretty images in my journal without pasting them. Gotta get me some graphite paper now!
I’m glad you found it helpful! Anything that makes journaling more enjoyable is worth it.
Wow! You just solved all my planning problems in one post!
Glad to help! 🙂
Pingback: Weekend Links 10/22/16 – Otterly Beautiful
This was really good. I didn’t know about graphite paper. Thank you.
Do drop by for a visit. I write about faith, family, thrifty homemaking, books, and encouragement.
Laura of Harvest Lane Cottage
http://harvestlanecottage.com
Glad you found it useful. Your blog is so cute! I am a terrible homemaker, so I admire anyone who has domestic skills. 🙂
I use my tablet as a light box. My pages are thin enough that if I put the screen on full brightness I can clearly see the images through them. The only difficult part is touching the page with pen only. The tablet can still register the touch of my hand through the paper, so if I’m not careful I’ll inadvertently move, tap, or resize things.
Great idea, Martha! Also a great option for people who don’t have printers. Thanks for sharing. 🙂
I’ve had thirty years of practice homemaking. Keep at it. You’ll get there.
God bless you!
Laura of Harvest Lane Cottage