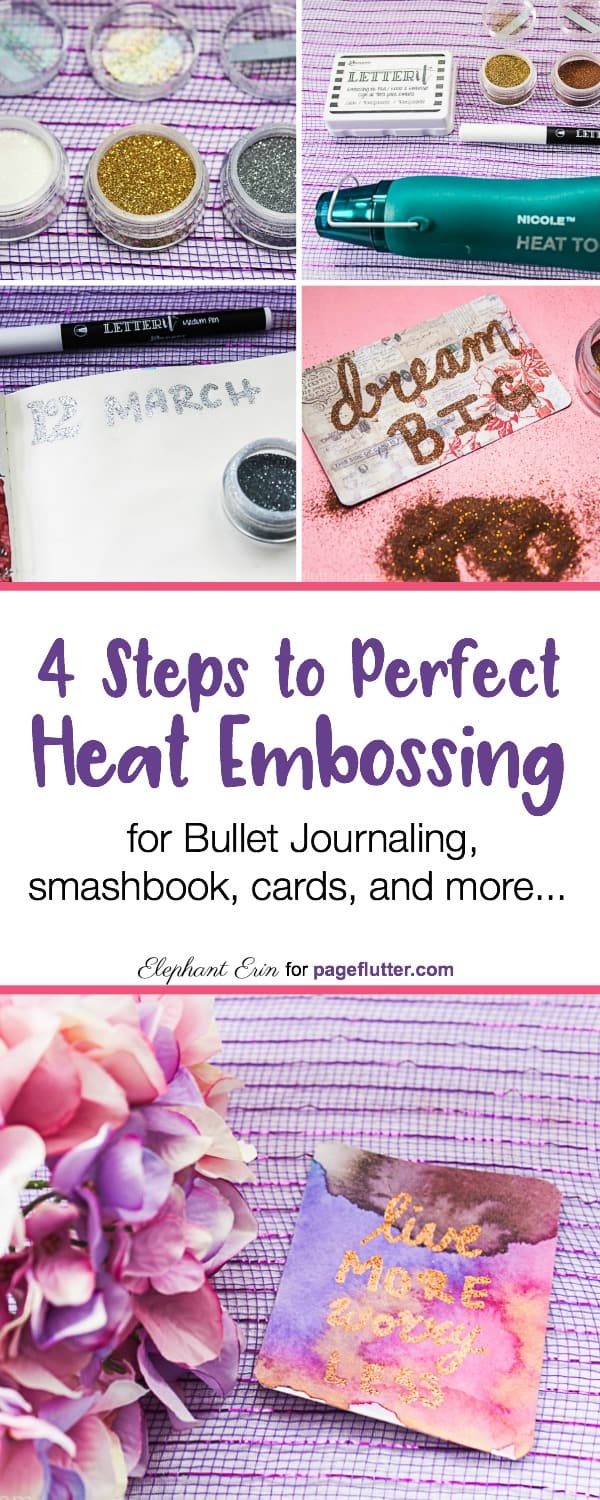
Heat embossing adds texture and glam to any project. Erin has a list of supplies and an easy walk-through to get you started. Try heat embossing in your journal, planner, greeting cards, envelopes, and more!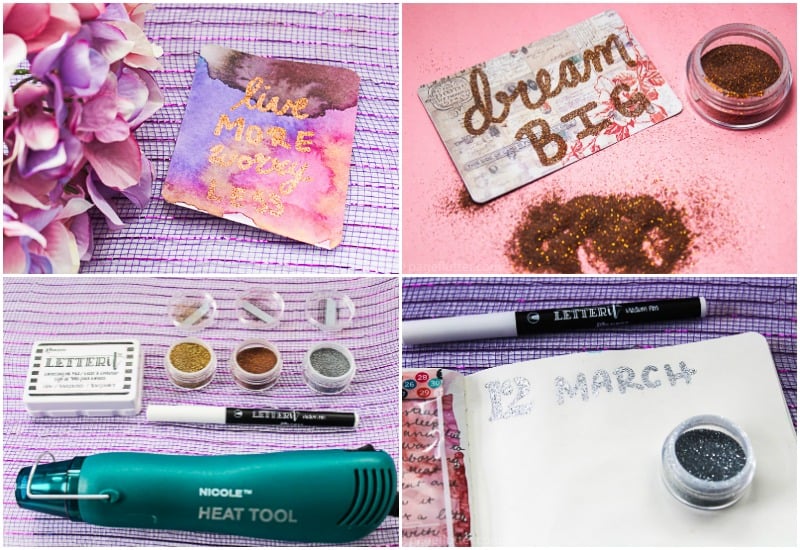
4 No-Fail Steps for Perfect Heat Embossing on Cards + Journal Projects
Hi everyone! Erin here again from Elephant Erin. Let me start by saying that I love jumping into new hobbies, and heat embossing has definitely made my list. If you’ve seen the mesmerizing videos of powder turning into glorious reflective embellishments, you know what I am talking about! If not, I can’t wait to introduce you to the unique beauty of heat embossing.
I add embossing to practically everything. Art journal pages, journal headers, journal cards, and birthday cards. It adds shimmer and a little something special to any creative project..
Supplies for Heat Embossing
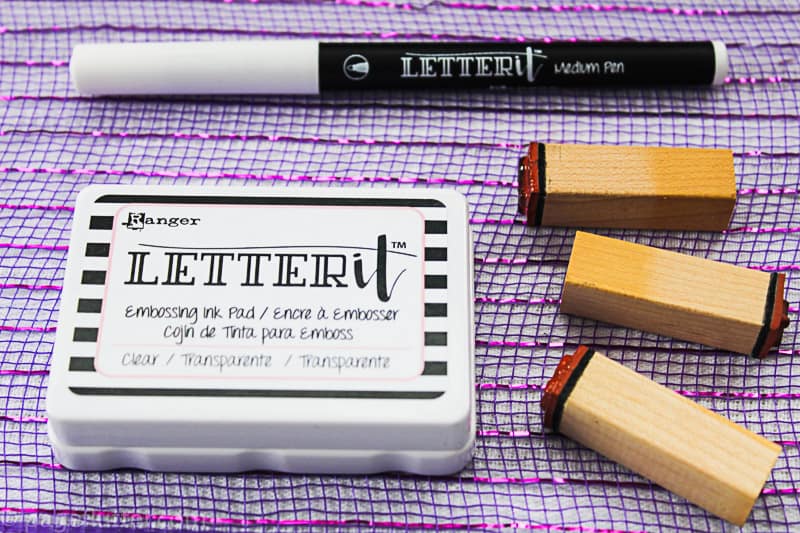
What kind of ink do you use for heat embossing?
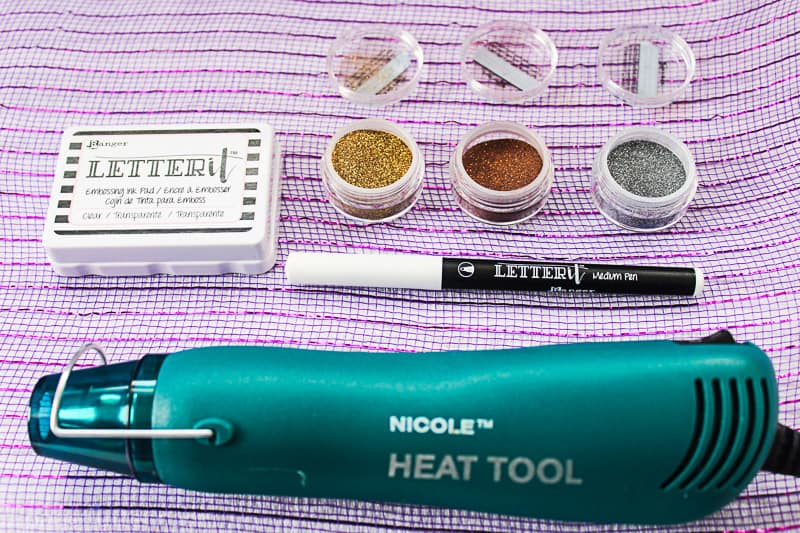
You need an ink, pen or pad, that is slow drying. I’ve had success with Ranger Essentials Emboss It Pens and the Ranger Emboss It Foam Pad. Ranger also sells bottled ink that you can use to refill your stamp pads when they start to dry out.Â
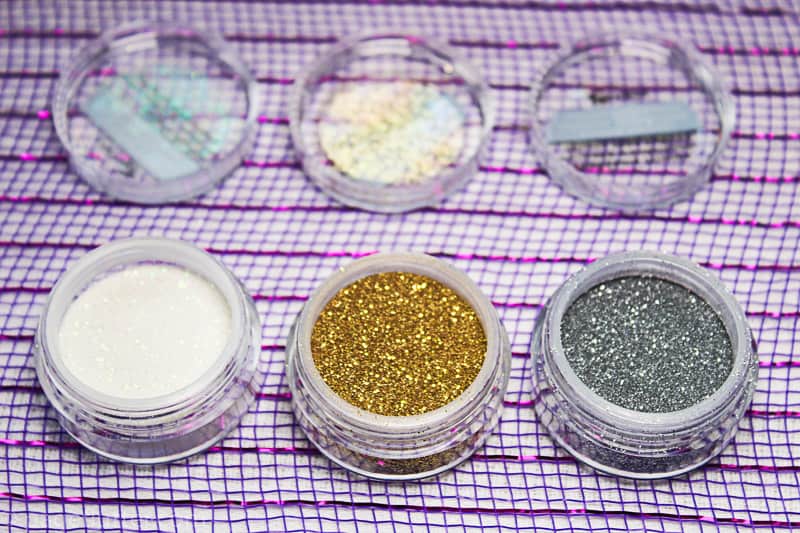
What do you use embossing powder for?
Embossing powder is essential for heat embossing. After you’ve put down your ink, you’ll need to add some embossing powder. This stuff is magical because it melts under a heat, transforming from powder to shiny plastic in a matter of seconds. There are a ton of different types out there: with or without glitter, holographic, pearl, clear, and so much more. Pictured above are ones with glitter.
Can you use a hair dryer instead of a heat gun for embossing?
You’ll need a heat gun to finish your embossing. There were rumors floating around that a blow dryer would suffice, but I’m here to tell you that a blow dryer does NOT work for embossing. It blows too much hair and it does not get hot enough to properly melt the powder. Heat guns are fairly inexpensive, especially if you use a coupon at your local craft store.
Now that you’re all set with your supplies, let’s get started!
Step-by-Step Guide to Heat Embossing
You can follow these 4 easy steps to make your own embossed creations. As you get more comfortable, play around with new materials or try embossing on different surfaces.
Step 1: Apply your ink
Write or stamp with your ink onto your desired medium (here I’m using a Tim Holtz journal card). My design is quite simple, but if you’re doing something more complicated, you may want to sketch it in pencil first. Stamping is a great way to get a complex design without a lot of extra effort.
Step 2: Apply your powder
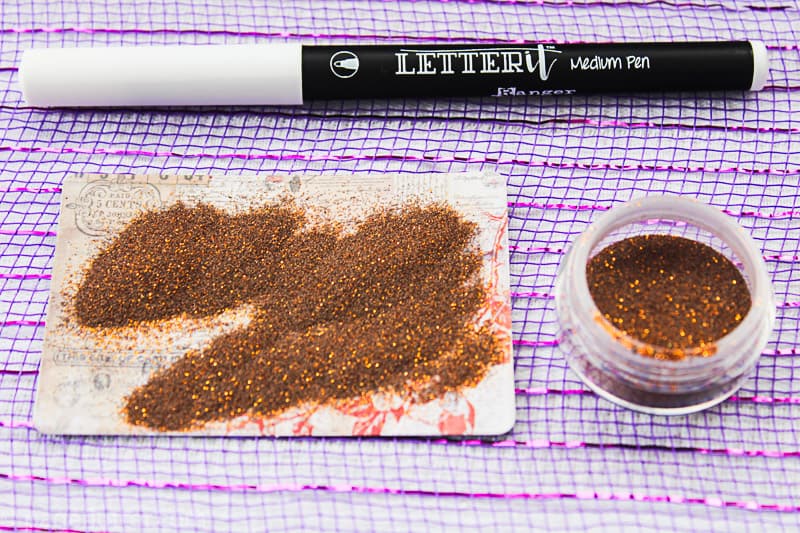
Sprinkle embossing powder thoroughly on top of your inked words or drawing. Don’t be afraid of using a lot! You really want to make sure the powder hits every corner of your design.Â
Step 3: Remove the excess
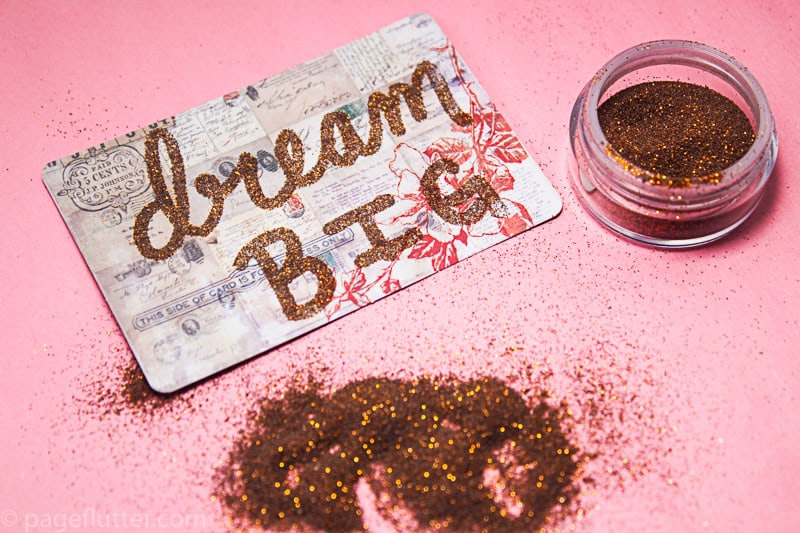
Gently shake off the excess powder. I like catch mine on a spare sheet of paper and put it back into the power container. You can get a lot of embossing action from one small jar this way. You can see in my photo that the powder stuck right to the ink. It stayed exactly where I wanted it!
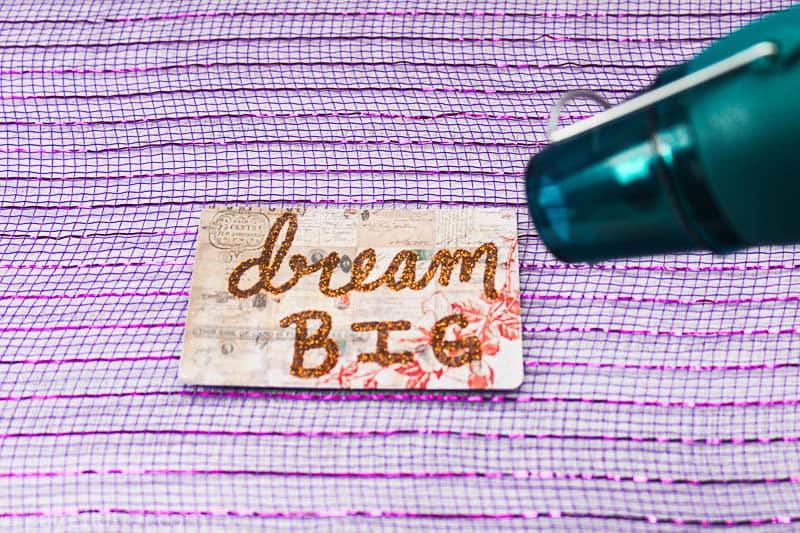
Step 4: Apply heat
Plug in your heat gun, and wave it over top of the powder. Make sure you don’t get too close to the paper because the gun gets extremely hot! You don’t want to burn the paper.Â
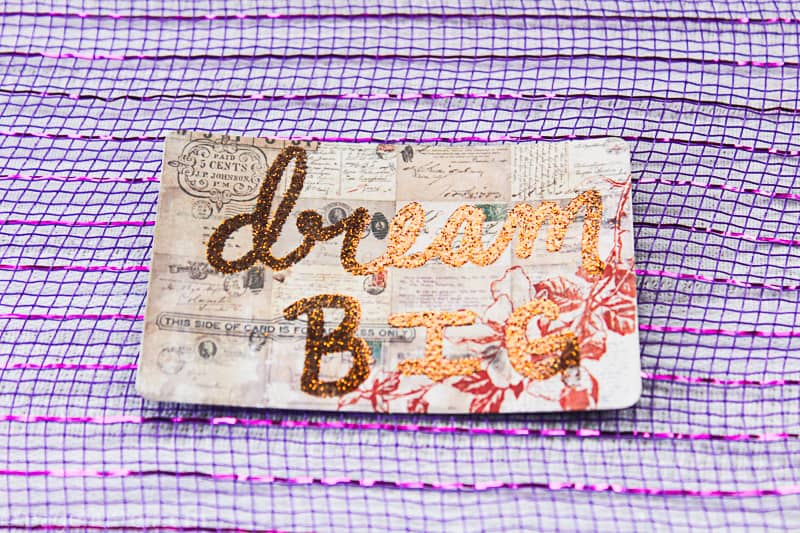
The photo above shows my card halfway through the heating process. You can see the difference between the heated section (on the right) and the section that still needs to be done (left). Keep waving the heat over your card until the whole design has an even texture.
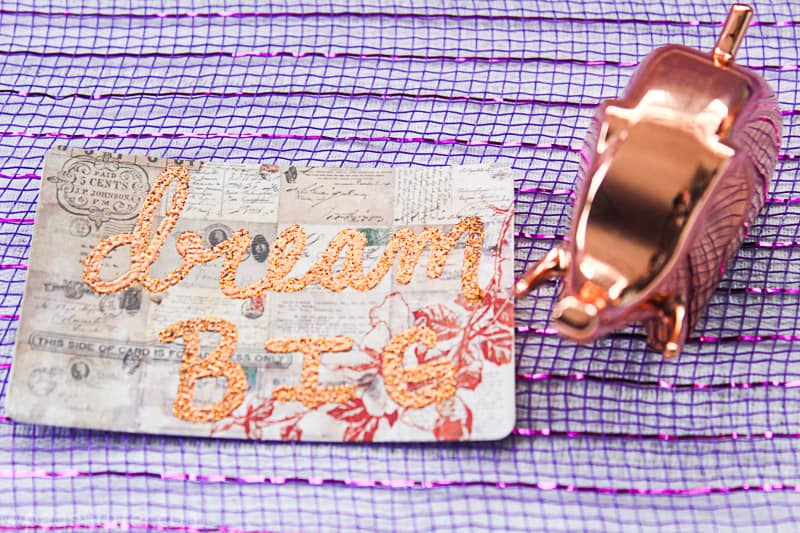
You’re done! Embossing so much texture and shine, adding  a special touch to anything that you are working on. The glitter embossing powder especially adds a lot of depth and sheen to the lettering.
What else can you use embossing powder for?
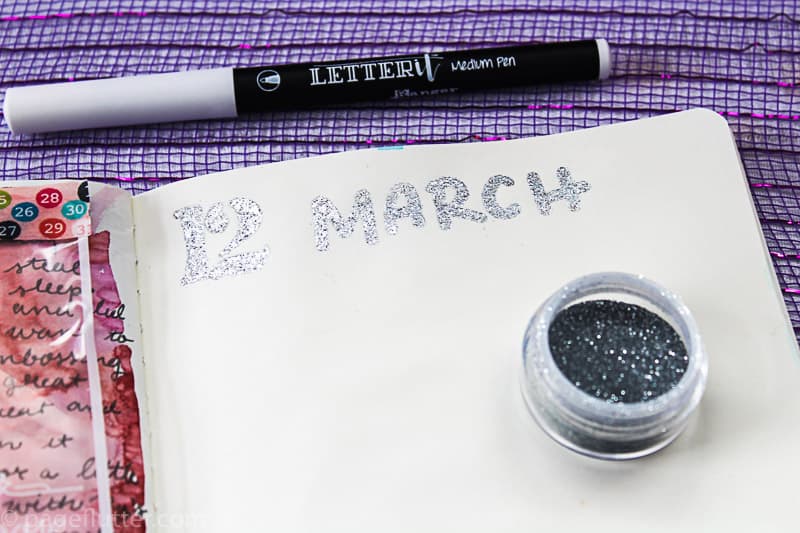
Journaling:Â Here I have a journal header all ready to go. The inserts that I use for journaling have extremely thin paper, yet the pages still hold up to embossing. I have had some burn marks here and there, but hey, they add character!
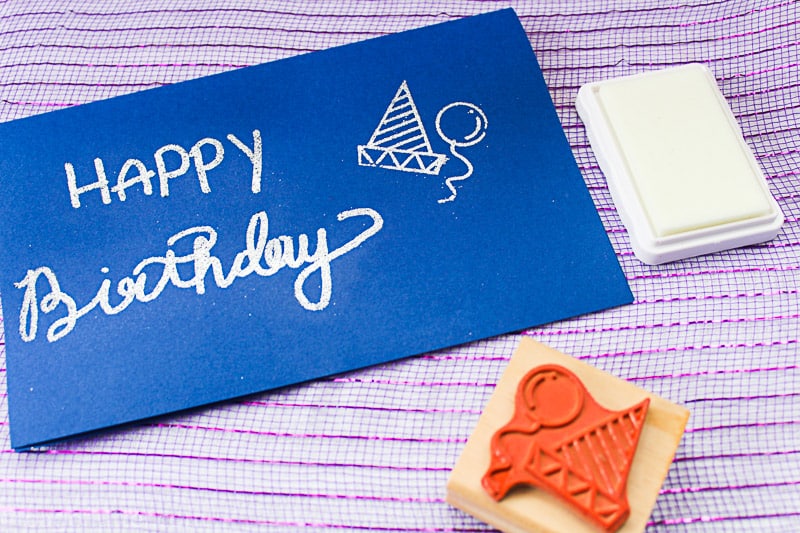
DIY Greeting Cards: I made an easy birthday card for my grandpa, who is 96 this year! Can you believe it? I’m sure he’ll be mesmerized by the texture and reflection that embossing gives off. I also used a stamp and my slow drying ink pad to show you how well it works with stamps. You can use any cool stamps you have on hand!
Journal Cards:Â I love, LOVE journal cards and making my own is something that I really enjoy! Here you can really see the texture and shininess that heat embossing brings to all of your projects. I usually do pages of watercolor and cut them into smaller cards like this one. You can play around with different color schemes and add embossing on top. Wow, I so love the way this looks!
Related:Â Easy Abstract Watercolor Painting For Beginners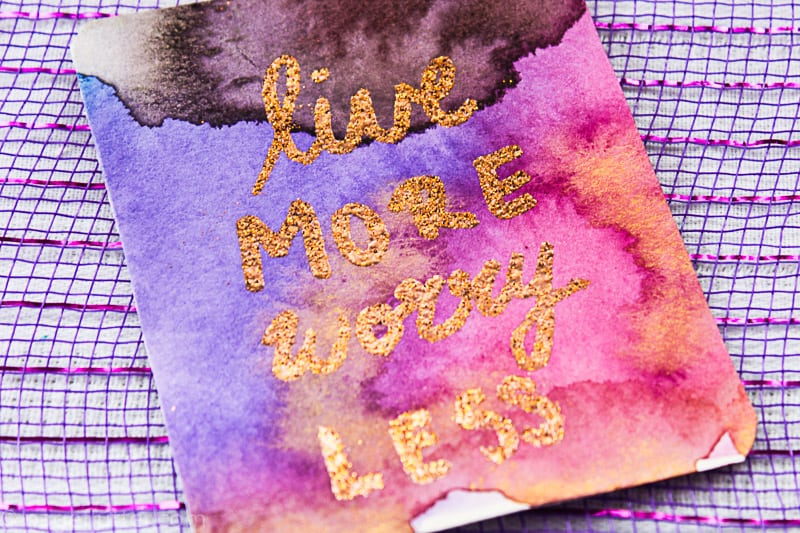
Here is another decorated journal card that I am uber excited to use somewhere!
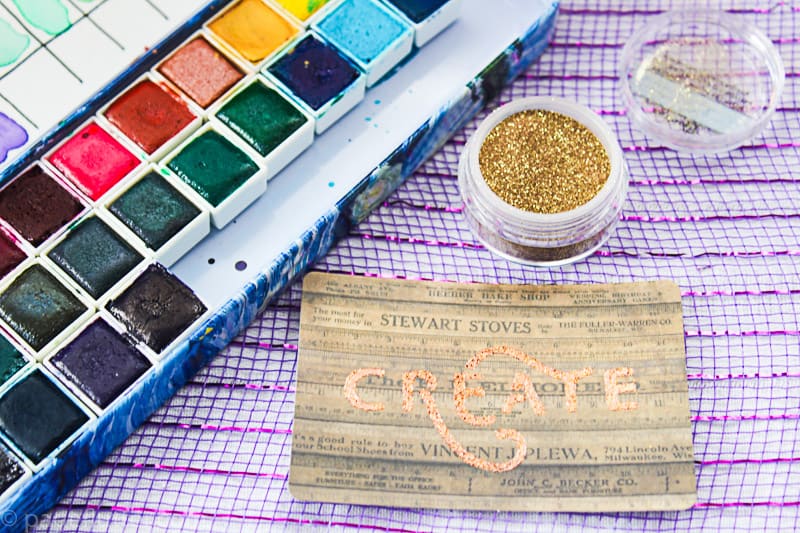
You can play around with stencils and various fonts to CREATE (see what I did there?) something that’s truly original! And with that, I hope you create today, too. Here are some fun heat embossing prompts to inspire you to get started!
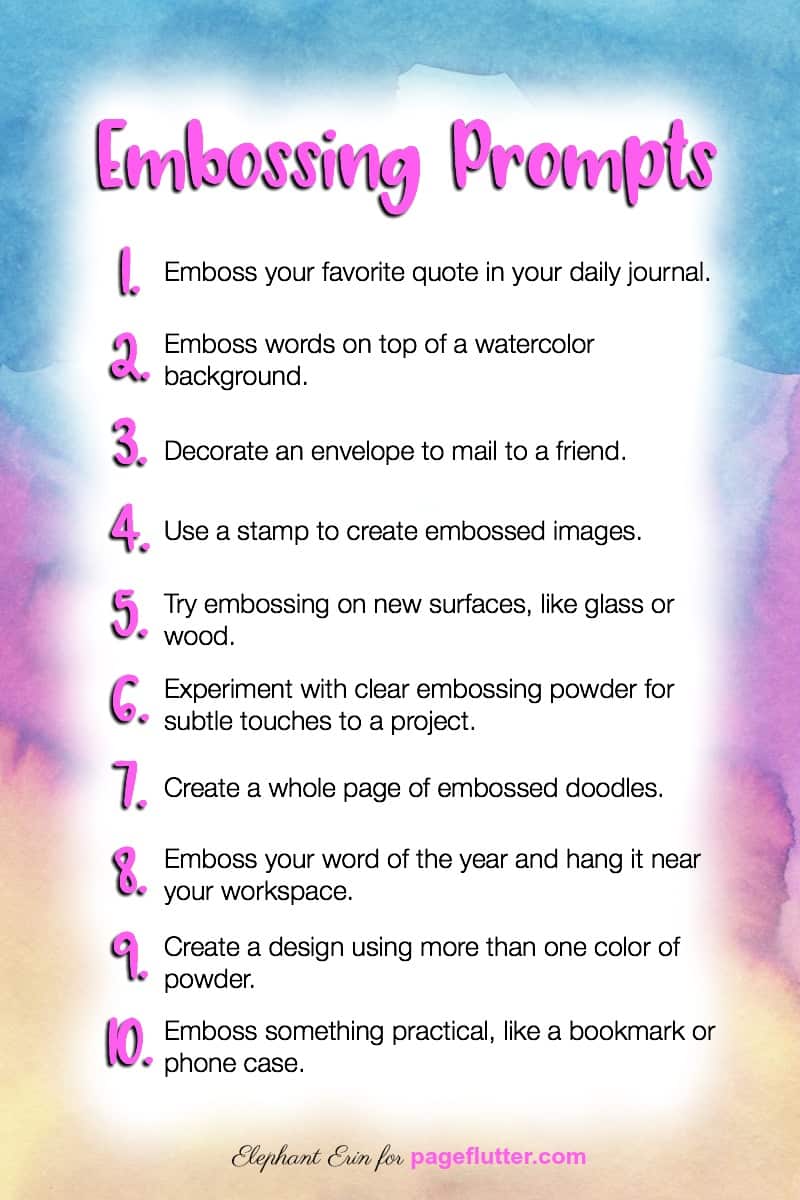
Heat Embossing Practice Ideas
- Add your favorite quote to your daily journal, or start a new art journal with embossed elements throughout.
- Create watercolor background (on mixed media paper or watercolor paper) and cut them into smaller cards. Emboss words of affirmation or motivation.
- Emboss an envelope and send a letter to your favorite person.
- Use your favorite stamp to emboss corners in your weekly spread.
- Try embossing on new surfaces, like glass or wood.
- Experiment with clear embossing powder for subtle touches to a project.
- Create a whole page of embossed doodles.
- Emboss your word of the year and hang it near your workspace.
- Create a design using more than one color of powder.
- Emboss something practical, like a bookmark or phone case.
Your turn to share! How do you use heat embossing to embellish your journaling projects? Have you ever used embossing in an unusual way or with unconventional materials? Comment below to share your amazing ideas.
