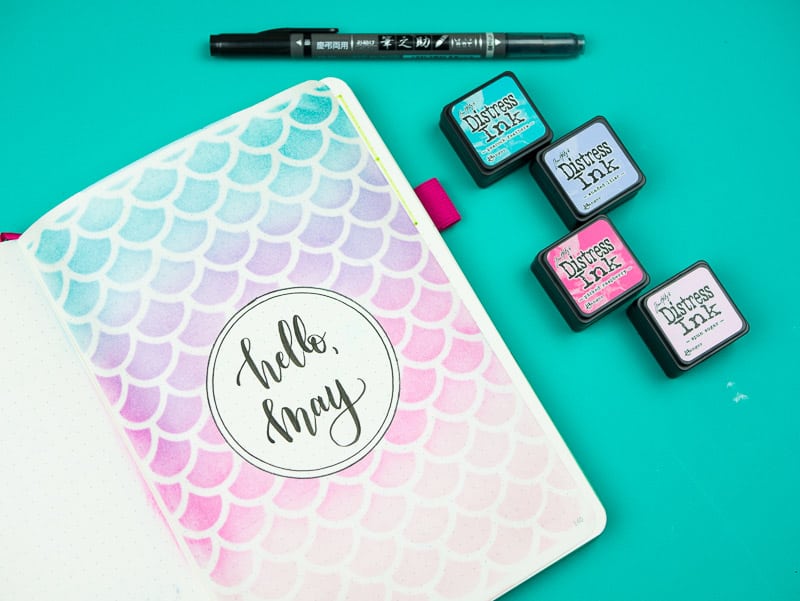
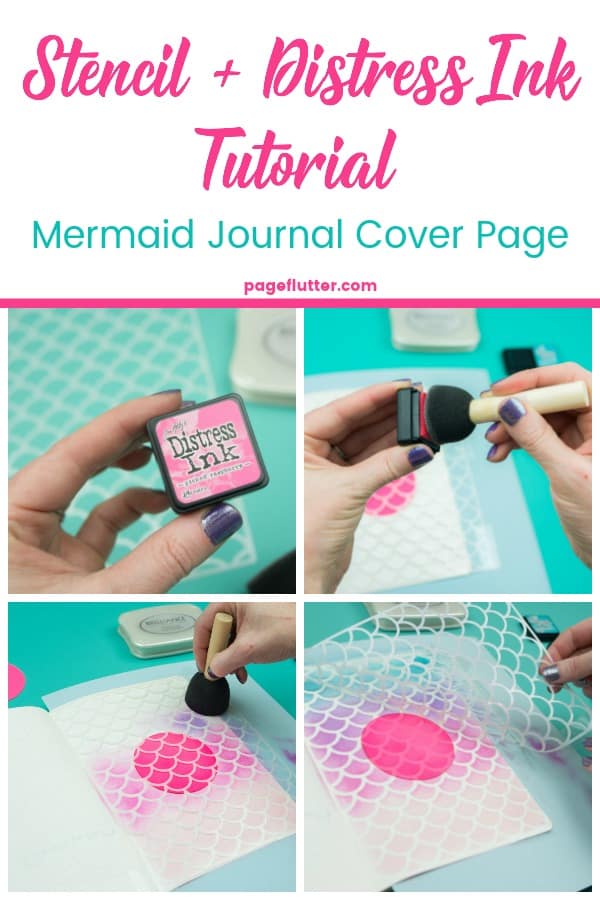
Mermaid art time! I used my Cricut Explore Air 2 to cut a stencil and Distress Ink for this eye-popping pattern. Use this same technique make colorful cover pages in your Bullet Journal, art journal, or daily planner.
Stencil + Distress Ink Tutorial: Mermaid Journal Cover Page
One of my favorite things about journaling is we can dream outside our realities. I may not be able to become a mermaid (my 6-year-old-self is still heartbroken over it), but this mermaid cover page brings it a little closer.
Cover pages also serve an important function in planning or Bullet Journaling. They offer you a breather.
Whether you make yours simple or artistic, the cover page separates one month (or section) from another. It’s like lowering the curtain on the previous month, and welcoming the new month as a fresh start.
Today, I’ll show you how to make a colorful cover page without spending hours drawing, coloring, and painting. This whole project took me about 15 minutes.Â
Ready to get started? Let’s do it!
Supplies List
I cut my own stencil with my Cricut Explore Air 2 using a file from this month’s Fresh Cuts Bundle. If you own a Cricut or Silhouette cutting machine, IÂ highly recommend the Fresh Cuts Bundle. The files are adorable and high-quality. Each bundle is only available for a limited time, so grab the Mermaid themed one while you can!
- Stencil
- Mermaid scale pattern from Fresh Cuts Bundle
- Cricut Explore Air 2
- Stencil Film, 0.6mm
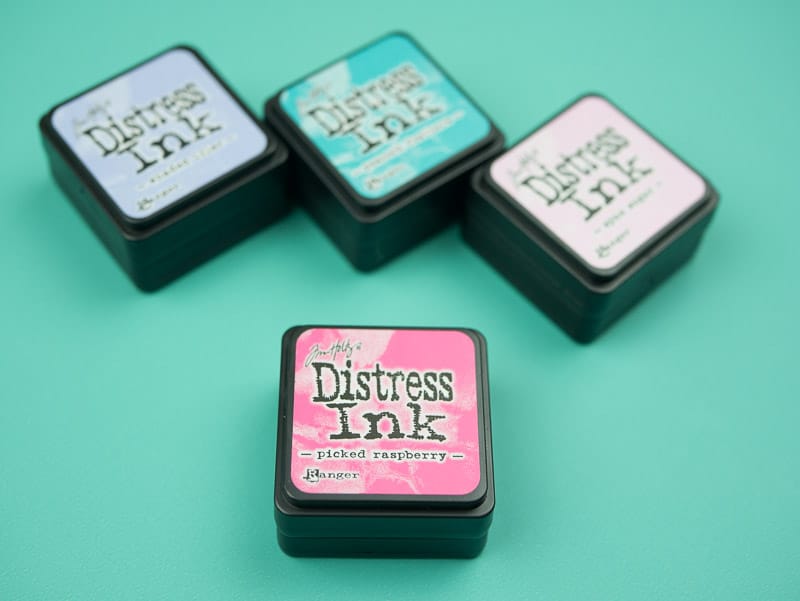
- Tim Holtz Distress Ink in assorted colors: I used Spun Sugar, Picked Raspberry, Shaded Lilac, and Peacock Feathers.
- Brilliance Stamp Pad, Platinum: This is totally optional, but it kicks up the shine a notch!
- Sponge dabbers (I prefer blending pads, but they’re all packed away for our upcoming move).
- Scrap paper and card stock circles: These are to shield any areas you don’t want covered in ink.
- Tape
How to use Distress Inks With a Stencil
Distress inks add great color to artwork on their own, but a stencil can make things even more interesting. To begin with, you’ll need to choose your stencil pattern. You can use whatever you have on hand, but I made my own because I had this special mermaid page in mind.
What Type of Stencil Works Best With Distress Inks?
Ideally, you should choose a large stencil that covers the page area you’re working on. Since I created my own, I was able to size it to fit my journal pages.
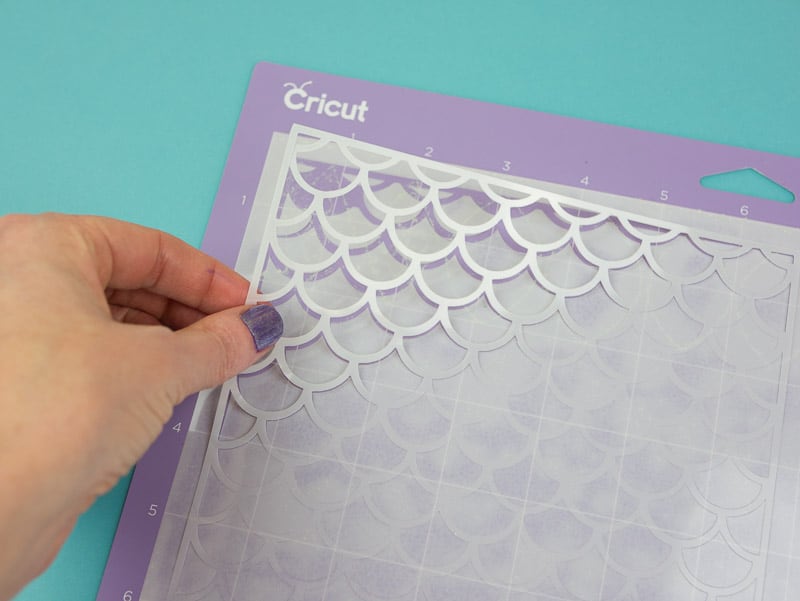
Files Used: The file shown here is mermaid scales from the Fresh Cuts Bundle (these are only available for a limited time) and uploaded it to the Cricut Design Space.
Settings: Since I’m using 0.6mm stencil film, I set my Cricut to 0.4mm stencil film, but adjusted it to cut twice. This ensured my machine would cut all the way through the thick 0.6mm film. I’m using a Strong Grip Mat, but a Standard mat would also work.
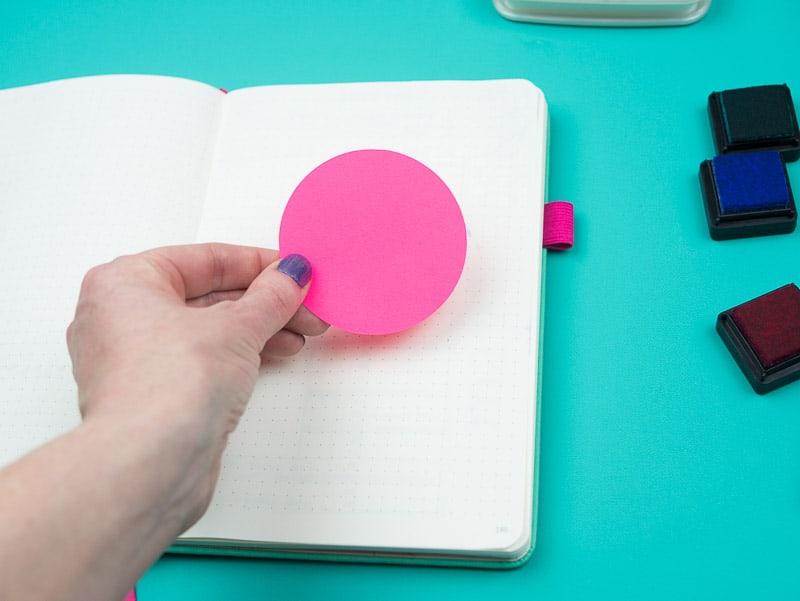
Step 1: Mask Any Areas You Don’t Want Inked
Since this will be a monthly cover page in my journal, I’m using a circle of card stock to mask the center of the page. That’s where I’ll write my title. And yes, I chose the most obnoxious electric pink I could find! I wanted to make sure you could see it in the photos. Nice, huh?
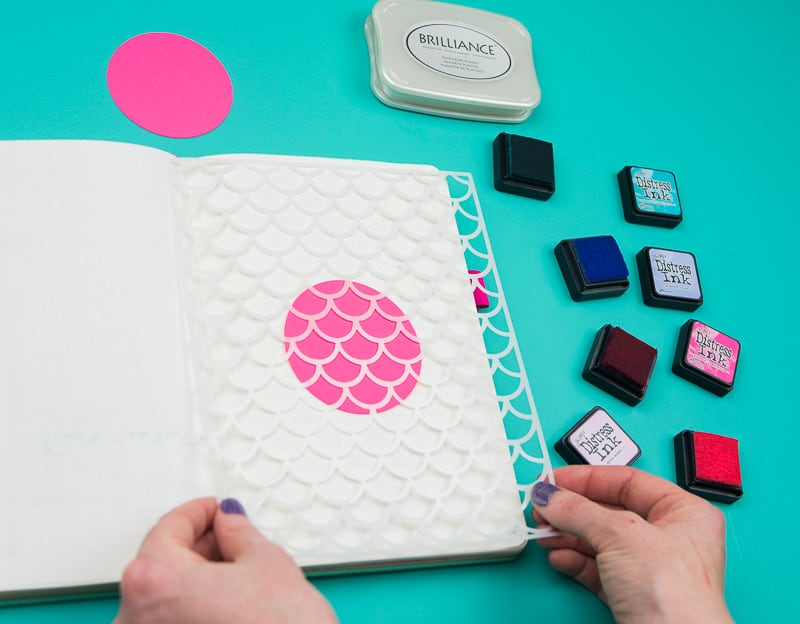
Step 2: Place Your Stencil
For best results, cover as much of your page as possible. I also used tape to secure the edges of my stencil so it wouldn’t slip around on me. Tip: Place a piece of scrap paper behind the page you’re working on. You’ll thank me for this tip when your table isn’t covered in ink!
I grabbed these sponge dabbers at Target, and they worked great for this project. If I had a choice, I prefer the Ranger blending applicators, but I had to take what I could get right now! We’re living our of suitcases for the next few weeks (all part of our Moving-to-Japan-Extravaganza), so most of my good art supplies are packed away.
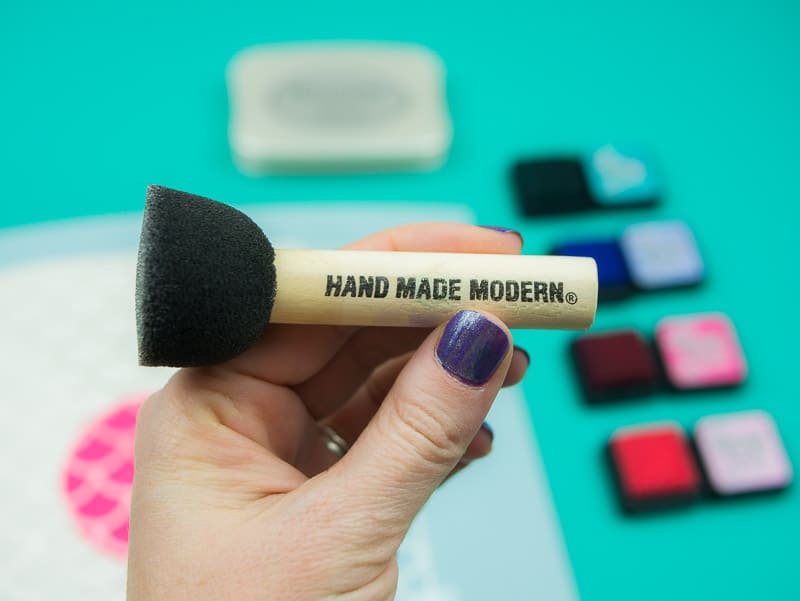
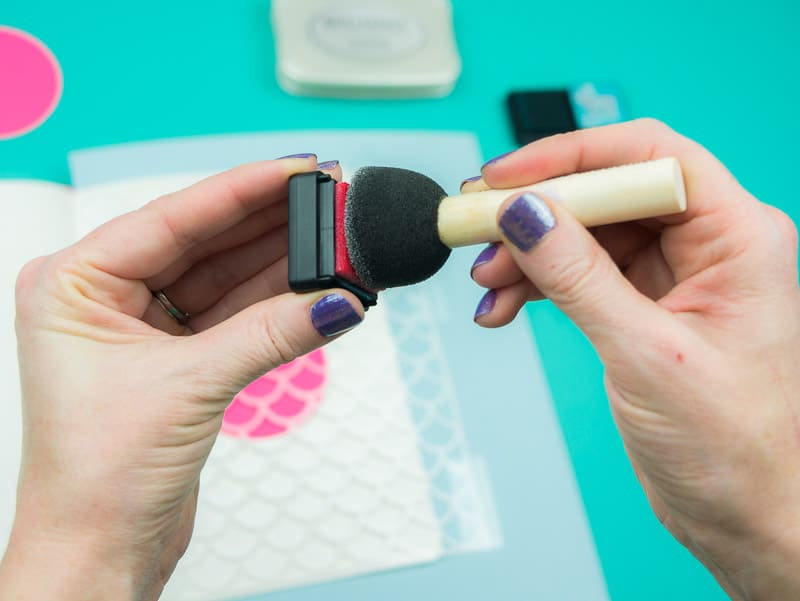
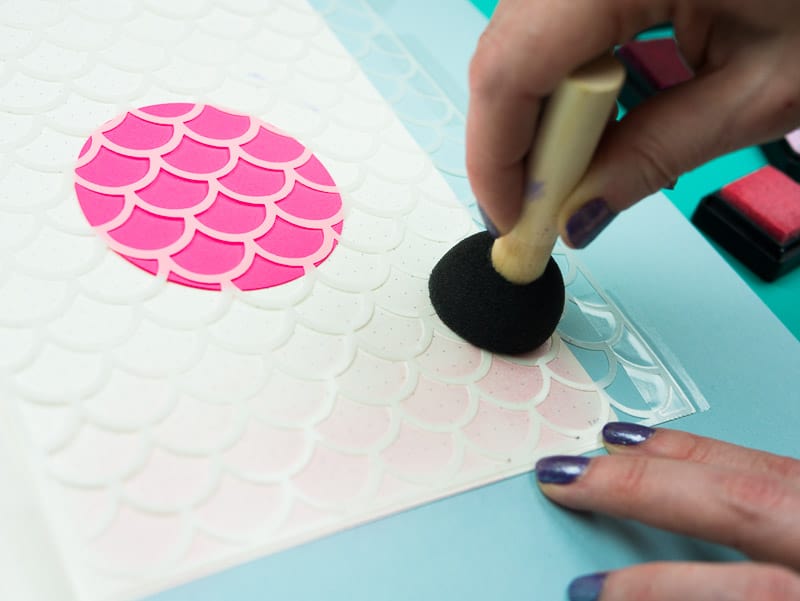
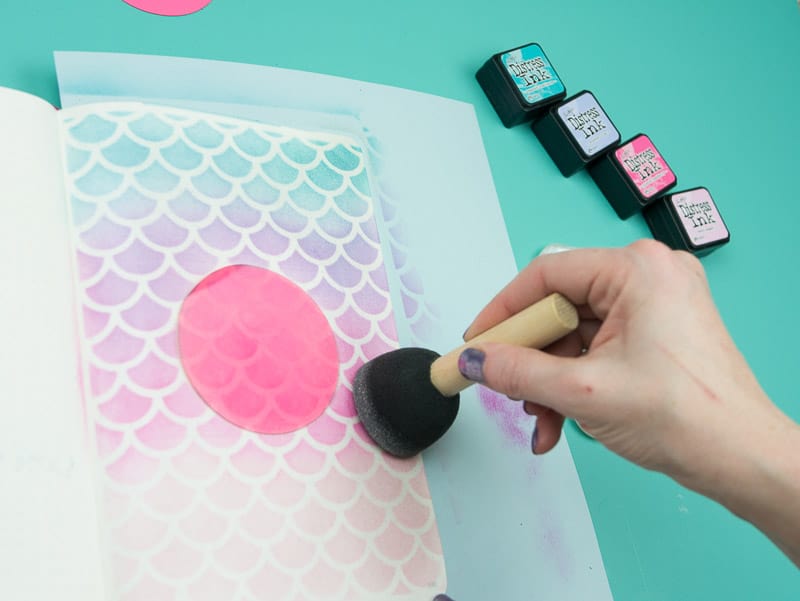
Step 3: Ink Your Dabber
With a new dabber, you may have to smush it around your ink pad to get it coated. Light colors need even more swishing and swirling to get an even coat.
Step 4: Add Your First Color
Beginning with the lightest color in your palette, apply the color to the page in SWIRLING motions. Small circular motions produce a much smoother appearance than simply dabbing the ink. Keep re-inking your dabber and applying the ink in circular motions until you’ve built up to your desired color. I also held the stencil in place with my fingers for a little extra security.
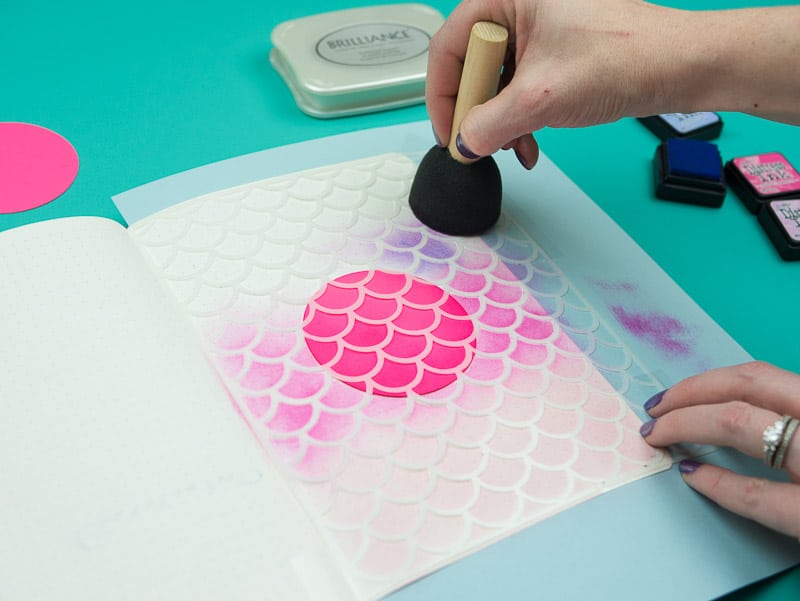
Step 5: Add Additional Colors
I moved from light pink (spun sugar) to bright pink (picked raspberry). After that, I moved on to purple (shaded lilac). My colors also got progressively cooler as I moved across the page.
If you need to go back to an earlier color, make sure you clean your dabber well before re-ink it with a light color.
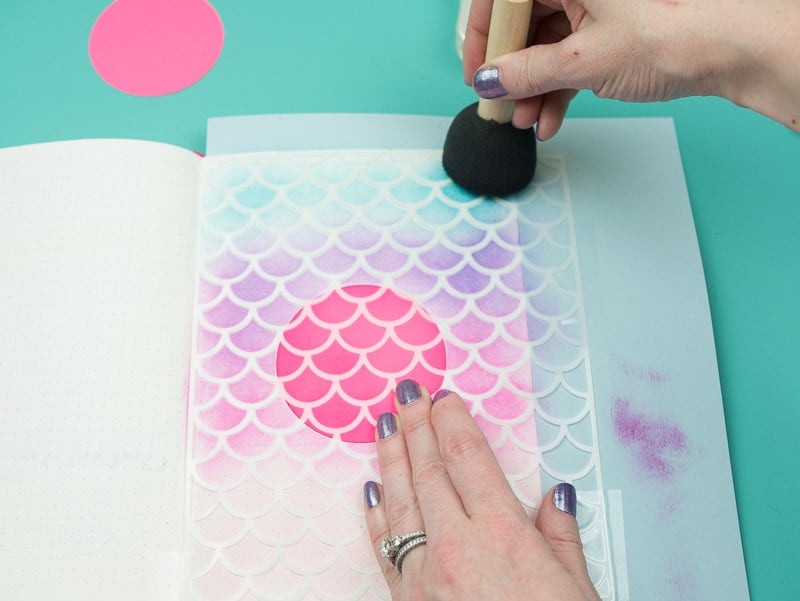
Step 6: Finish With Your Darkest Color
My last color (Peacock Feathers) was a gorgeous teal green. It was much cooler and darker than the other colors I used, so I only moved on to this color when I was completely sure I had finished with the pink and purple.
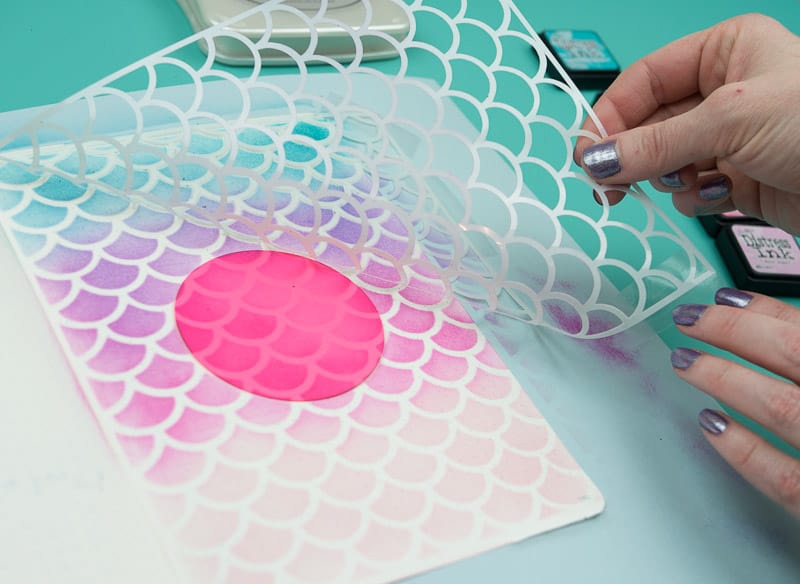
Step 7: Remove Your Stencil
When you’ve covered your whole page, you can peel away the stencil. Just be careful with any tape you used to secure your stencil.
Step 8: Add Pearly Sheen (Optional)
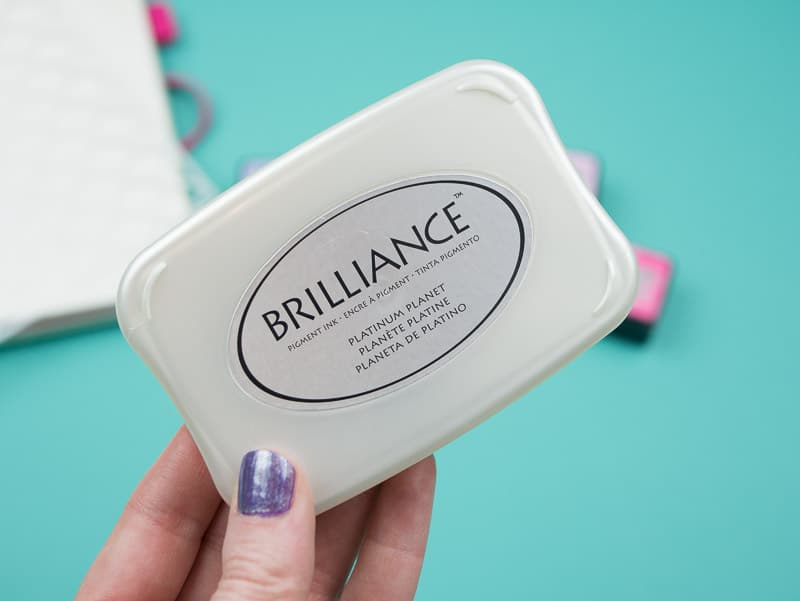
Every mermaid needs a little shine, right? I used Brilliance Pigment Ink in Platinum Planet to give my page a pearly sheen. It’s difficult to see in the photos, but it pops in person!
Again, simply swirl your dabber across the page to spread the ink evenly. The more you apply, the shinier your page will be.
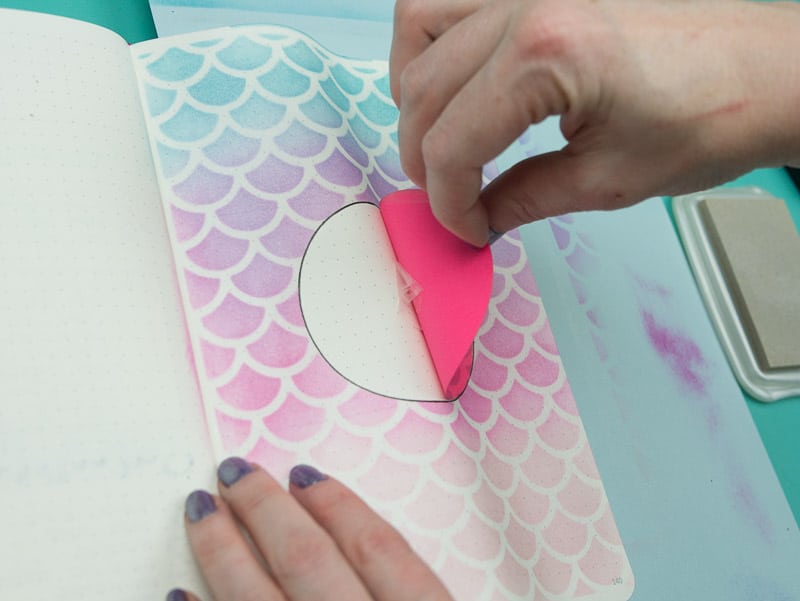
Step 9: Remove Masked Areas
To get a clean end on my center circle, I traced the edge of my pink card stock before I removed it.
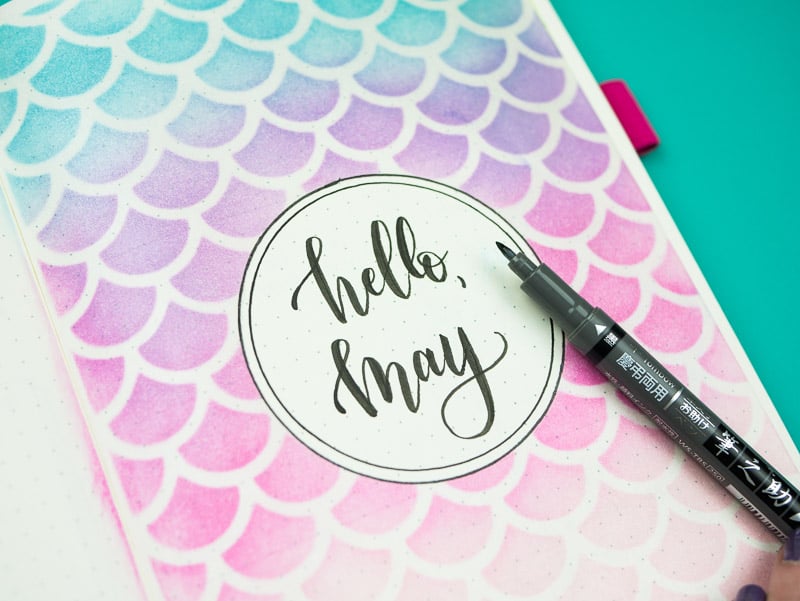
Step 10: Finish With Decorative Lines and Lettering
Bam! Mermaid page. Because you’re just that legendary!
Now, you can add fun lettering or doodles to welcome your new month in style. You can also use cover pages to separate sections of your journal or for special pages like word of the year, favorite quotes, and more…
If you want to make your own mermaid cover pages, make sure you grab the Fresh Cuts Bundle in Printable Crush’s Shop (in the SVG Section) while the Mermaid files are still available!
What are you favorite creative materials to use in your journal? Do you make cover pages or other artsy pages? Comment below to share your favorite decorating ideas!
SaveSave


It looks SO great, Megan!
So glad you like it, Heidi! These cut files are always so gorgeous. ????
Turned out beautifully! 🙂
what type of felt pens are you using?
Hi, Debi! The ones in this project are from Tombow. The lettering is done with a Tombow Dual Brush Fudenosuke (found here:https://amzn.to/2JnUGG9) and I traced the circle with one of my all-time favorite Tombow Mono Drawing Pens, size 05. Hope that helps!