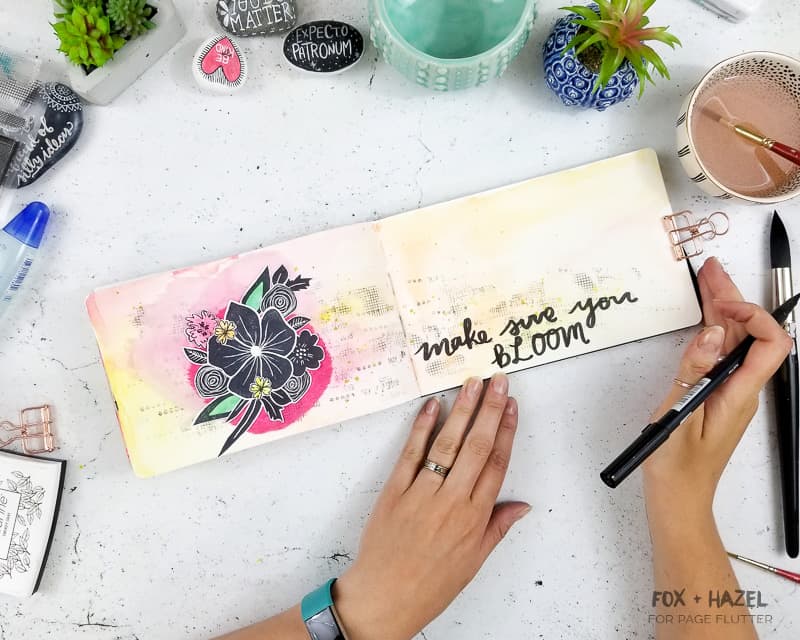
This easy watercolor art journal page is beautiful and bursting with colorful flora! Whether you use a Bullet Journal for organization or an art book purely for self expression, try creating your own watercolor art journal page and see what takes shape.
Hi again, it’s Torrie here from Fox + Hazel with a really great watercolor art journal page to share! If you’ve been around here on Page Flutter for a while, you know that I’m an art journaler and I also love watercolors!  This art journal page marries the two together and also makes use of your stamp collection. This technique is great for anyone new to art journaling, and can also be applied to Bullet Journaling or scrapbooking! So, let’s jump into it.
If you’re new to art journaling, I made a handy list of basic art journaling supplies to get you started!
How To Create an Easy Watercolor Art Journal Page
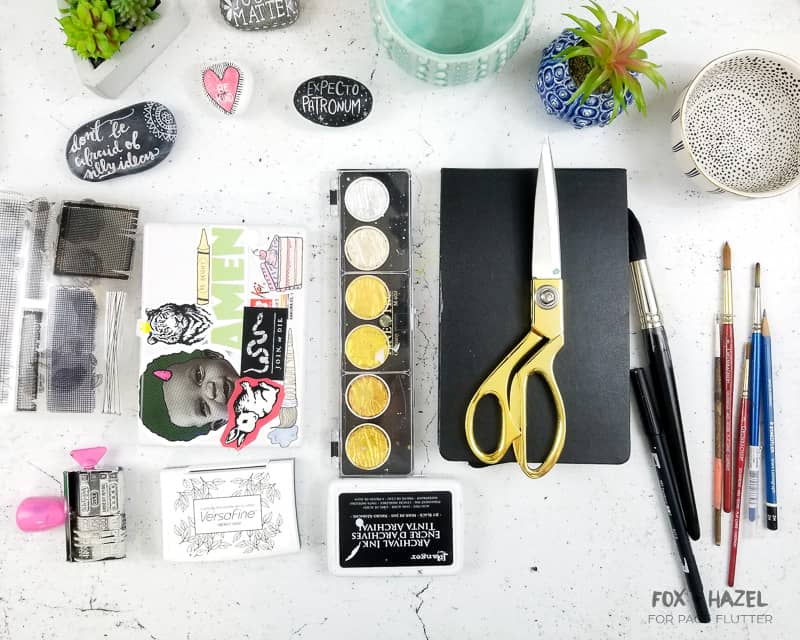
Supplies Used Today:
- Moleskine Watercolor Sketchbook
- Sakura Koi Field Sketch Watercolor Palette
- Coliro Mica Watercolor Palette
- Ranger Archival Ink in Jet Black
- Versafine Ink in Smokey Gray
- Recollections Memory Date Stamp (similar one here)
- A Beautiful Mess Floral Stamp Set (similar ones here)
- Graph print stamps
- Hand cut stamps
- Gold scissors
- Tombow Dual Brush Pen in N15
- Round 24 Watercolor Paint Brush
- Round 3 Watercolor Paint Brush
- tissue paper
- Tombow Mono Aqua Liquid Glue
- white cardstock
How To Create an Easy Watercolor Art Journal Page
Step One:
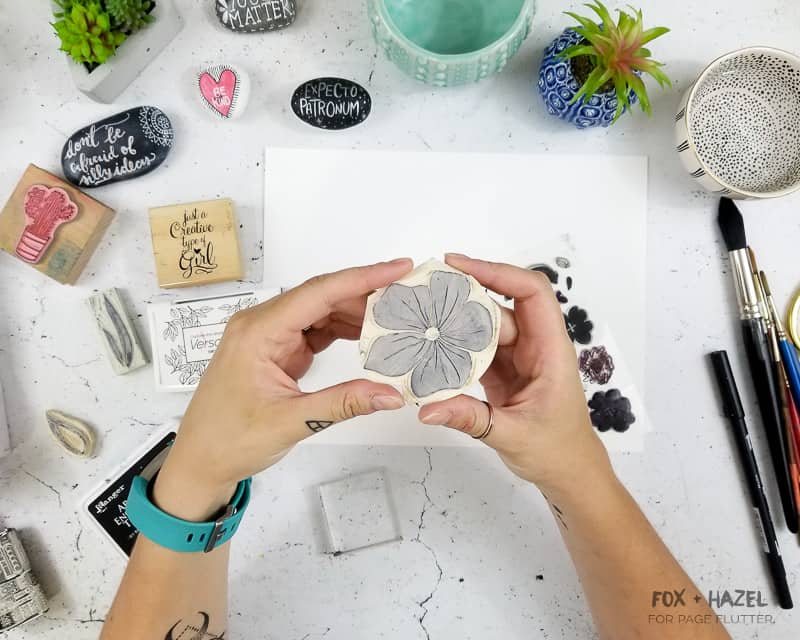
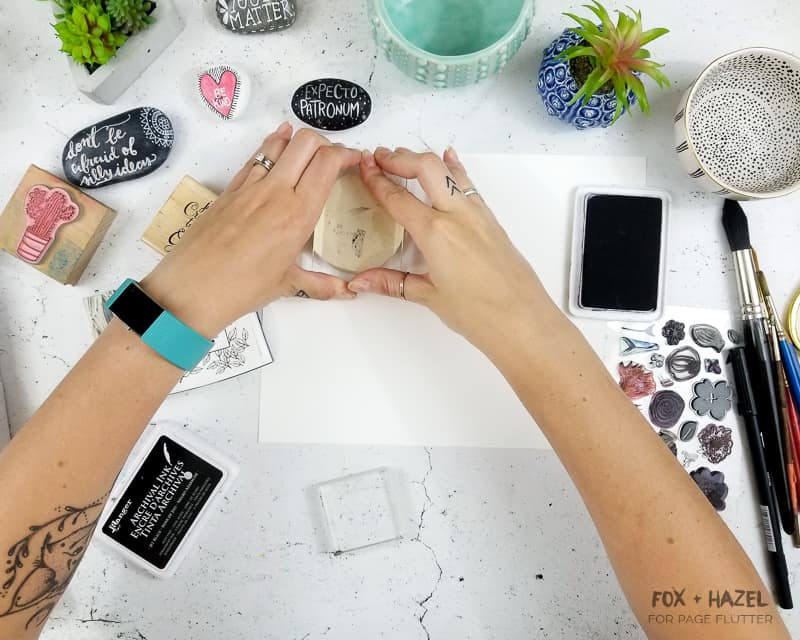
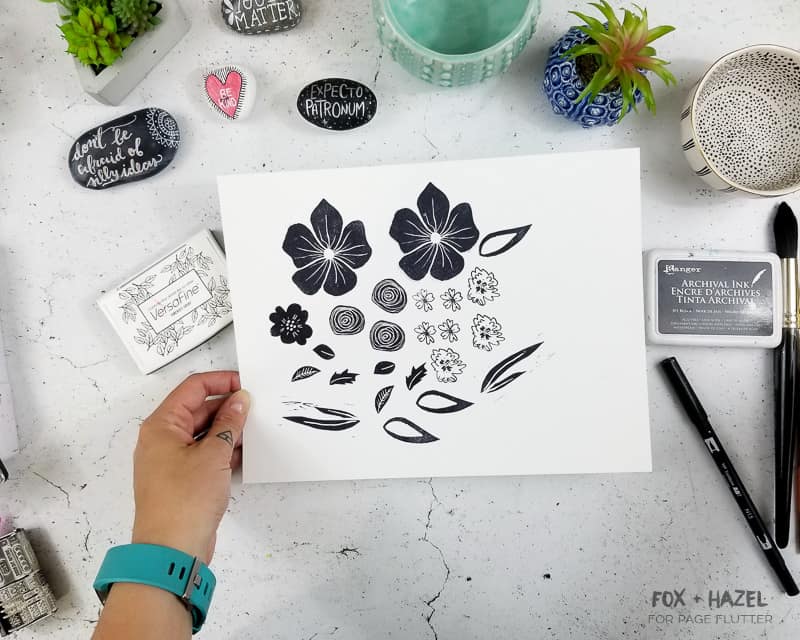
First step is to stamp a selection of floral stamps to add to your art journal page. Stamp some flowers and leaves on cardstock. I suggest doing a lot so you have more images to choose from.
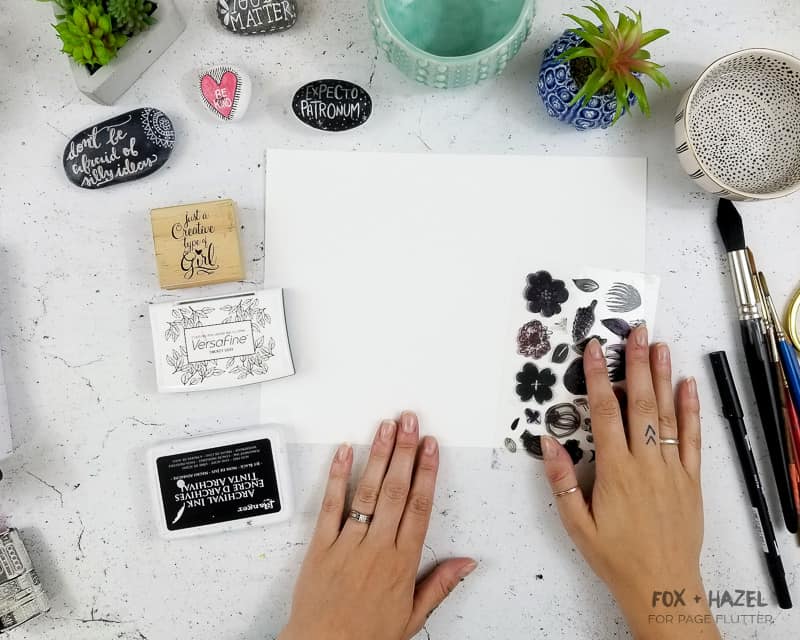
I used some bought stamps, but the main one is this flower I carved myself as well as some leaves. (If you want to learn more about how to carve your own stamps, I have a whole post about it HERE.) Use the stamps with the black Ranger ink to just stamp a bunch of different leaves and flowers. Let these dry before moving on!
Step Two:
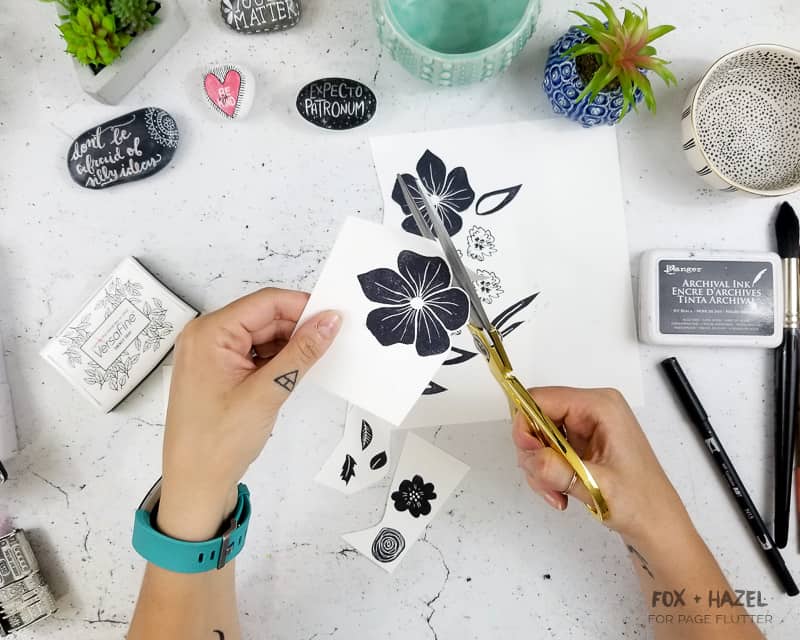
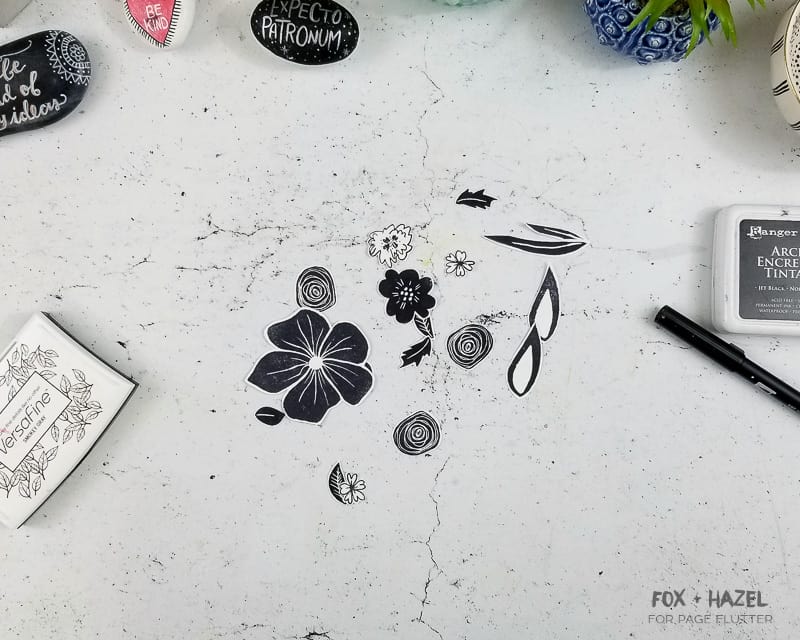
Once all the stamped images are dry, you can go ahead and fussy cut them all. What’s fussy cutting? It’s a fancy way of saying that you cut out images very cleanly so they can be used as a focal point.
Step Three:
Now the fun part of this watercolor art journal page! You can use whatever brush you have, but I suggest using the biggest one on hand. The one I’m using is a size 24 and I’m obsessed with it. So before you put any paint down, you’ll wet the paper first with some water. This will help the paint diffuse across the page.
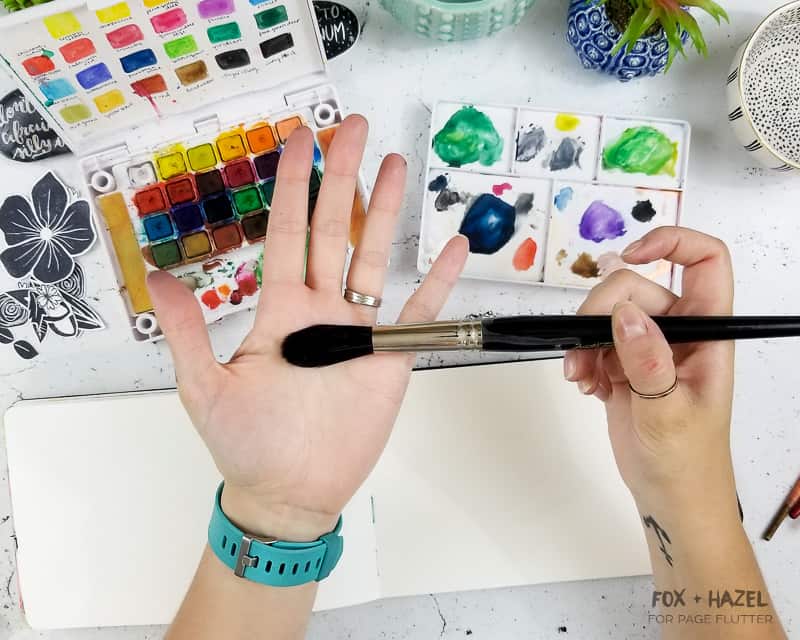
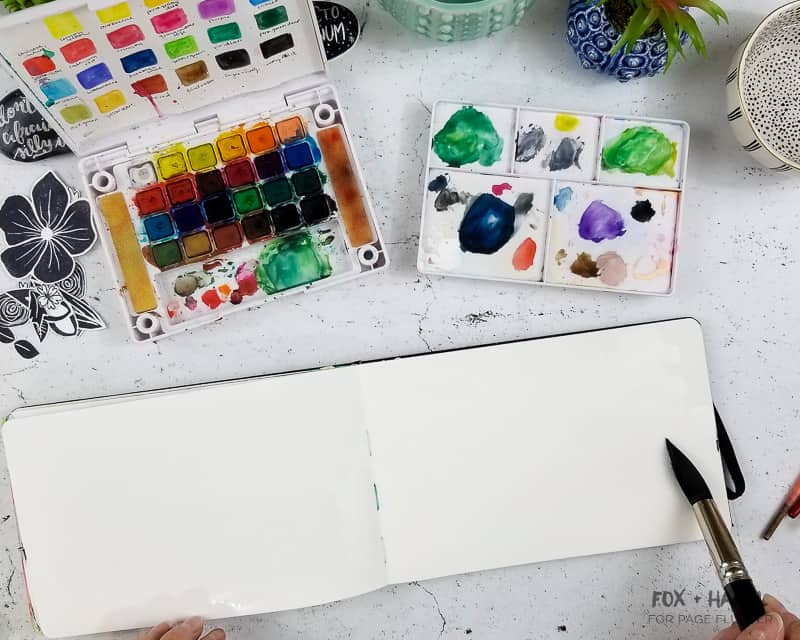 Once your page is wet, you can add color! I’m using a warm color palette, but you can use whatever colors you like! Start with the lighter colors first and add just a bit of paint at a time. You can add more water to the page if you need to help move the paint around too. Be careful not to play with the paint too much or it will cause your colors to become muddy.
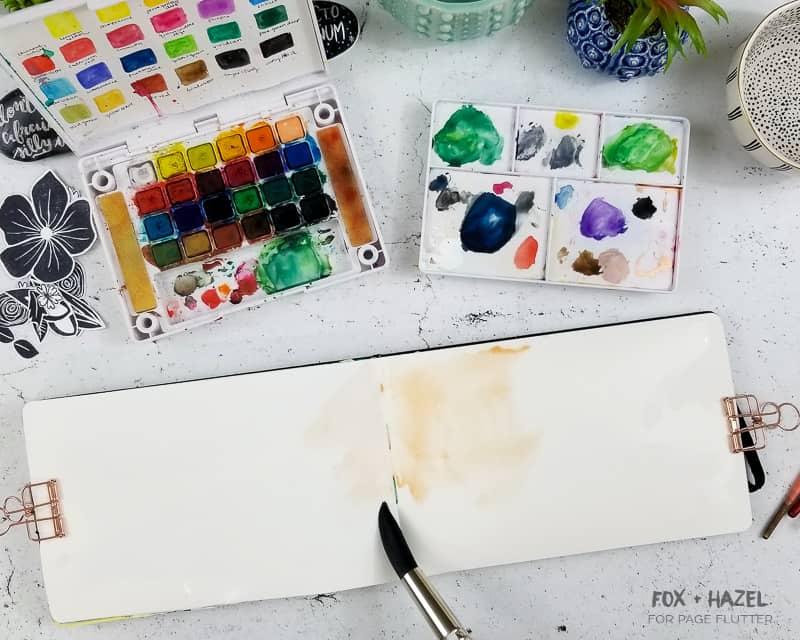
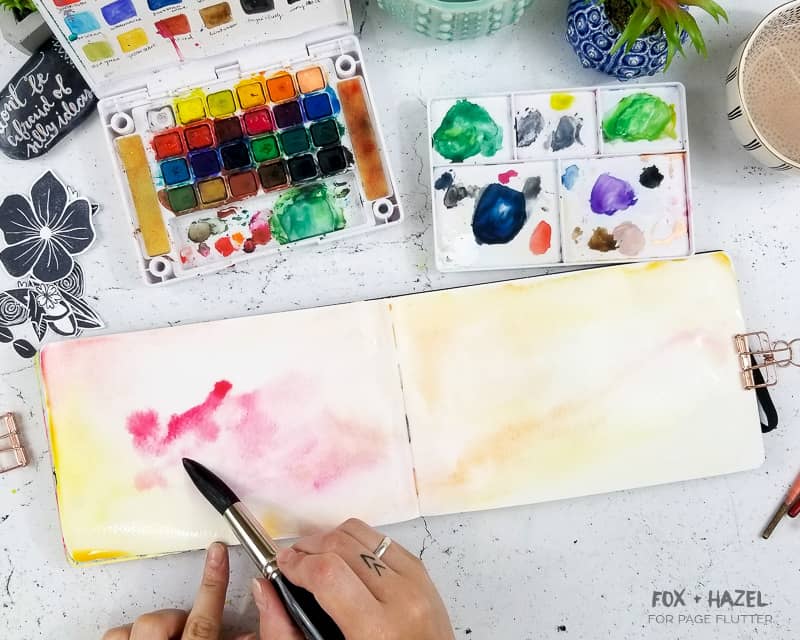
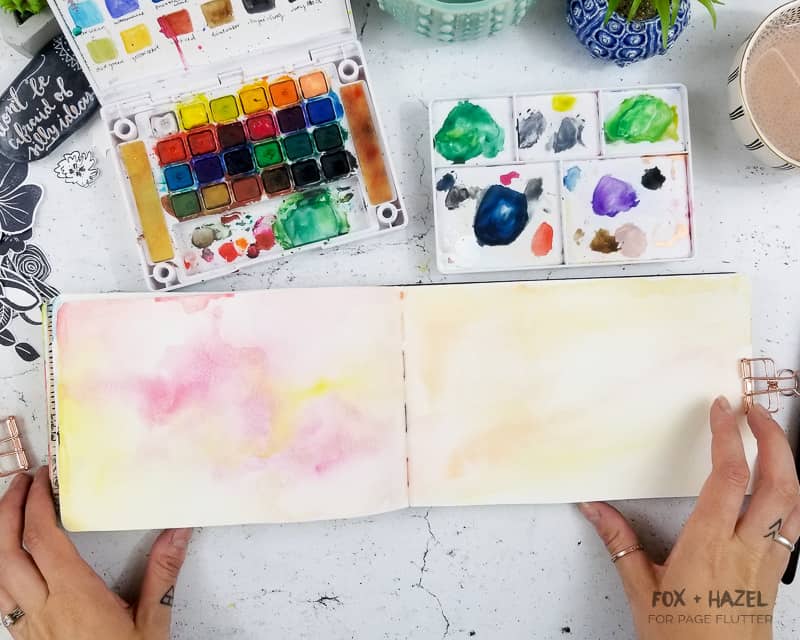
When the paint is as you like it, you can let it air dry. Or use a heat tool like me because I hate waiting for paint to dry!
Step Four:
After your watercolor background has dried, you can go in with some stamping! I used both a date stamp and a graphic texture stamp to create some texture in the background.
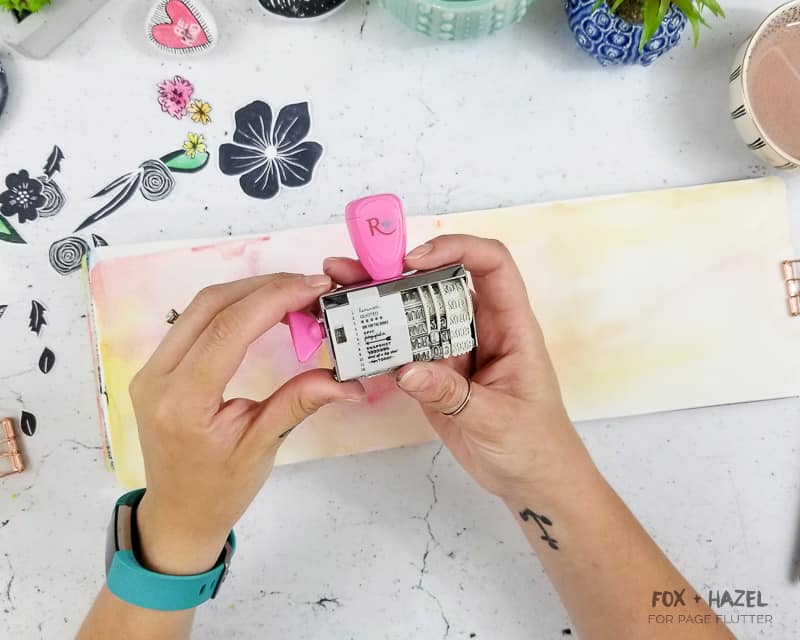
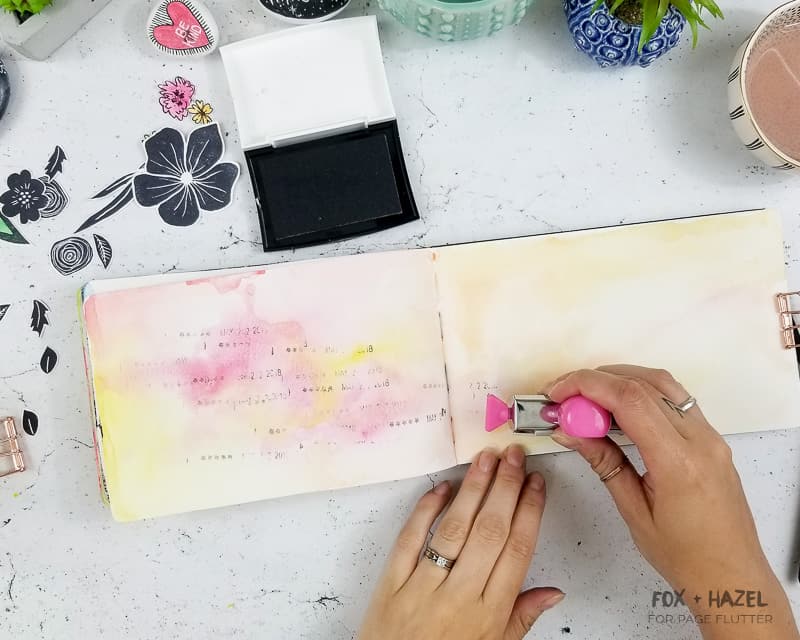
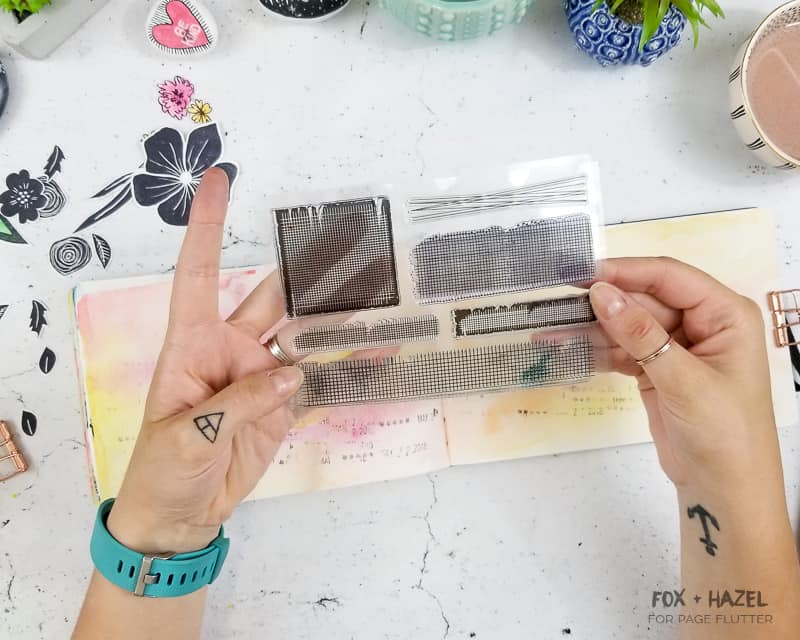
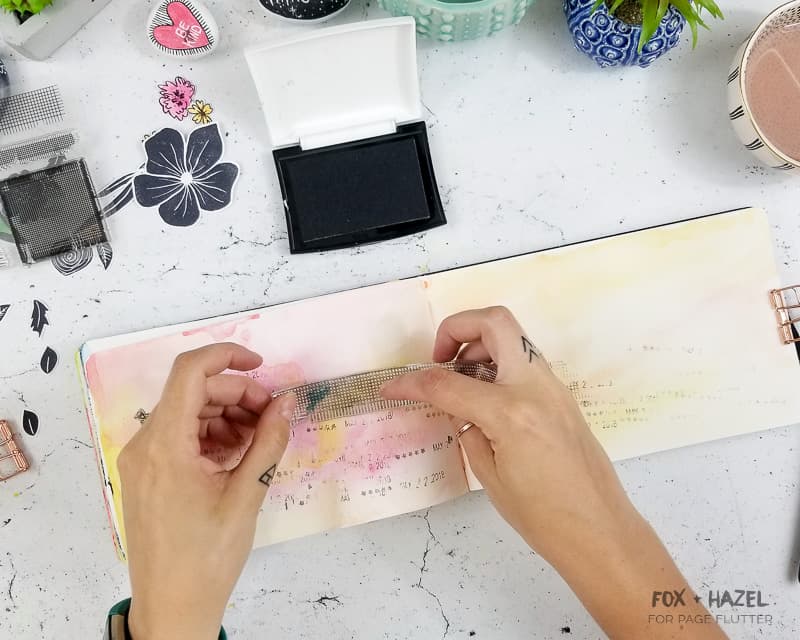
Instead of using black ink, these are stamped with grey ink so that they blend into the background more. I also focused more on one page and stamped across the pages to help draw the eye across the entire spread.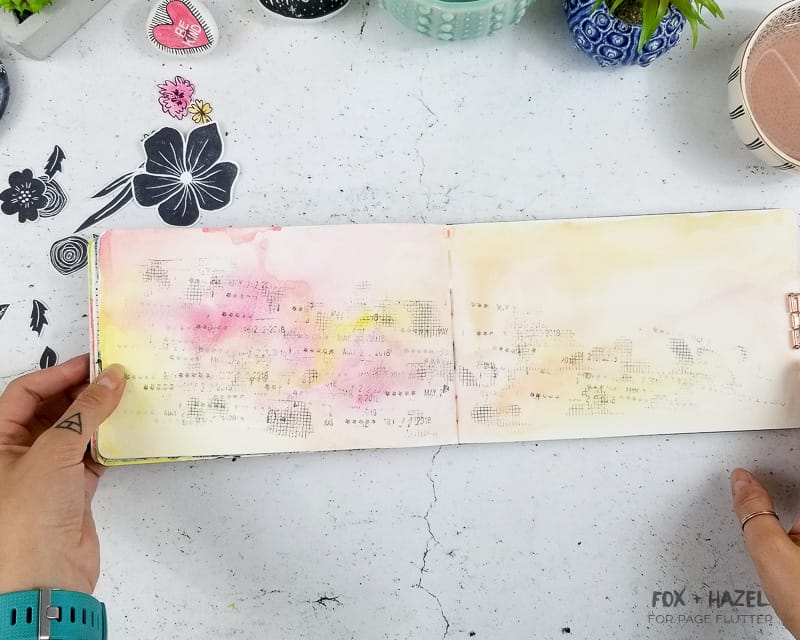
Step Five:
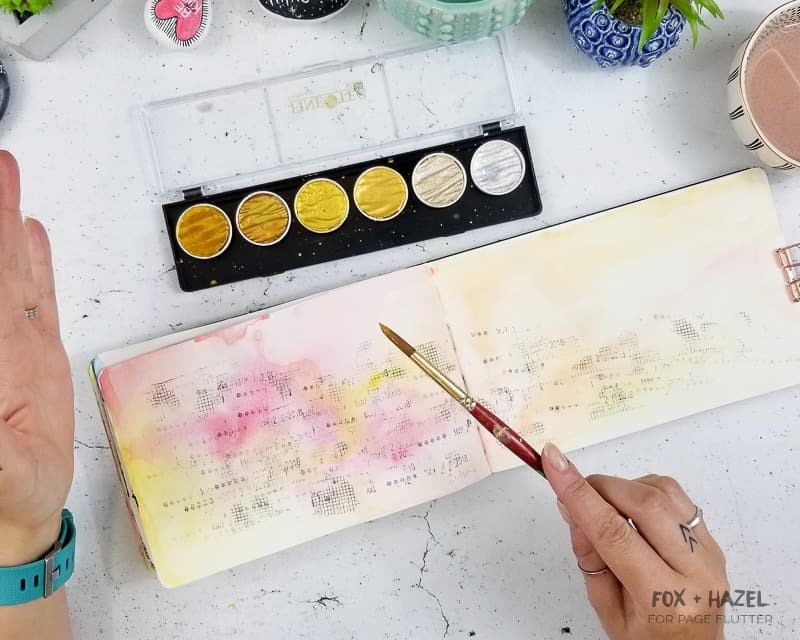
Using the Coliro Mica palette and a paint brush, I added some nice gold paint splatters to the page! I used the darkest gold here.
Step Six:
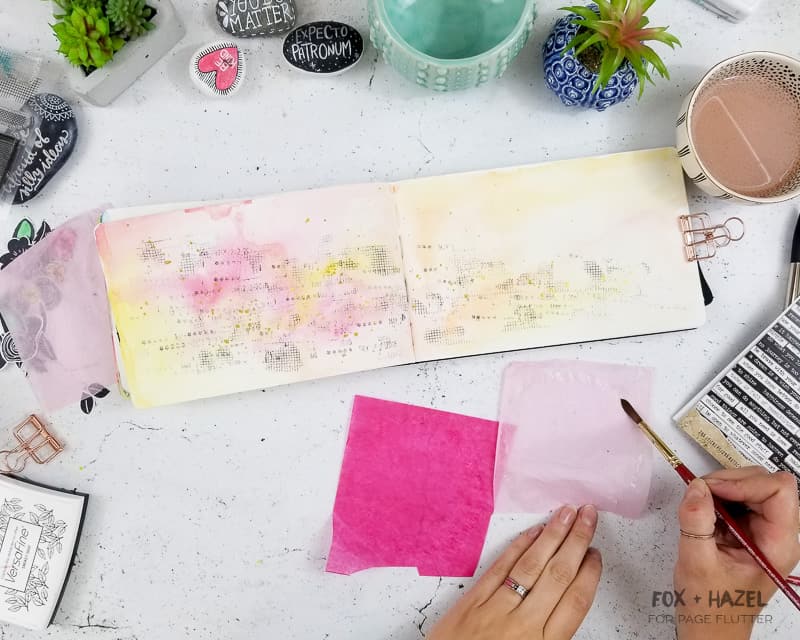
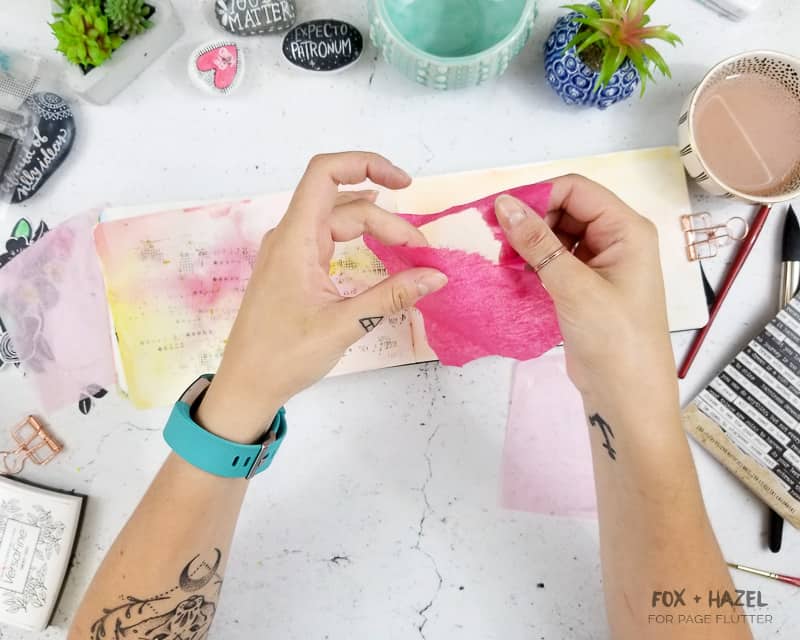
Next, it’s time to add some tissue paper! This is a fun and easy way to anchor the cut out images and create more of a focal point.
*Tip: To create a more organic shape to the tissue paper shapes, don’t use scissors to cut them out! Instead, use a paintbrush and water to paint the shape you want, then tear along where the paper is wet. This helps the tissue paper and also creates a softer, more organic edge to the tissue paper.
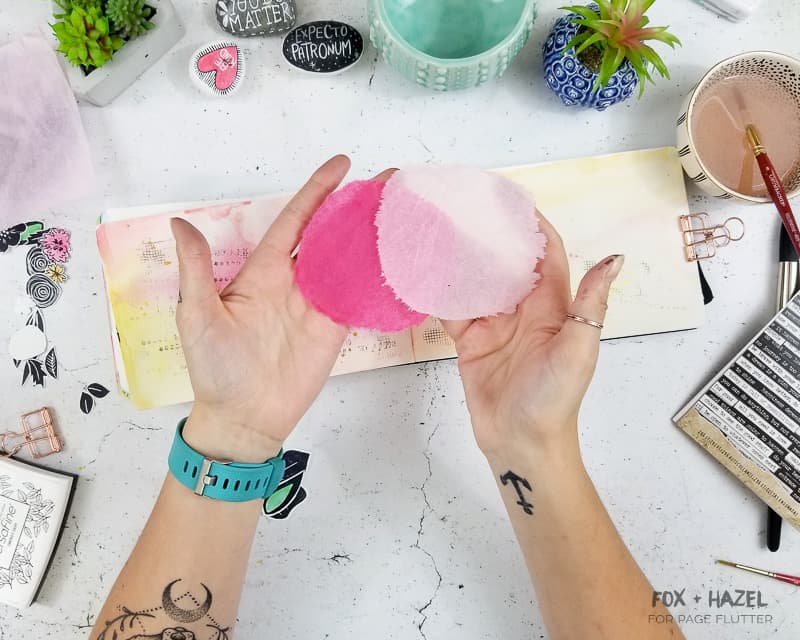
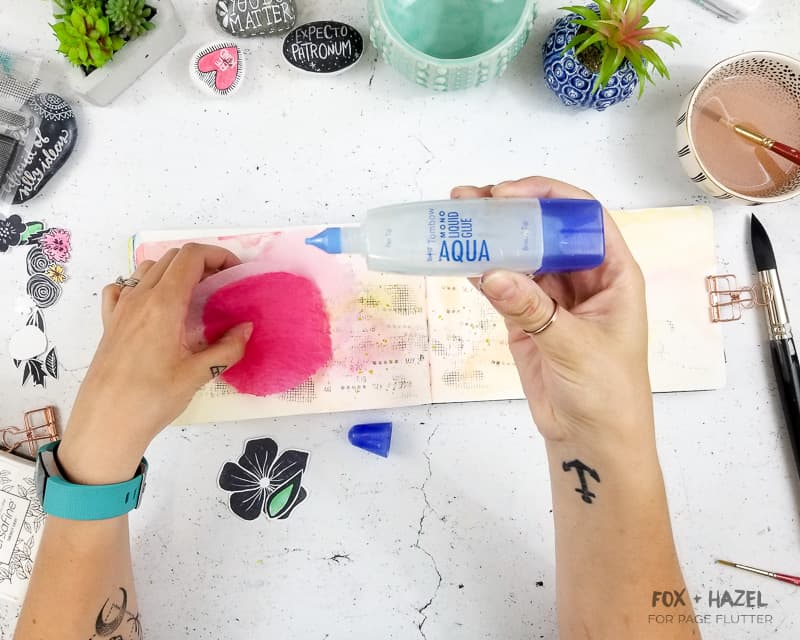
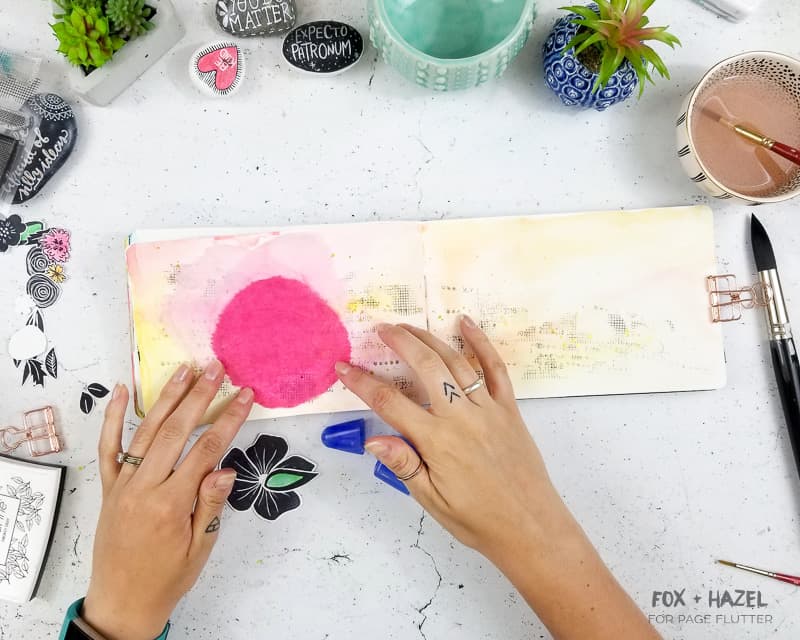
Once you have the shapes “cut” out, arrange them as you like on the one side of your spread and glue them down with a suitable paper glue.
Step Seven:
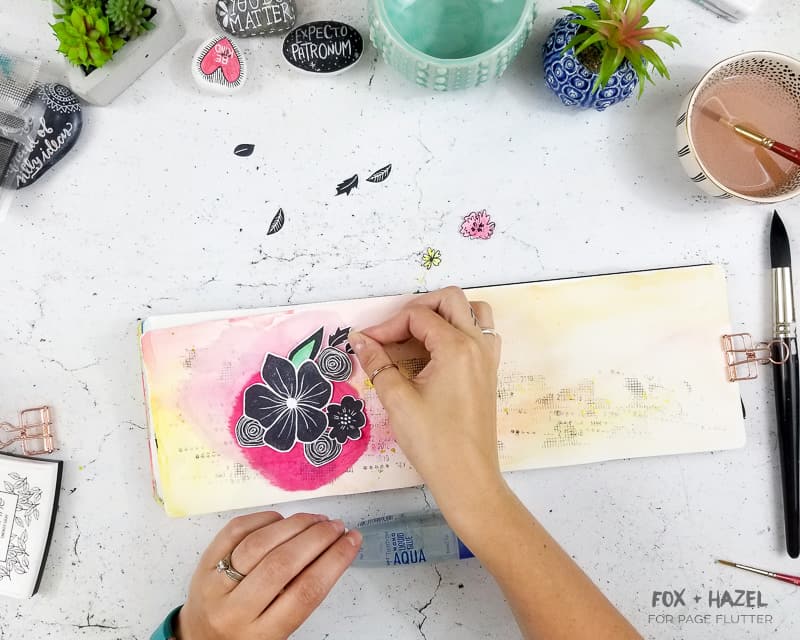
Remember all the cut out stamped flowers? Time to bring them back!
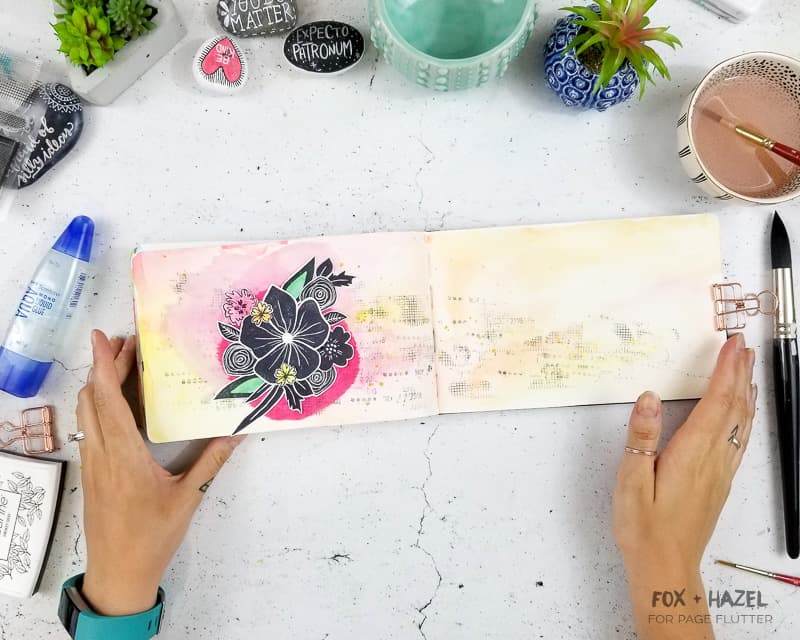
Arrange them on top of the tissue paper shapes in whatever arrangement you’d like and glue them down. I also deicded to paint a few of the stamped flowers with watercolor to add a bit more color to this watercolor art journal page.
Step Eight:
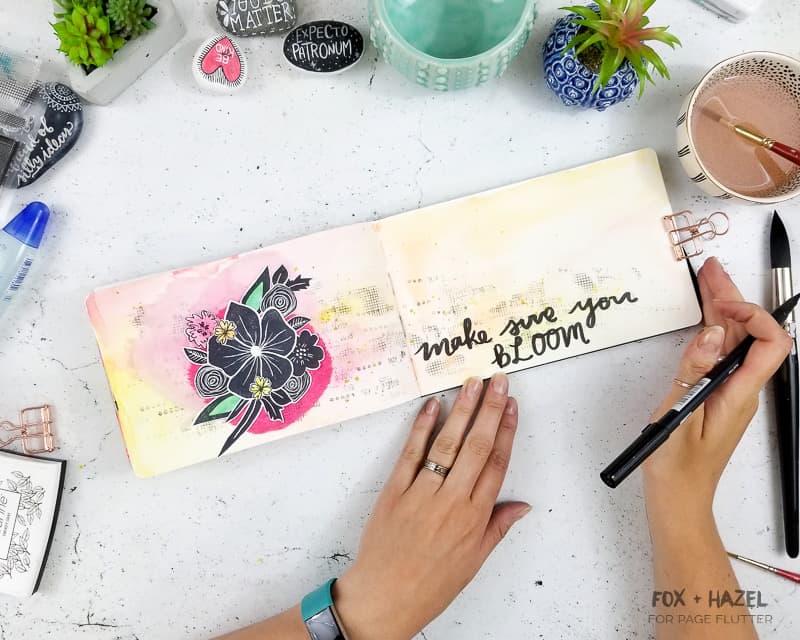
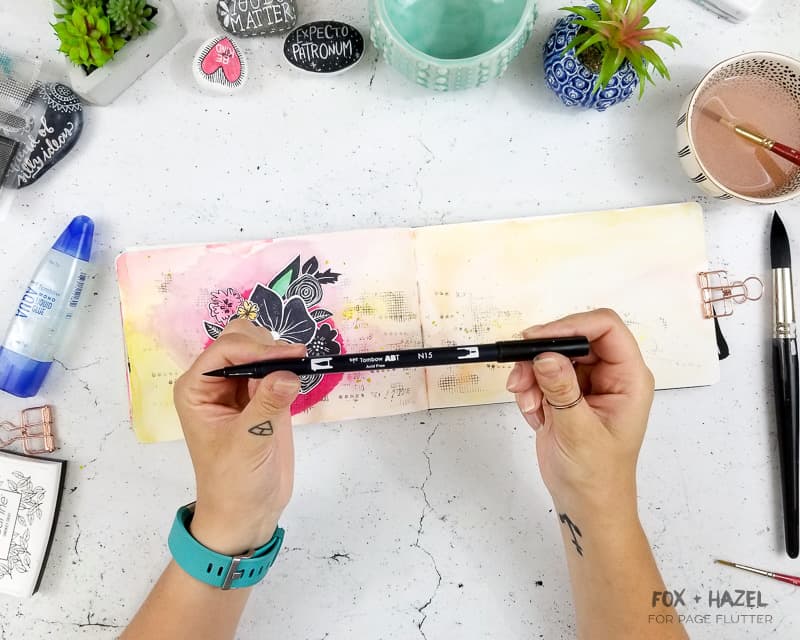
Lastly, you can add some writing using the Tombow Dual Brush Pen. I used the brush tip end to write down this sentiment on the opposite page in some not-professional hand lettering. I’m not a hand letterer by any means, so know that you don’t have to be a pro to give yourself permission to write fancy!
You’re done! This page is really easy at the end of it (even though I shared about a million photos. Ha!). If you want more art journaling tutorials, be sure to check out How To Make An Art Journal Stencil with Silhouette and How To Create Textured Backgrounds In Your Art Journal.
Your turn to share! What are your favorite ways to express your artistic side on paper? Do you keep a pure art journal or one that blends planning and creativity? Drop me a comment below!
Pin the image below so you can find this tutorial later!
SaveSave
SaveSave
SaveSaveSaveSave
SaveSave

