Art Journaling with Vintage Book Pages
Hey, friend! Torrie here from Fox + Hazel. One of my very favourite collage materials to use in art journaling is vintage book pages! They add a wonderful vintage and nostalgic feel to any spread. I also like the extra texture they provide instead of plain paper. If you’re new to art journaling with vintage book pages, then this tutorial is a perfect first step. If you want more art journaling tutorials, be sure to check out this spring art journal page, and this art journaling technique to create textured backgrounds.
Now, onwards to this fun art journaling tutorial!
Supplies Used in this Art Journal Spread:
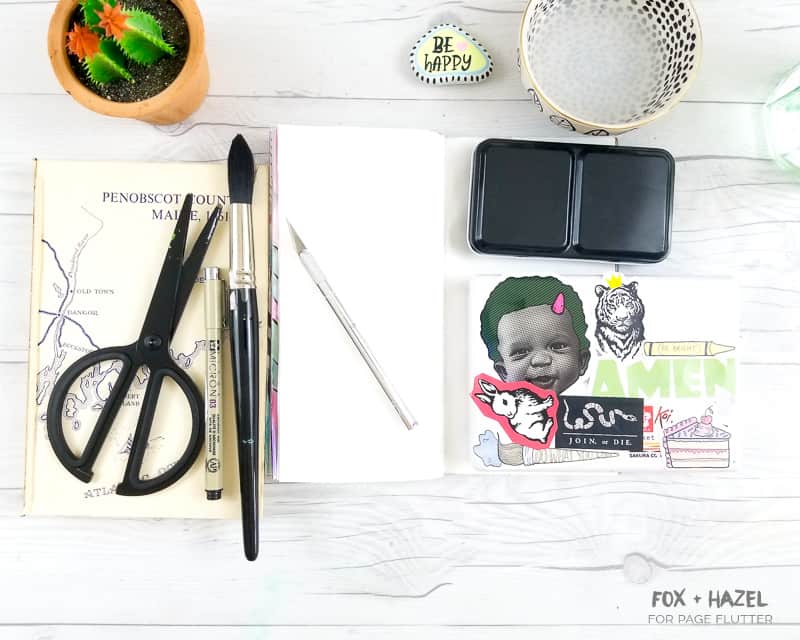
- Traveler’s Notebook Insert – Thick Sketch
- Sakura Koi Field Sketch Watercolors
- Winsor & Newton Cotman Watercolor in Indigo
- Round 24 watercolor paintbrush
- X-Acto Hobby Blade
- Vintage book (found at local thrift store for a whole $3!)
- Tombow Mono Aqua Glue
- Tombow Mono Twin Tip Permanent Marker (I have a Micron here, but swapped for the Tombow!)
- Scissors
- Heat tool
Step One:
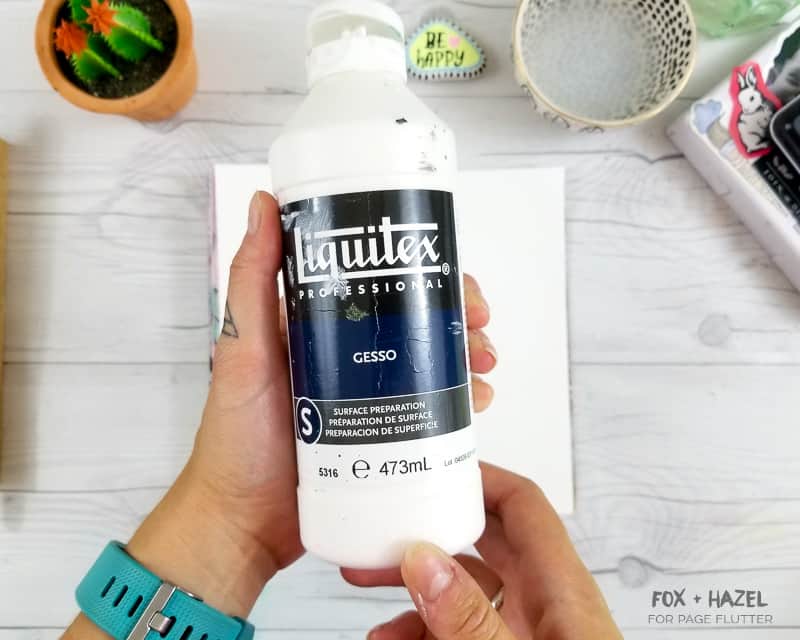
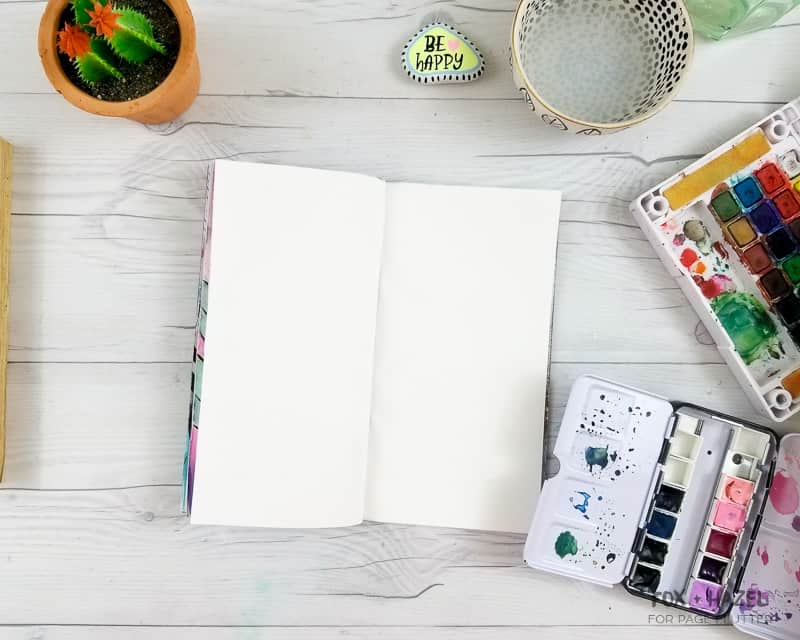
If you are using a journal or sketchbook with thinner paper, then I recommend putting a coat of gesso on first. This helps seal your paper so that the watercolors won’t leak (same technique as the Bullet Journal hack here!) One thin coat will do the trick. Let it dry completely before moving onto the watercolors!
If you’re new to watercolor, check out this Easy Abstract Watercolor Painting For Beginners, or hop over to Dawn Nicole Designs for my Watercolor Flowers Step by Step Tutorial.
Step Two:
 Â
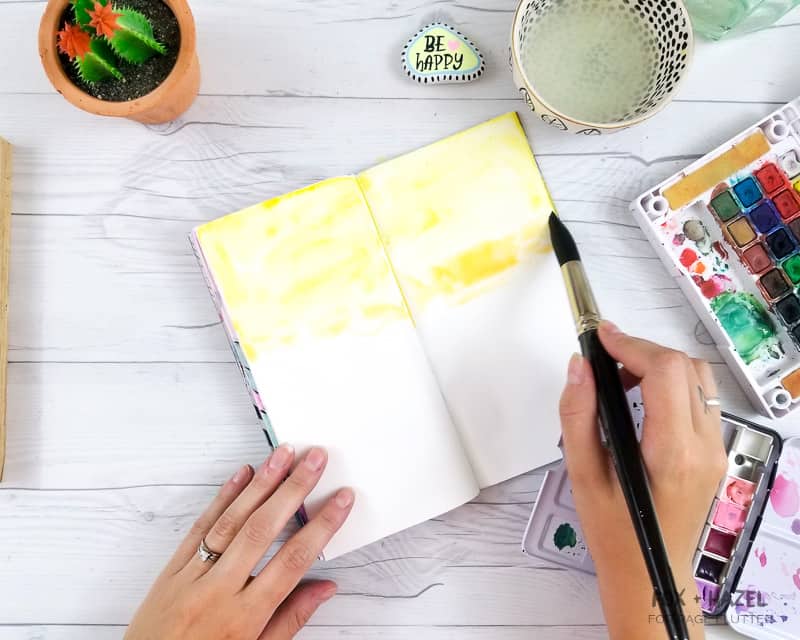
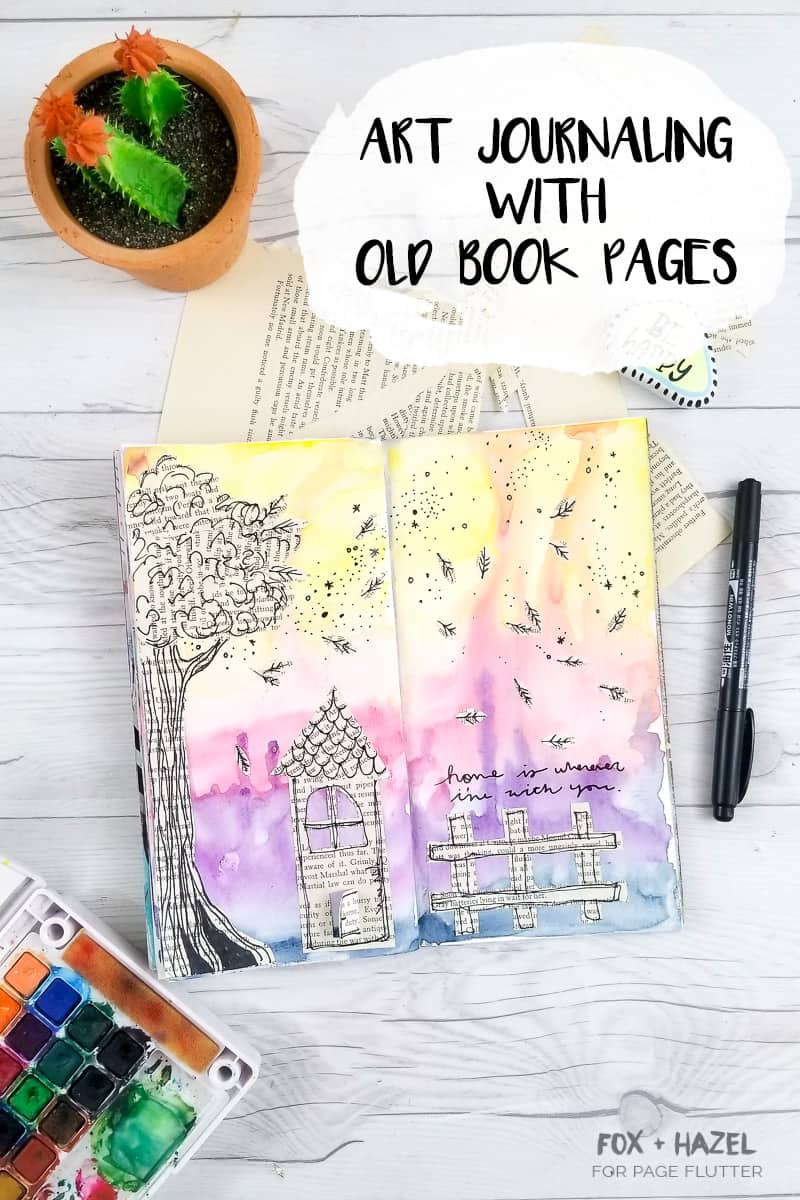
 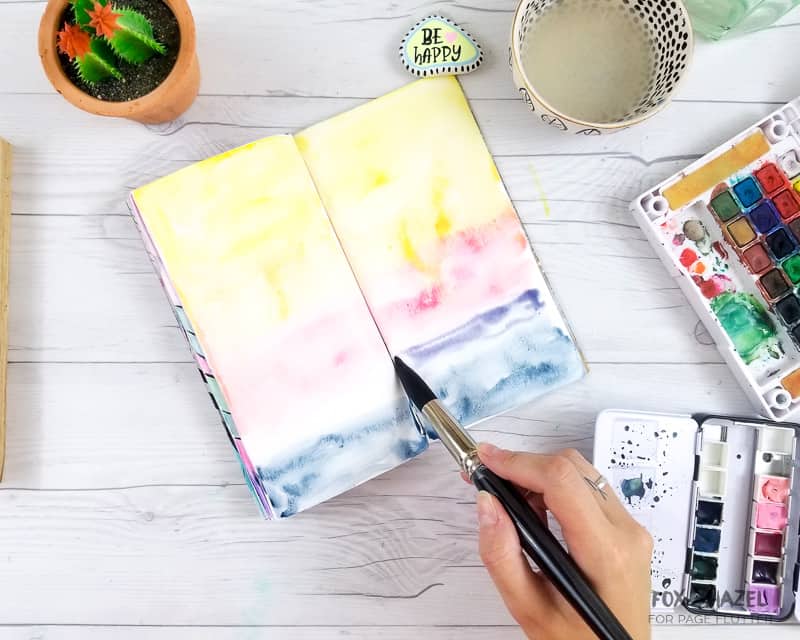 Starting at the top of the page begin painting yellow across the top. You want to create a sort of “sunset” effect here. Start with the lightest color at the stop and while the paint is still wet, add the next color and let them bleed together. I just worked my way down the page with each color.
 Â
 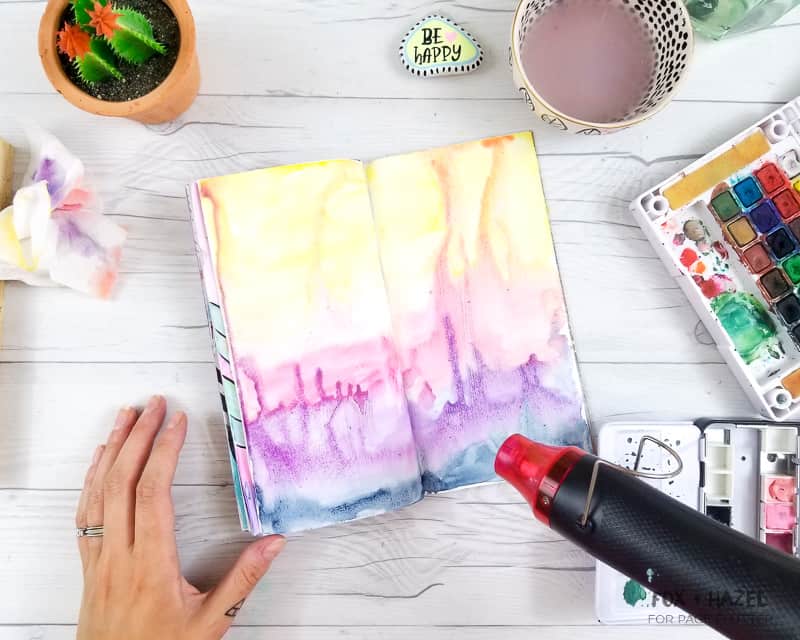
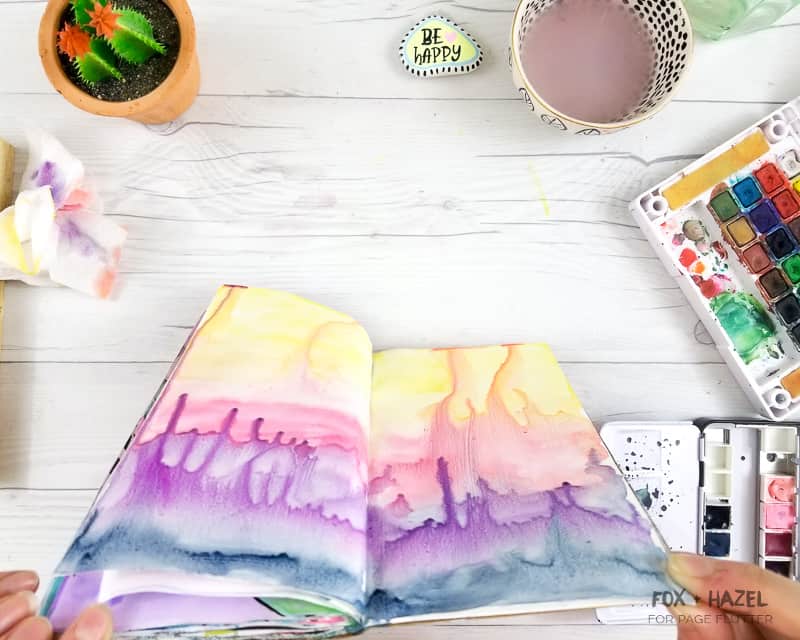
Once you have enough paint and it’s still wet, tip your art journal up to let the paint run. Then you can let it dry or dry it with a heat tool like I did. You can do this watercolor technique with any color combination you like too – just make sure you put the lightest colors at the top and the darker at the bottom.
Step Three:
 Â
  Â
  Â
 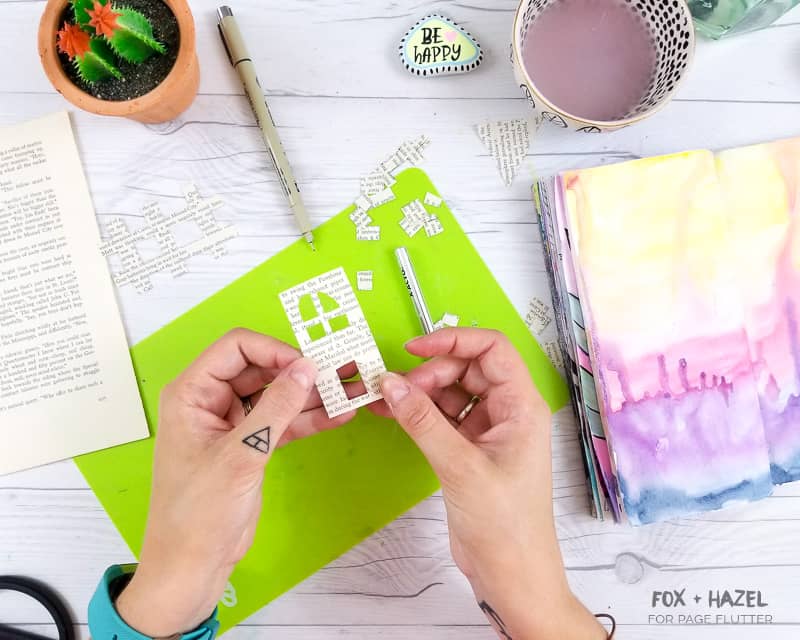
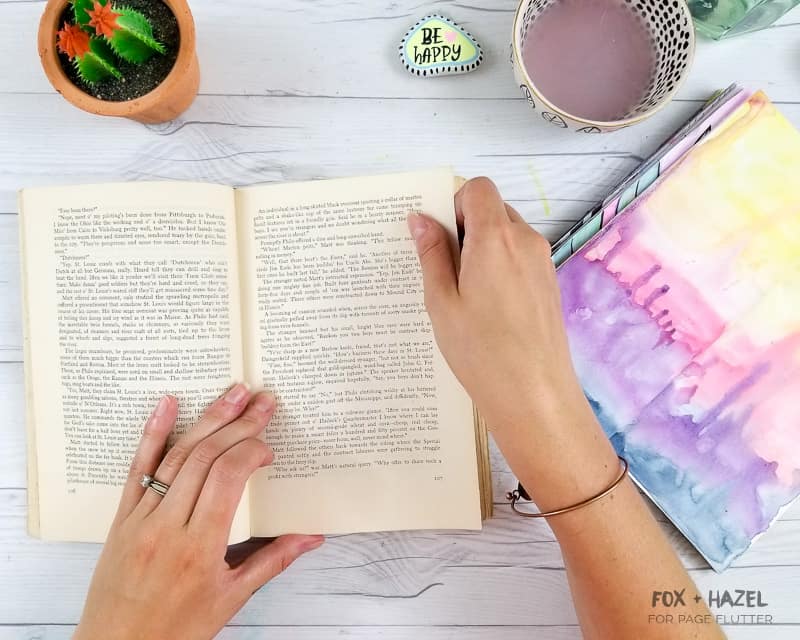
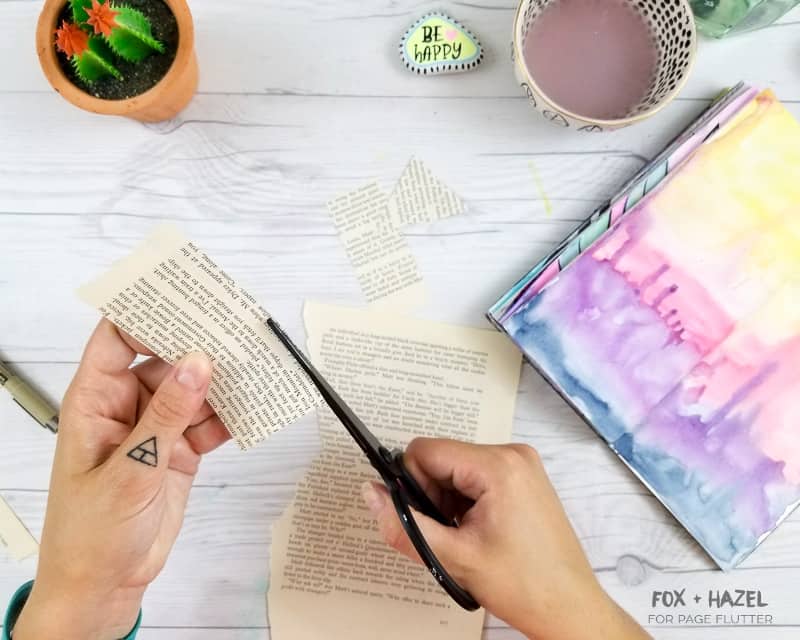
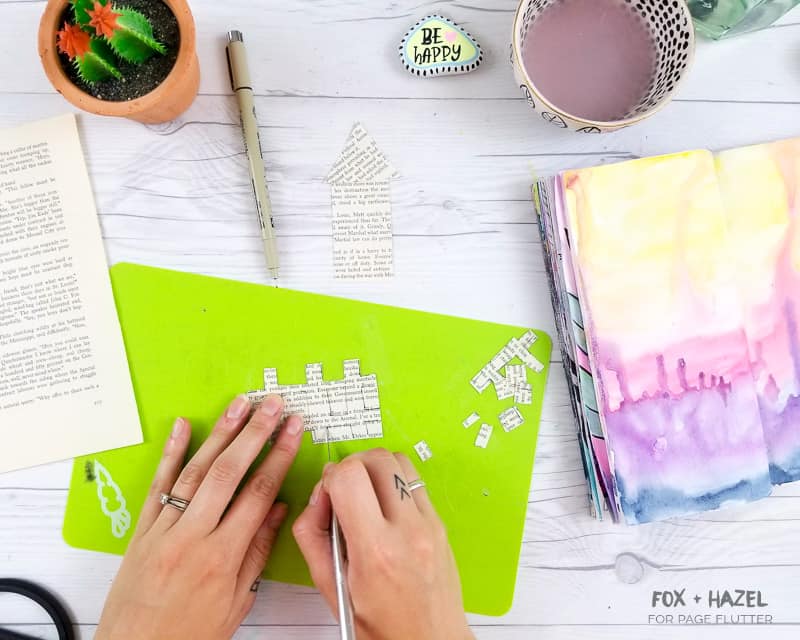
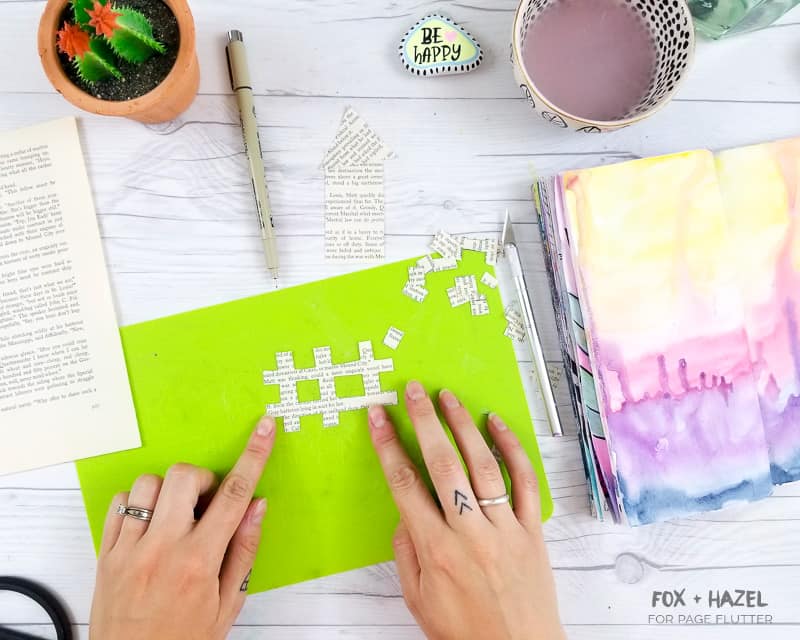
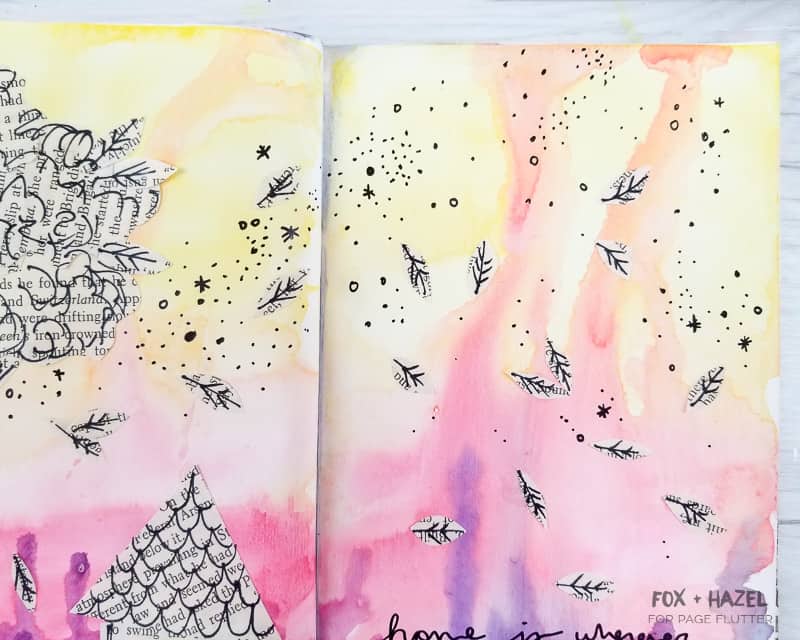
Now comes the vintage book pages! This is a book I picked up at a thrift store for a couple dollars. Rip some pages out (the horror! I know!) and start cutting out shapes. I’m using a craft blade and scissors to cut windows and shapes in all my paper. I also cut out a tree shape and some leaves, as well.
Step Four:
 Â
  Â
 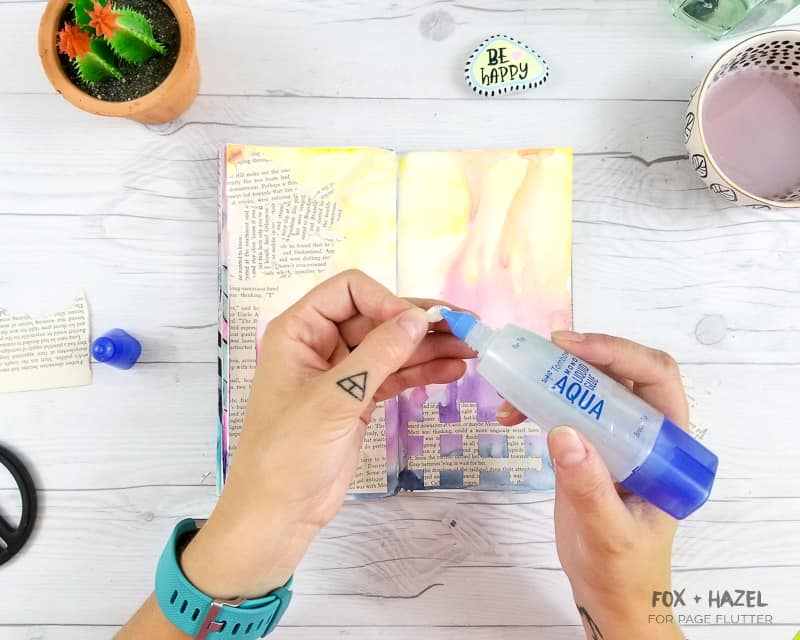
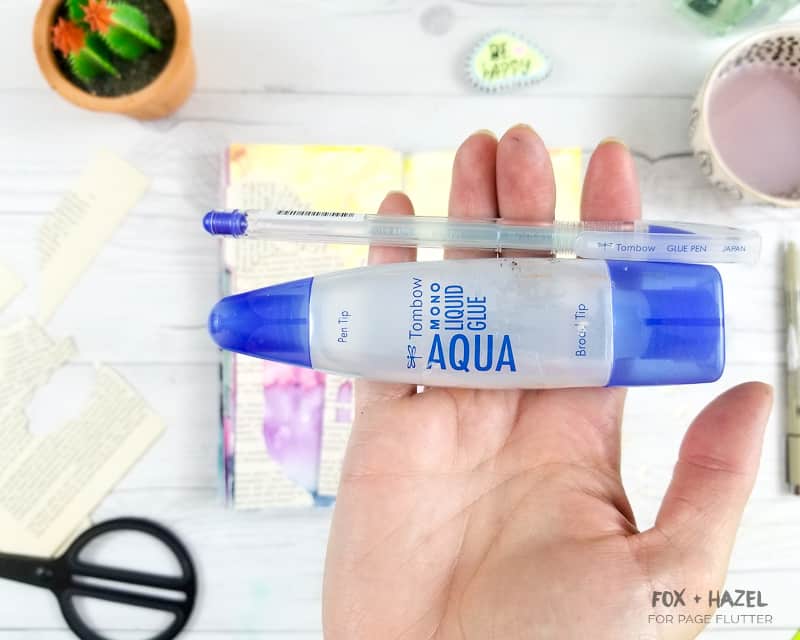
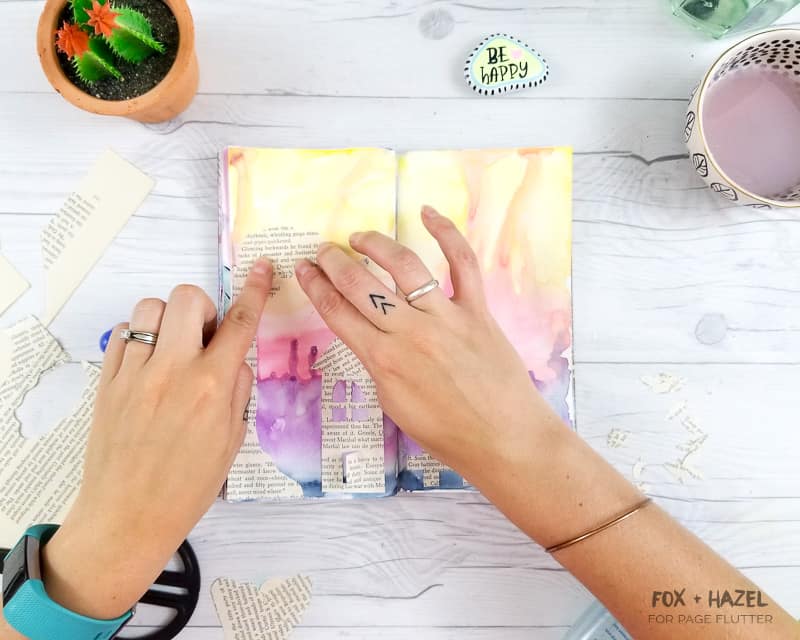
Once you have all your shapes cut down and arranged how you like, glue them all down! I love this Tombow Mono Aqua Liquid Glue because it has a really precise tip!
Step Five:
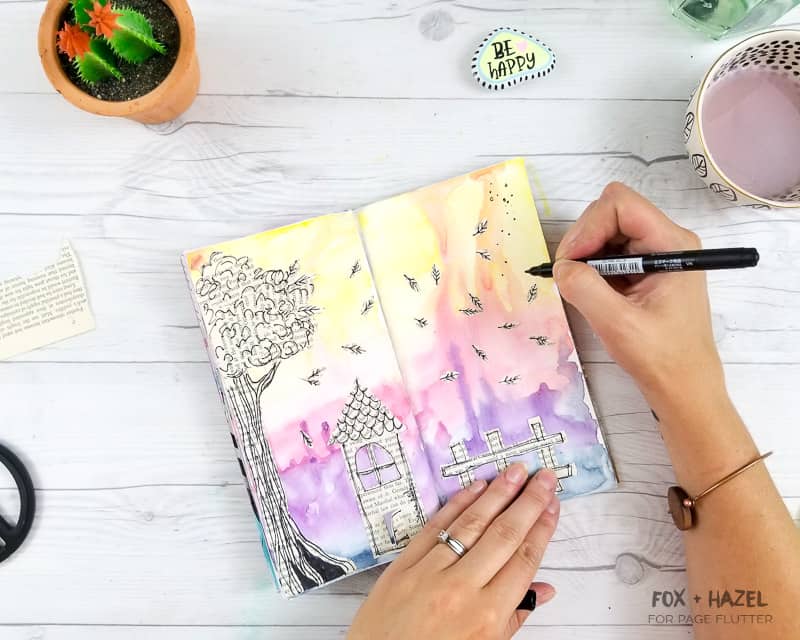 Â
 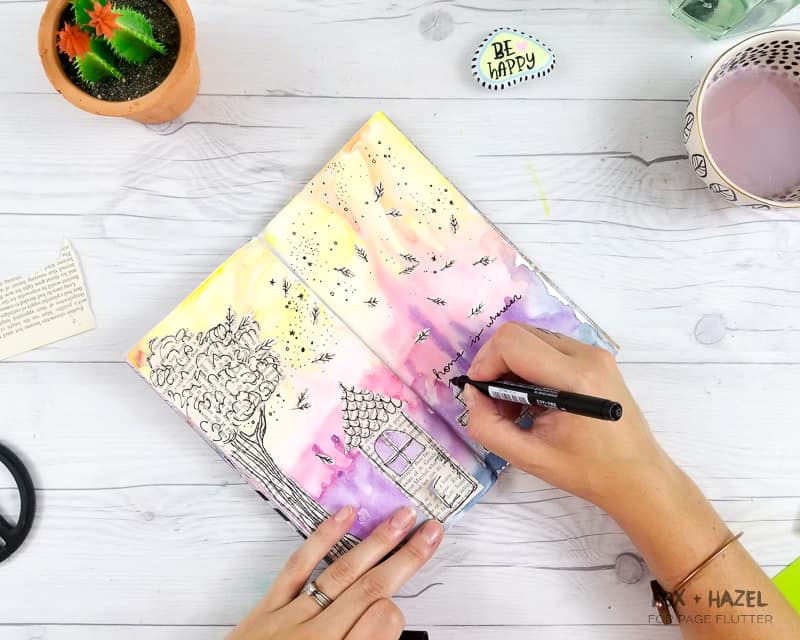
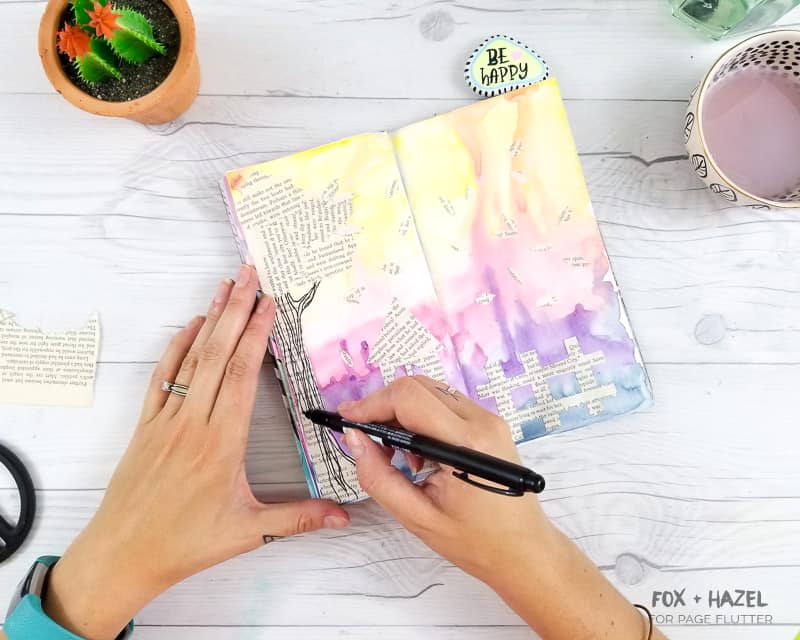
Lastly, grab your favourite black pen and add some details to the book page shapes. I love adding black details to all my journal pages because the black provides really great contrast. And that’s it!
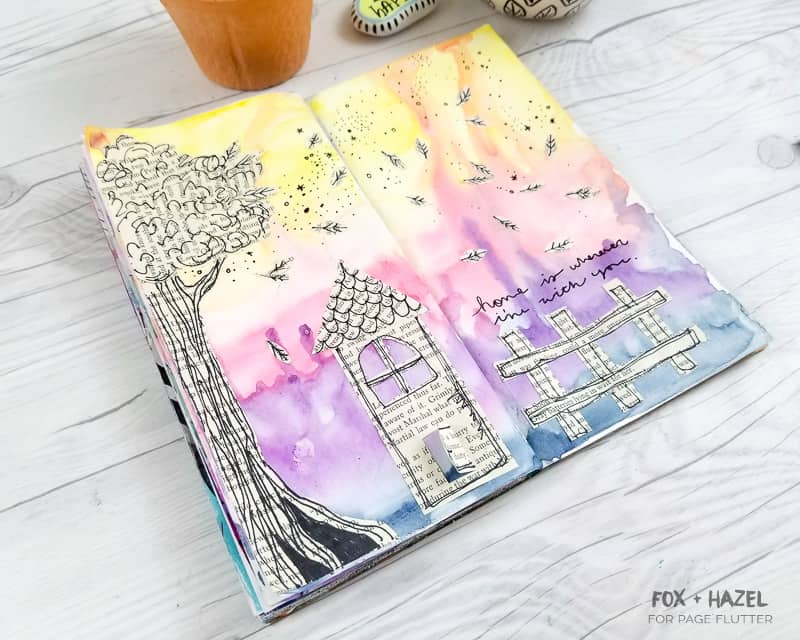 Â
 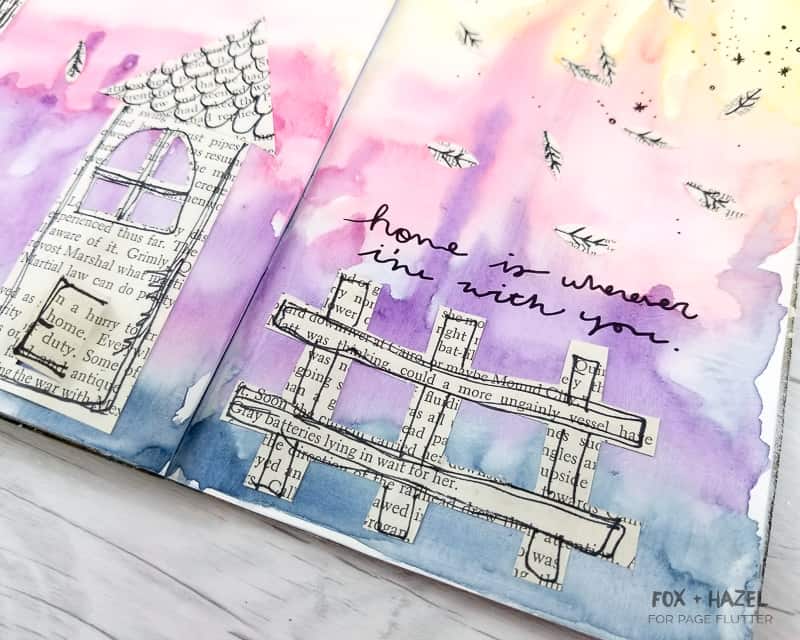 Â
I hope you enjoyed this tutorial on art journaling with vintage book pages! It can be a great beginner technique, or expanded upon for those who want to try more. If you’re looking for more art journaling tutorials, be sure to check out my post on Using Gesso For Negative Space, and my epic comparison of art journals!




Thank you for this demonstration it looks fun. Wonder if with some determination and creativity if someone could tie the 6 word.challenge in to the picture.
You’re very welcome! I’ve seen a few participants pair the story with a picture. It adds another layer of dimension to the story that might not have been there without a picture. Other participants want their words to stand alone. Either way, it’s a fun challenge that stretches the imagination. Enjoy!