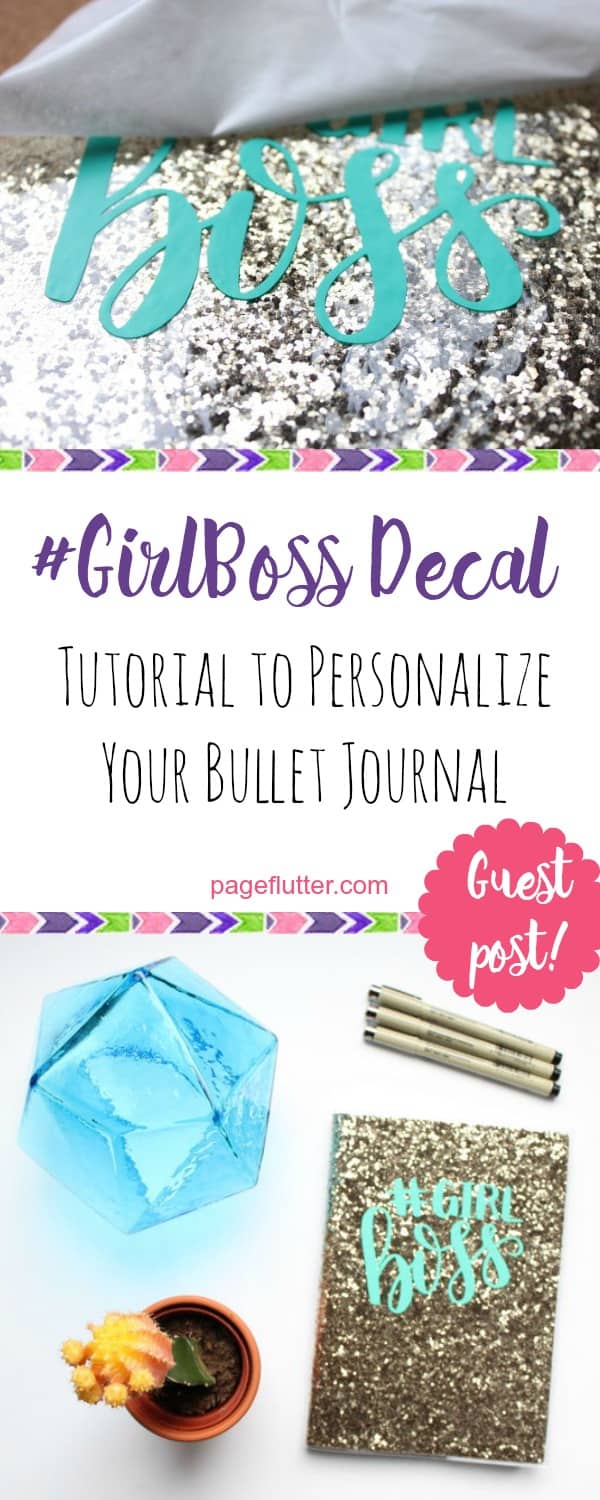
Let’s get creative with journal covers today! I’ve asked my good friend, Alicia, from Sew What Alicia to share a cute and easy way to personalize a new journal for the New Year.
|How to Customize your Journal Cover with Vinyl (& Rock Your #GirlBoss)|
The graphic used in this tutorial is from the Silhouette design bundle made by Kimber & Dawn Co. (a.k.a. Dawn Nicole Designs and The Pinning Mama). I love personalizing my things. When I need help sparking my DIY spirit, I turn to my creative pals… And with that, I’ll turn the show over to you, Alicia!
Thanks, Megan! I’m so happy to be on Page Flutter again with a fun project. It is just about time to start planning your journal for the new year, if you haven’t already. I admit I am not great at journaling but I do LOVE the pretty bits. I wanted to share this fun project with you. It is quick and easy but it can add SO much impact! Here is how to customize your journal cover with vinyl.
Supplies:
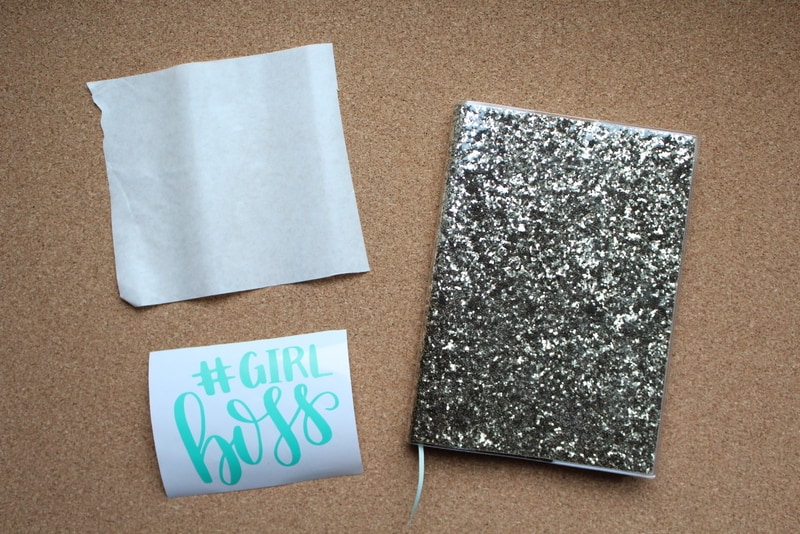
Silhouette Cutting Machine (<— That bundle comes with some vinyl!!)
Your Journal (I used my pretty glitter journal, but you can also add a personal touch on your Official Bullet Journal.)
Cut File (You can get the one I am using individually or in the incredible Black Friday bundle)
Quick side note, this cut file is part of a massive cut file bundle that you can get from Kimber & Dawn Co. on Black Friday. This is a commercial use bundle so you can make as many of these notebooks as you want and sell them. So yeah, you should totally get it!
Instructions:
You aren’t even going to believe how easy this is.
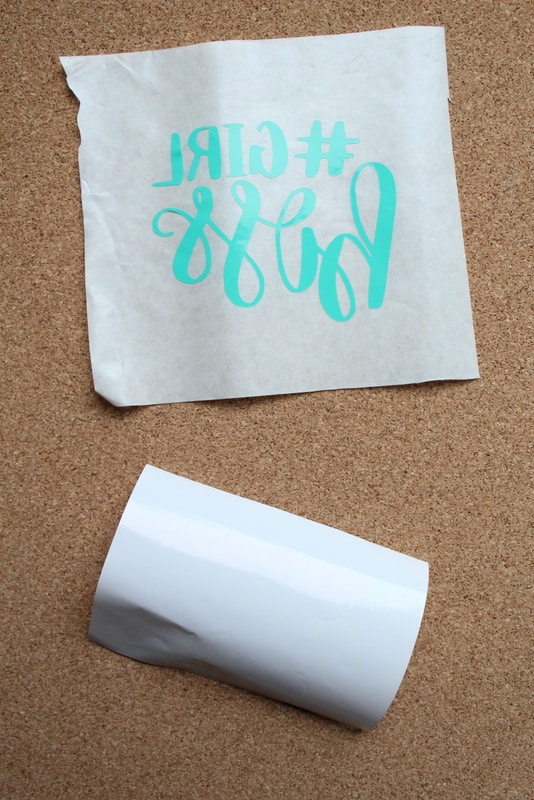
Measure your journal cover and size the cut file to fit the front. If you are using the vinyl I linked above you don’t need to mirror the image. If you are cutting with the wrong side up then you would need to mirror the image. Cut the image using your Silhouette machine (If you don’t have a Silhouette machine, this same technique will work with a pre-made vinyl decal). Cut a piece of transfer paper that is an inch or so wider than the image.
Use a credit card and rub the transfer paper onto the vinyl. Then slowly peel the backing off the vinyl.
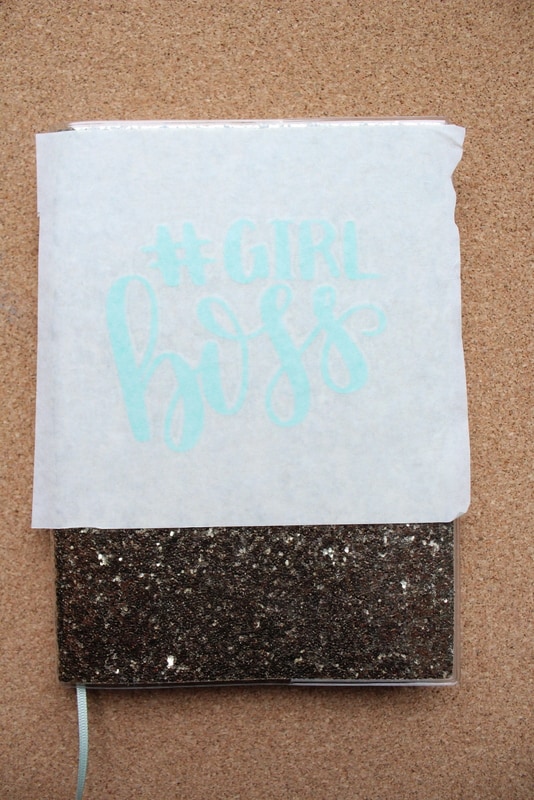
Line the wording up on the front of the journal. Use the credit card again to rub each letter and transfer it onto the journal. Make sure and do each letter thoroughly so that there are no air bubbles underneath.
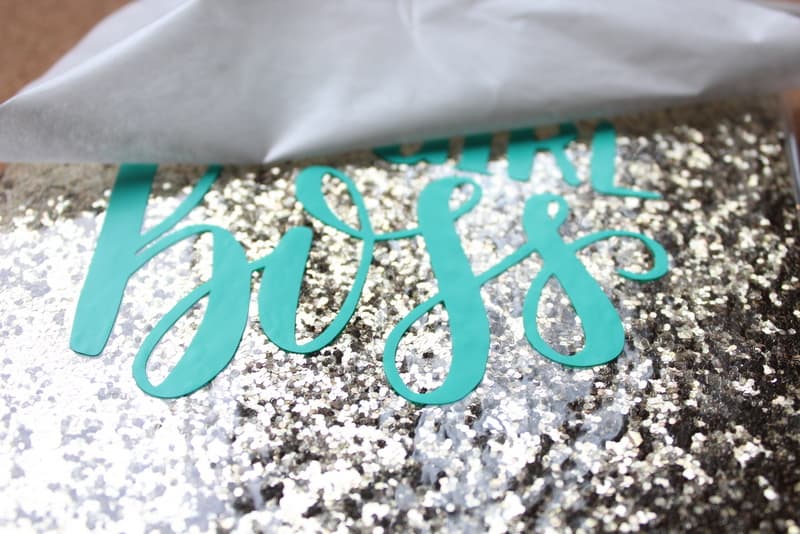
Slowly peel off the transfer paper. If there are any air bubbles you can carefully use your card again to gently rub the vinyl.
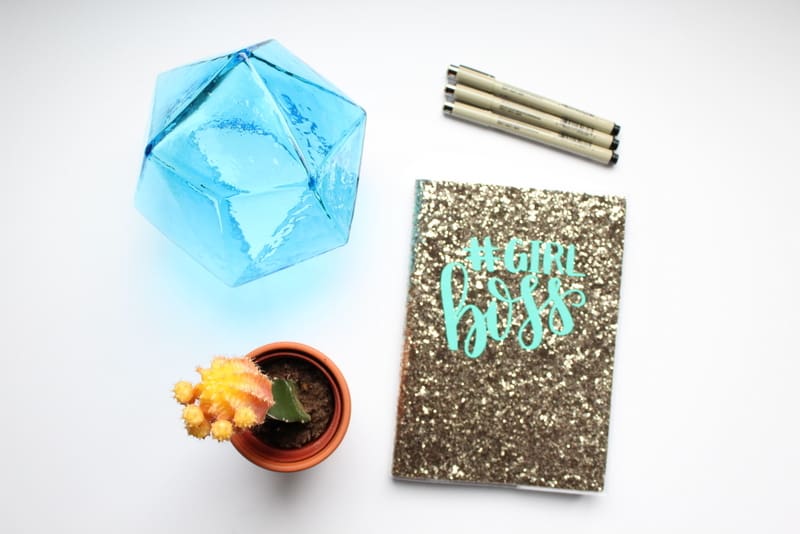
That is it! Now you have an awesome customized journal cover.
Thanks for letting me share this little trick with you. Don’t forget to stop by my blog, Sew What Alicia, to get your craft fix. Happy journaling!
Do you personalize your journal cover? Share your favorite method in the comments below!
Brainstorm with me!
Subscribe to my newsletter for Page Flutter updates, posts, and announcements.
Don’t worry, I only deliver the good stuff. No spam.
Facebook // Twitter// Instagram // Pinterest
More posts to make you smile

