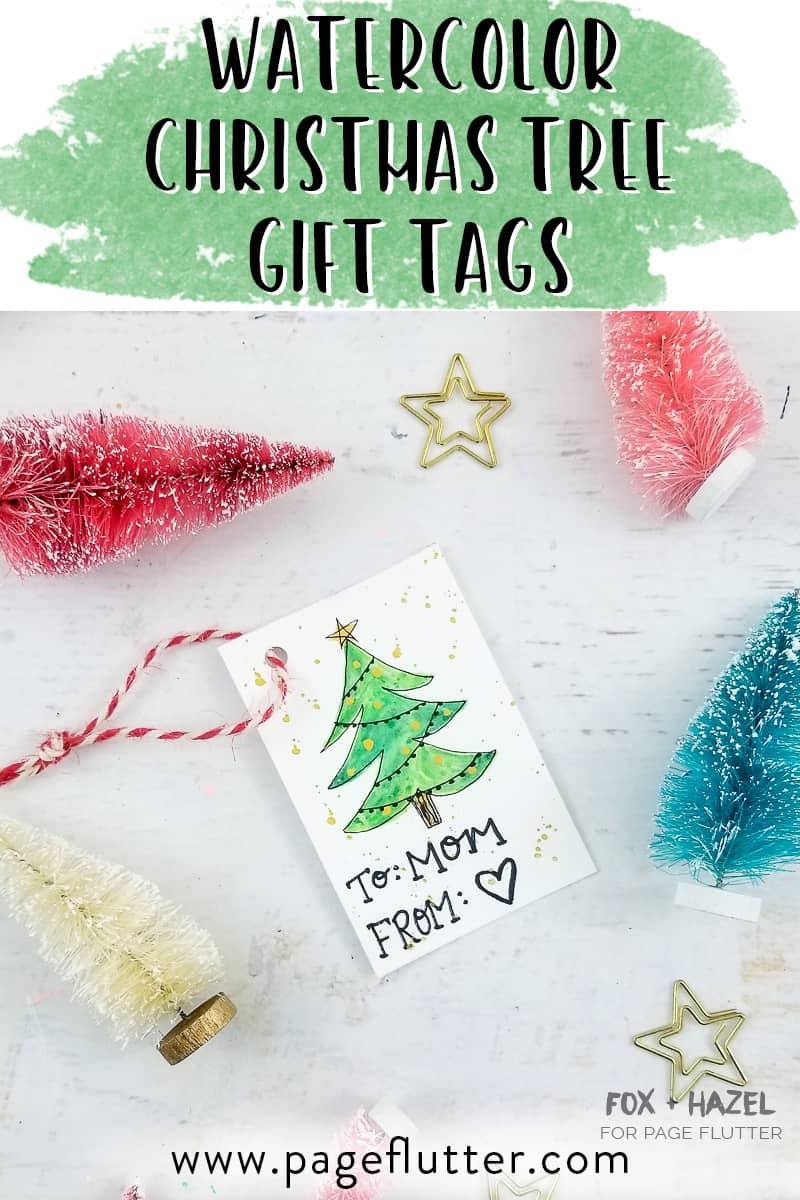
Want the perfect wrapping for that perfect holiday gift? Torrie from Fox + Hazel is showing us how to make beautiful Watercolor Christmas Tree Gift Tags. Plus, they’re super easy! Creating your own artistic touches adds that extra special touch to your holiday wrapping. Keep reading for the full tutorial!
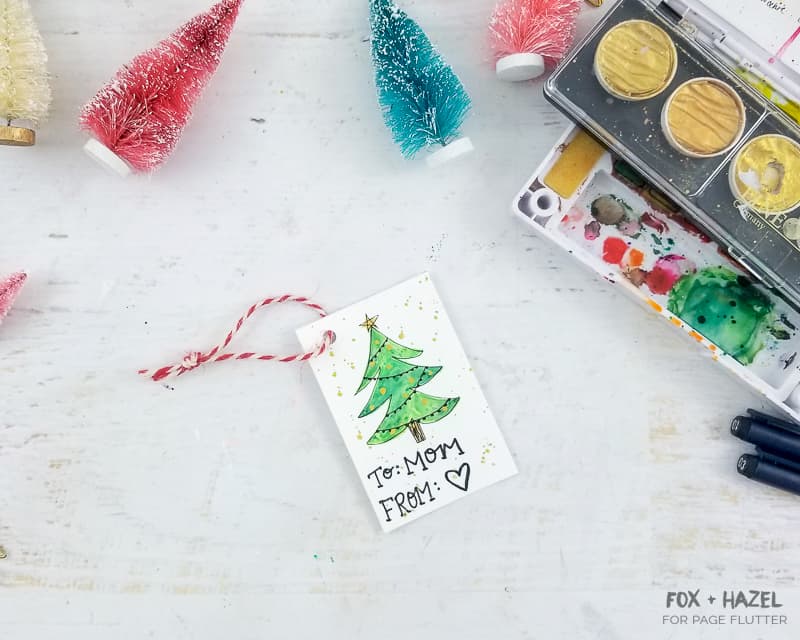
DIY Watercolor Christmas Tree Gift Tags
Hi there again. It’s been a couple of months, but it’s Torrie here again from Fox + Hazel! Last time I was sharing a tutorial with you it was the summer and now the Christmas holidays are just around the corner. I love making easy Christmas watercolor gift tags to personalize all my gifts for friends and family. These watercolor gift tags are so easy to make and don’t require you to be a master to create them. So let’s jump into it!
>>Still struggling to find the perfect gift for your art-loving friends? Check out my list of favorite Art Journaling Supplies and Bullet Journaling Supplies.
Supplies Needed for Watercolor Christmas Tree Gift Tags:
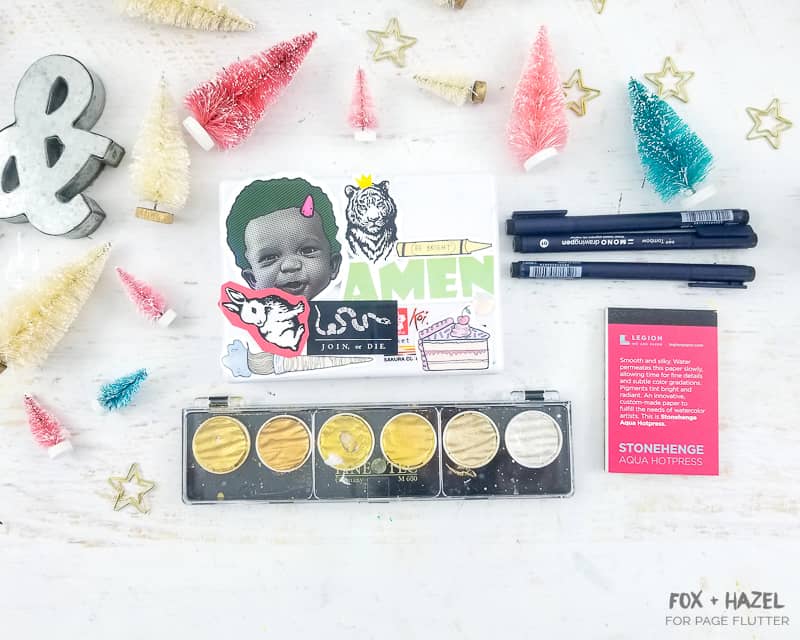
- Stonehenge Aqua Hot Press Watercolor Mini Paper Pad (this is from Legion’s Mini Paper Pad Sampler set and it’s adorable!)
- Sakura Koi Field Sketch Watercolor Palette
- Coliro Mica Metallic Watercolor Palette in Gold
- Tombow Mono Drawing Pens
- Tombow Mono Twin Tip Permanent Marker
- Watercolor Round 4 Paintbrush
Step One:
First, you will need one of those adorable tiny sheets of hot press watercolor paper. Using the lightest green in your watercolor palette, paint in a loose Christmas tree shape. I went with a classic swoopy 6 branch version. You will need to start with the lightest shade of green so that while the paint is still wet, you can add some darker shades of green.

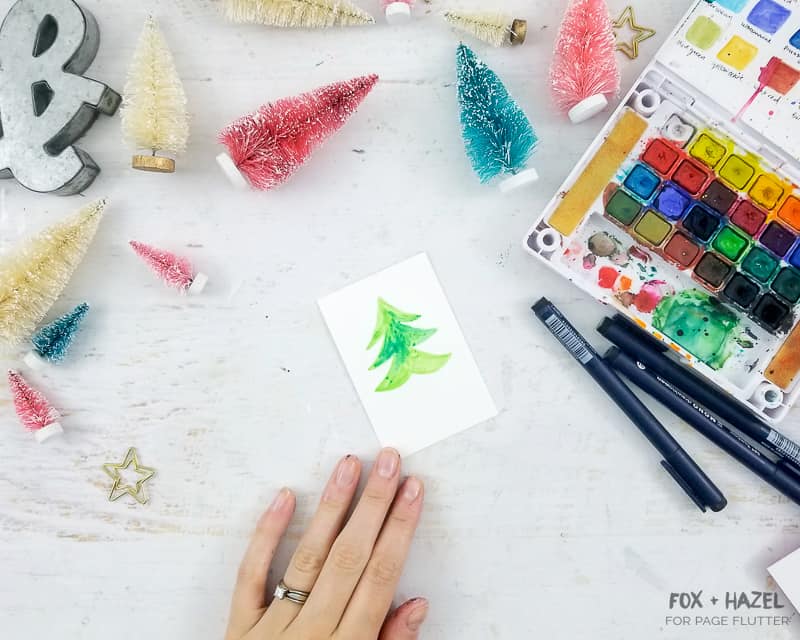 Tip: Be sure to paint your tree slightly above the center of the tag to leave room for addressing it to the recipient!

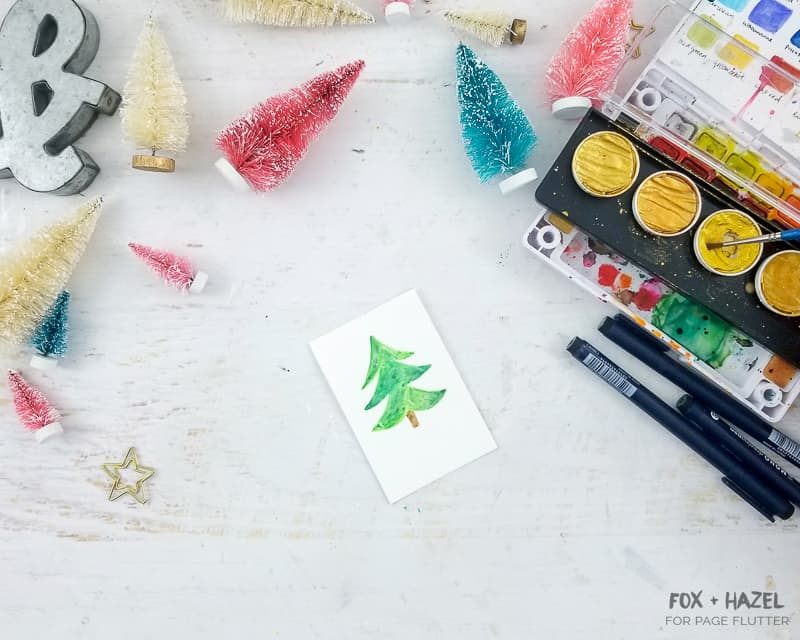
There’s really no wrong way to do this – just play around. Once you’re happy with your tree, allow it to try completely. Add in the cute little stump in brown. Bam! You’ve got a tree!
Step Two:
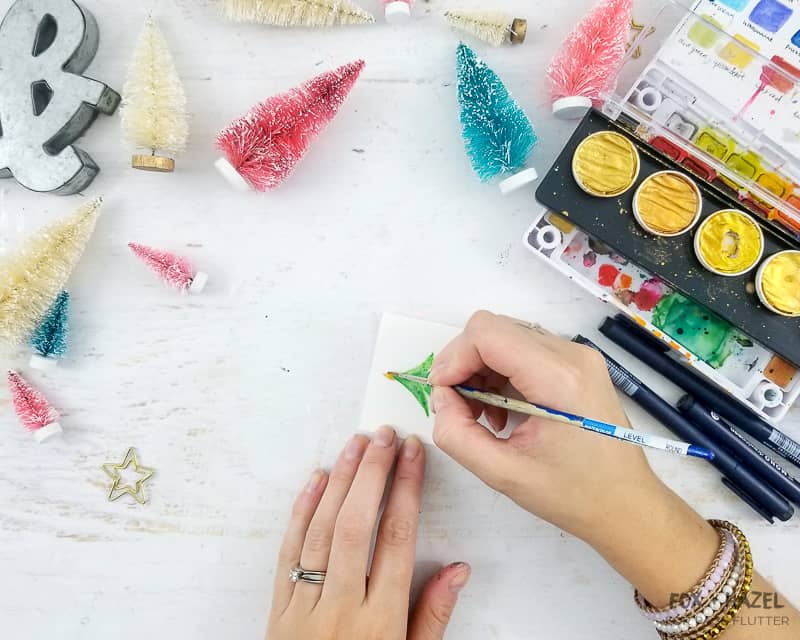
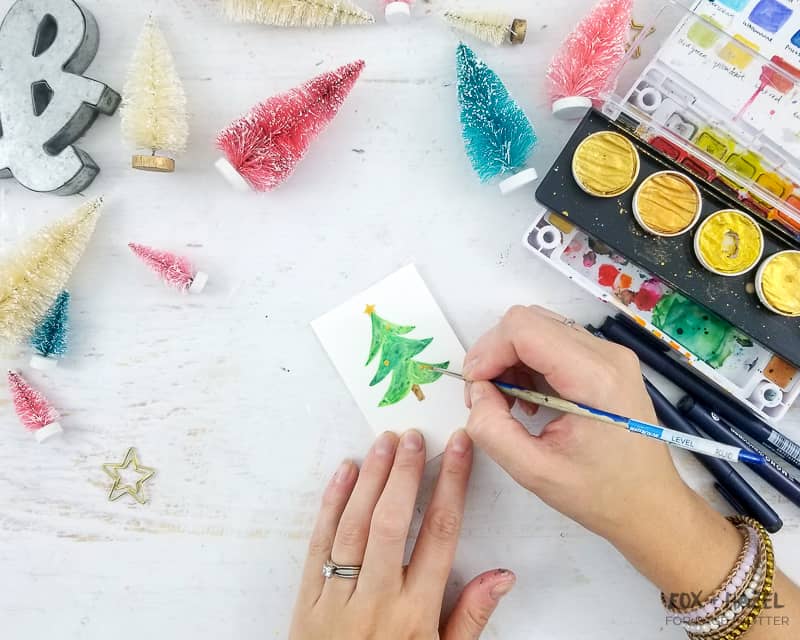
Next, you’ll be using a finer paintbrush (Round 2 or so) and the Coliro watercolor palette. Add a star to the top of your tree and some gold ornaments on your tree. Let these dry completely.
Step Three:
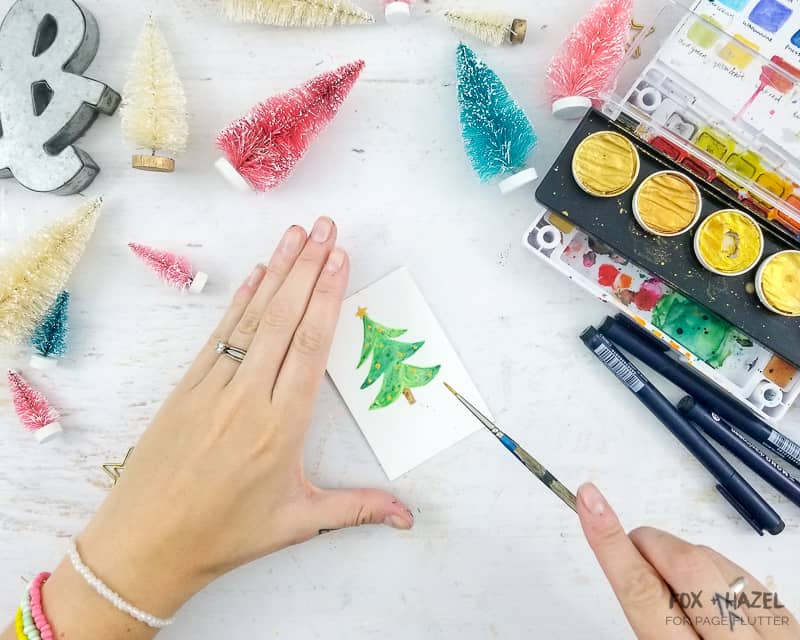
Now you can use that same brush and metallic watercolor palette to add some lovely paint splatters all over the tag. Tip: For subtle splatters, hold the paintbrush high above your paper. The closer you hold it, the more dramatic your splatters will be.
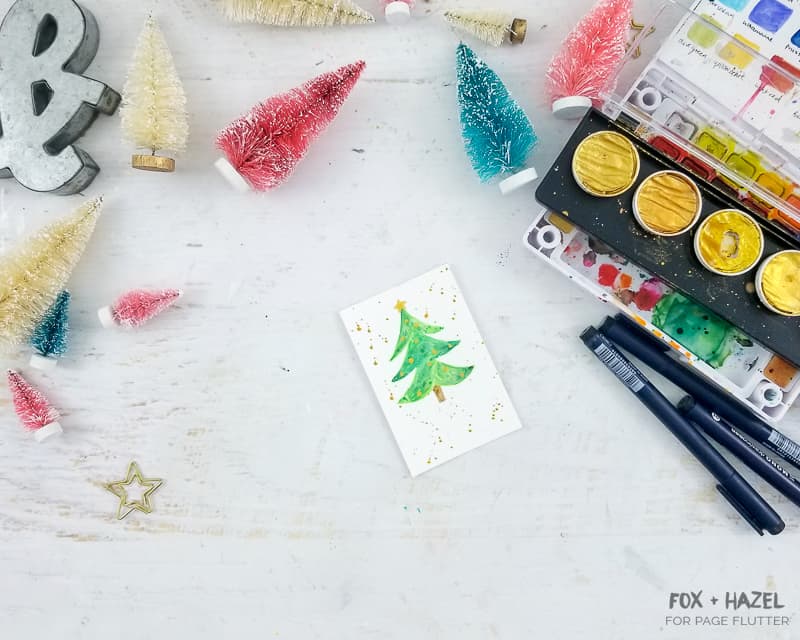
Allow the paint to dry completely before moving on to drawing.
Step Four:
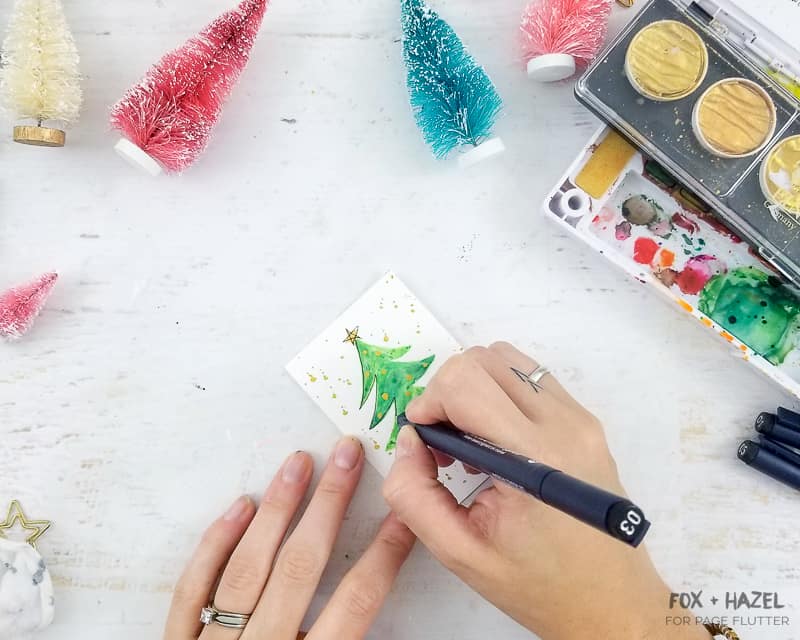
Using the Tombow Mono Drawing pens, very loosely outline the star, tree and tree trunk. This does not need to be perfect! It should be loose and a bit sketchy. 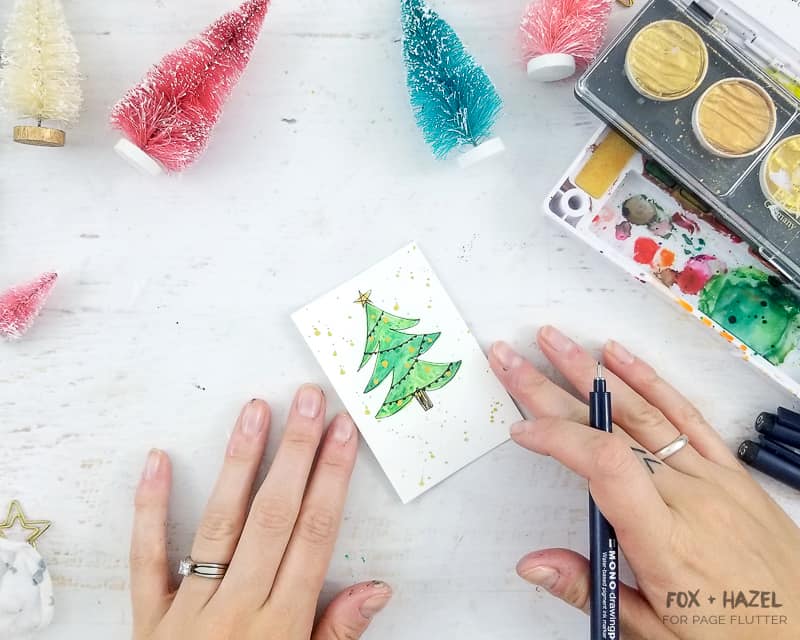
Add a string of Christmas lights across your watercolor Christmas tree as well.
Step Five:
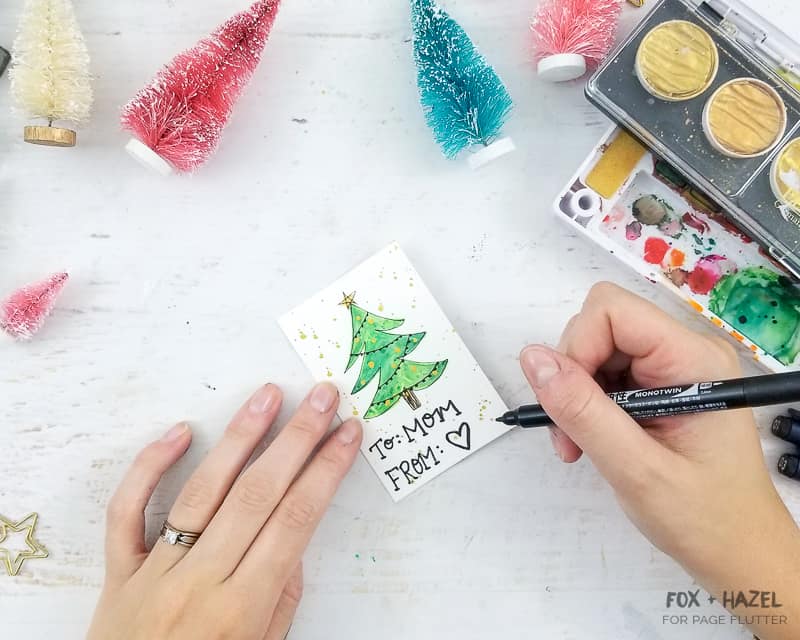
The last step is to address your watercolor Christmas tree gift tag, punch a hole and attach it to your gift! Easy as pie and so fun to make. I hope you enjoyed this watercolor tutorial! If you’re looking for more Christmas projects, be sure to check out my other watercolor Christmas gift tags and these adorable chalkboard-style painted rocks!
Do you use art in your holiday wrapping? Comment below with your favorite DIY tips projects!

