Easy Abstract Watercolor Painting For Beginners
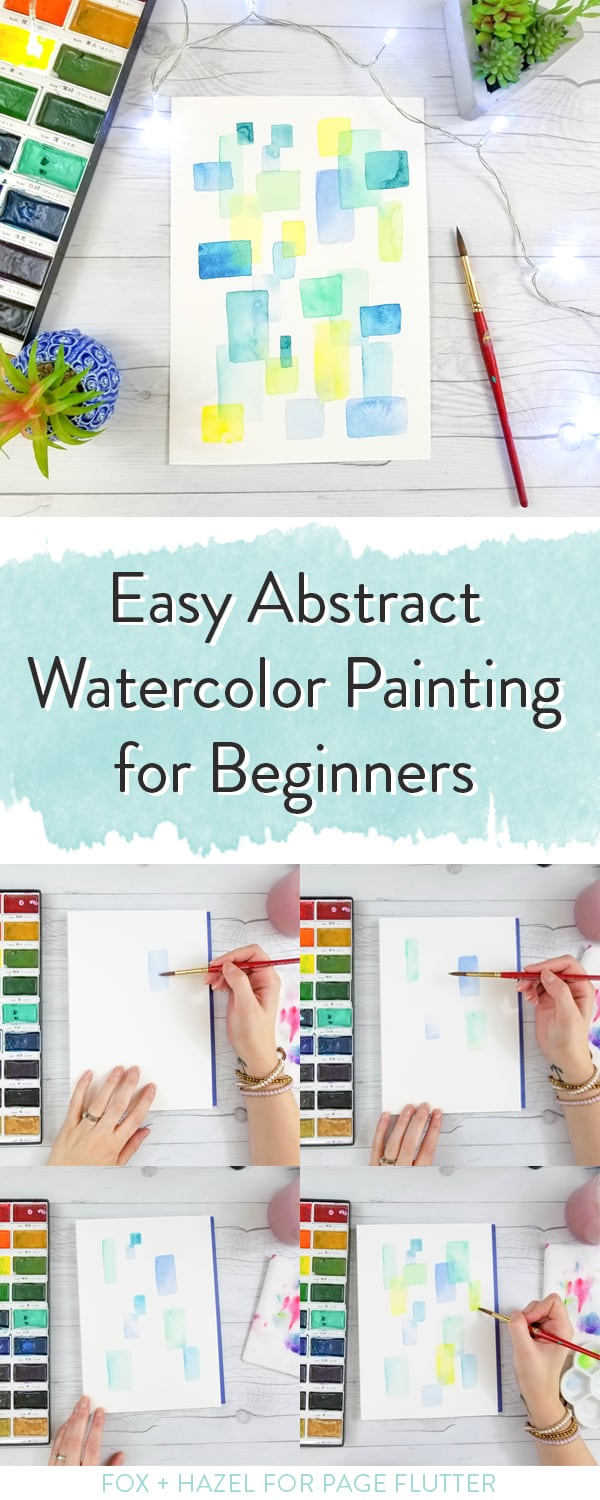
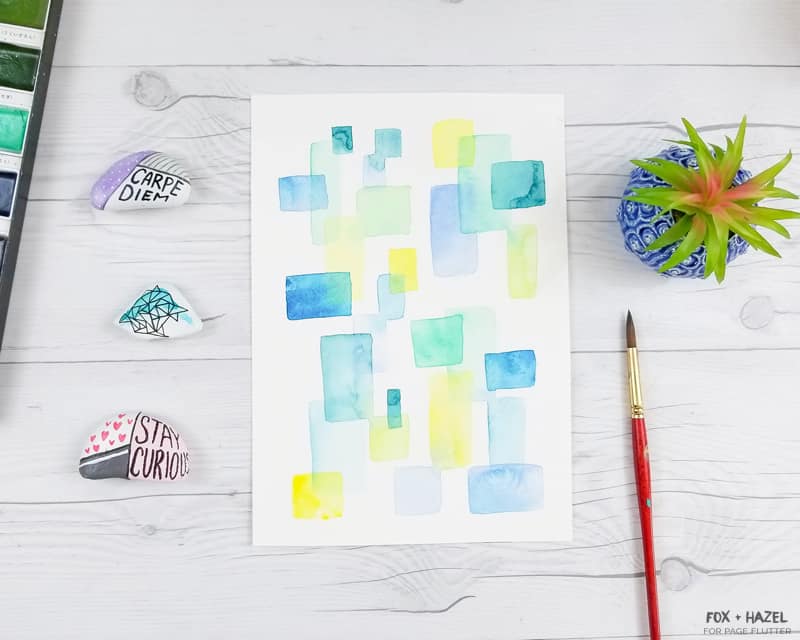
Hi again! It’s Torrie from Fox + Hazel, and today I’m sharing this really easy abstract watercolor painting for beginners. If you’ve ever felt intimidated by watercolors, or unsure how to begin painting with them, then this project is for you. You only need paper, paints, a brush and water. That’s it! Once you learn a few of the basic techniques in this painting, then you can apply the same techniques in other projects! These techniques are wet-on-wet and glazing, but we’ll get into those further down. Also, this watercolor painting for beginners is also so easy that you could do it with your kids as well. It’s an all-around great beginner project!
Let’s get started!
What Supplies Do You Need for Watercolor Painting?
Watercolor artists use many different materials to create their paintings. It’s tempting to rush out and buy all the fancy supplies you see online, but you can get started with a few simple basics. Today’s project won’t break the bank.
Supplies for this project:
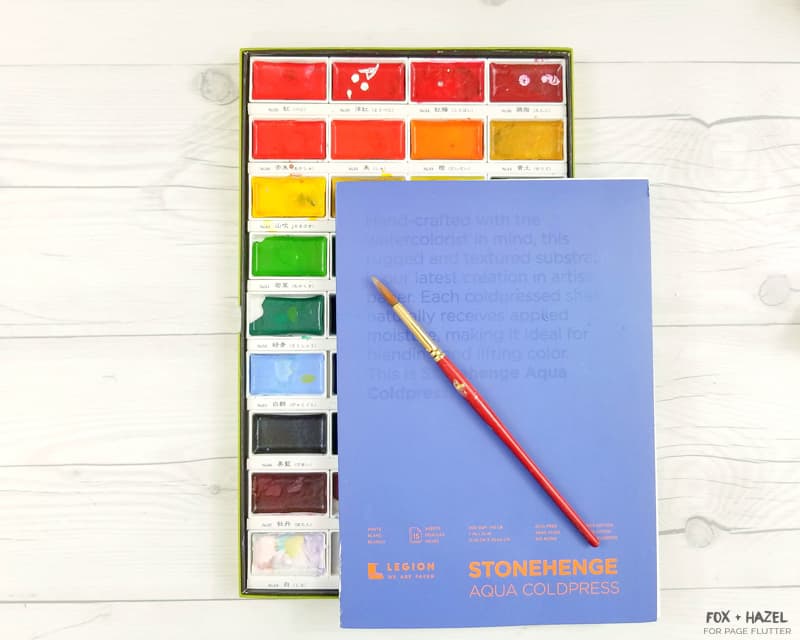
- 140 lb cold press watercolor paper
- *Note: it is worth buying artist grade watercolor paper. Student grade (aka the cheap stuff) will pill and warp with any sort of painting and is better left for kid’s to paint on*
- set of watercolor paints (I’m using the Kuretake Gansai Tambi set here)
- larger round paintbrush, like a number 8
- water in a cup/jar
- palette (this is my favourite one!)
- paper towel
How Can I Create My First Watercolor Painting?
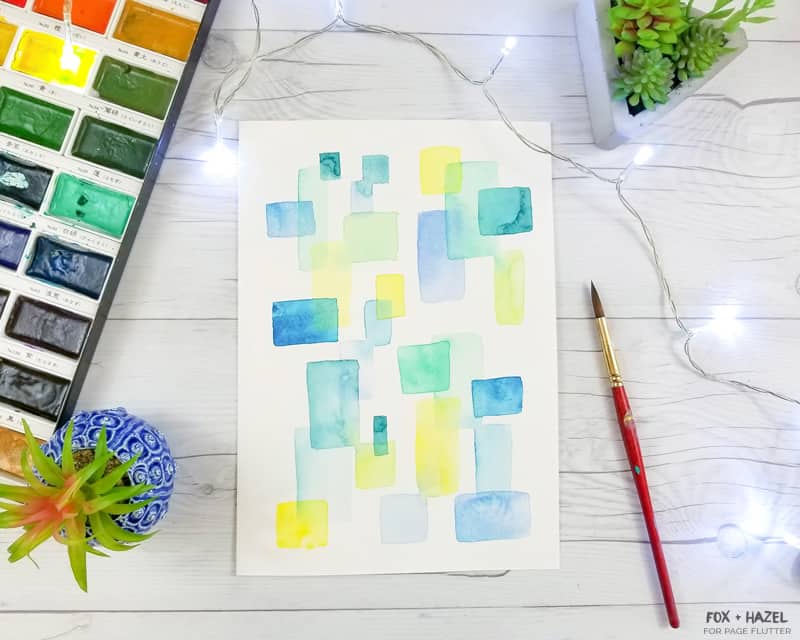
First, before you start painting, you should decide on what color palette you’d like to use. I find that often beginners struggle with color theory, and find they don’t like what they make because they’ve chosen colors that clash a bit. So here is my recipe for great color choices: pick one color you like and then choose 2-3 colors that are adjacent to it in your palette or on a color wheel. I chose blue, then decided to include some more blues and greens. I also chose yellow because it is a primary color like blue and complements it. Try reading about color theory HERE to help you choose a really dynamic color palette!
Step 1:Â Watercolor Painting For Beginners
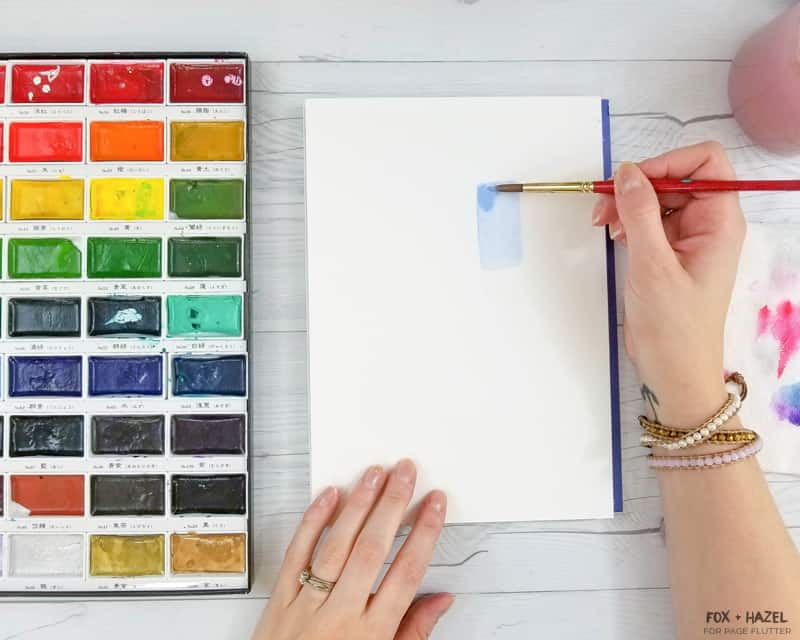
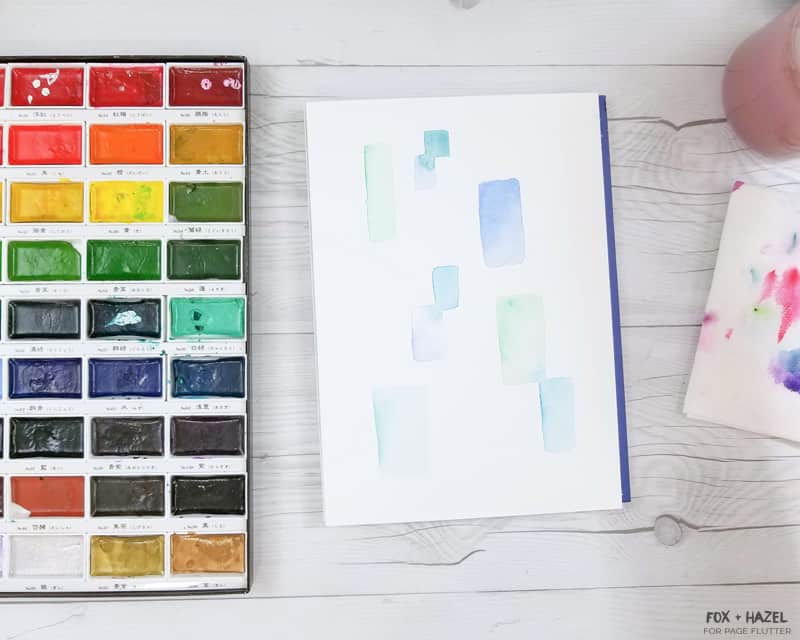
Once you’ve chosen your color palette, you can start by loading your brush with water and picking up just a bit of paint on your brush. Then paint some rectangles on your paper in different sizes and shapes. Make sure these rectangles are fairly wet when you paint, so don’t be shy with the water!
Is My Watercolor Too Dry?
If you are leaving dry brush marks or the paint is drying instantly, it means you don’t have enough water in your brush. You can make this layer of shapes as dark or as light as you like, depending on how intense you want the final painting to be.
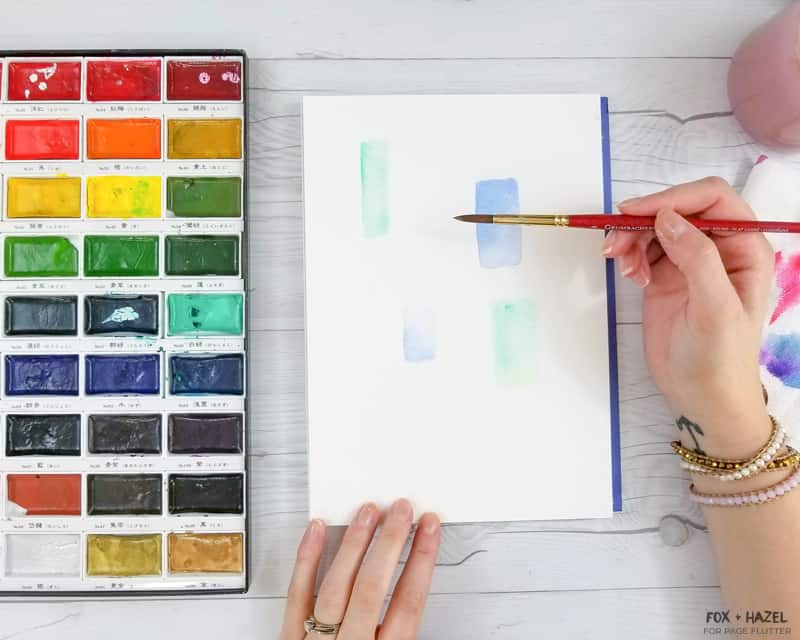
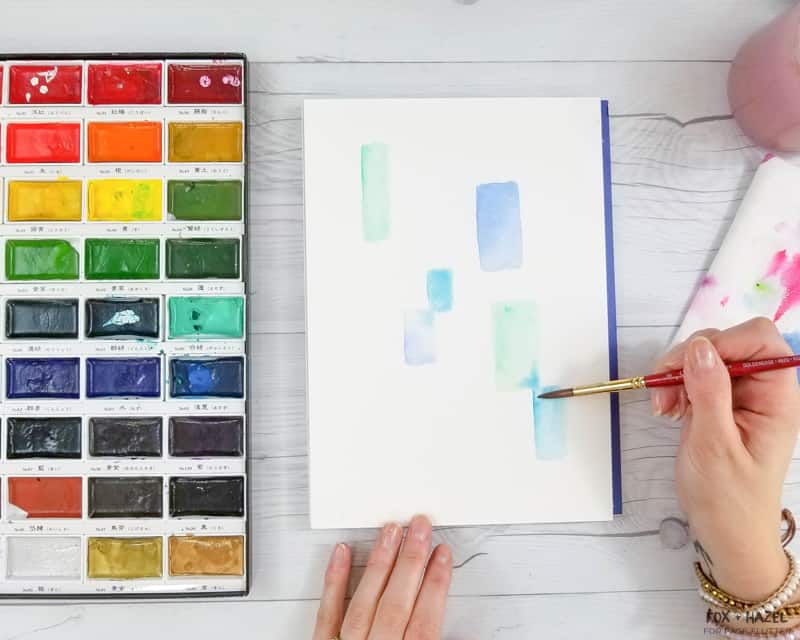
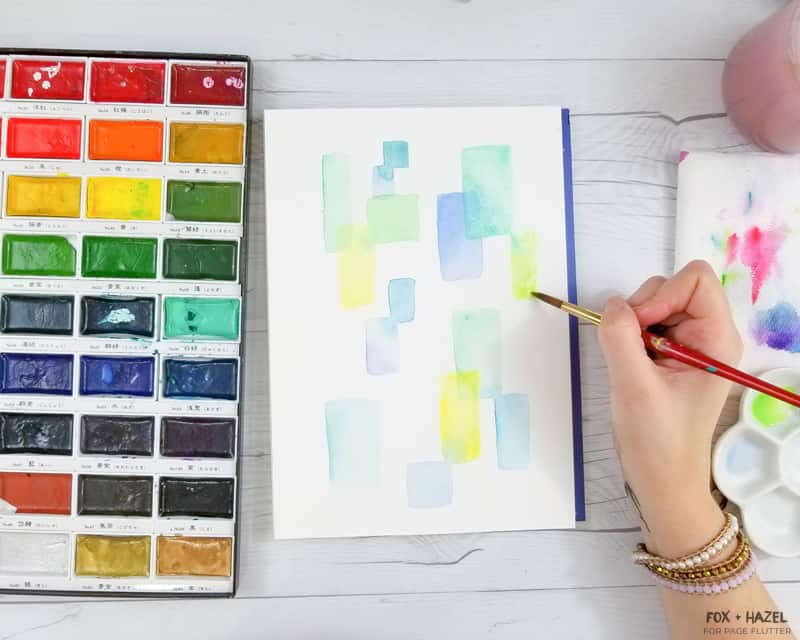
Now, here is the fun part! First, paint one rectangle while making sure it is wet with enough paint and water. While the rectangle is still wet, paint another rectangle in a different color with the corners of the two rectangles touching. When the two rectangles connect, water and paint will flow from one shape to the other. It’s a lovely wet-on-wet technique that causes a this lovely flowy appearance with the paint.
Repeat this across the paper, making sure to leave lots of white space. Let this layer of paint dry completely.
Step 2:Â Abstract Watercolor Painting For Beginners
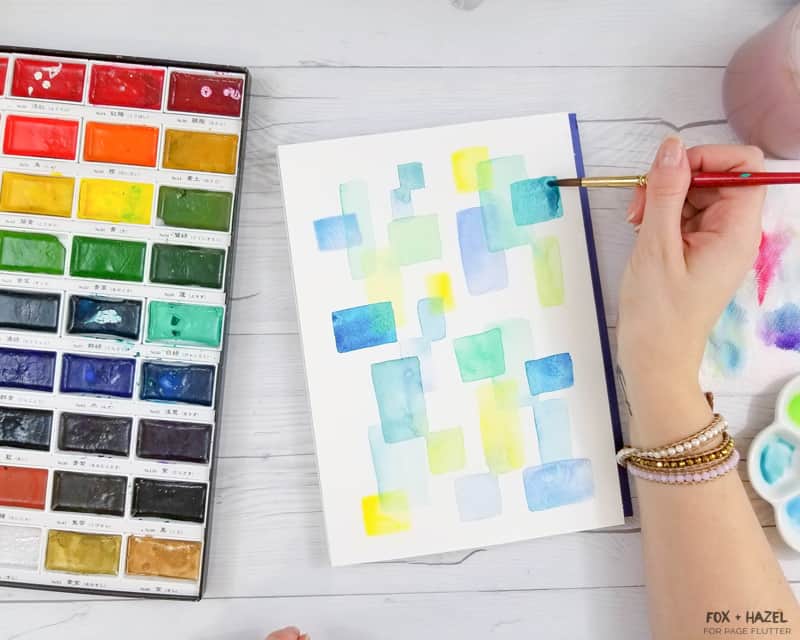
Repeat step one! Really! Paint another layer of rectangles over the first layer, but layer your shapes on top of the previous ones. Be sure to use a little less paint, so that the first layer of rectangles shows through the new layer. This is called glazing.
What is Watercolor Glazing?
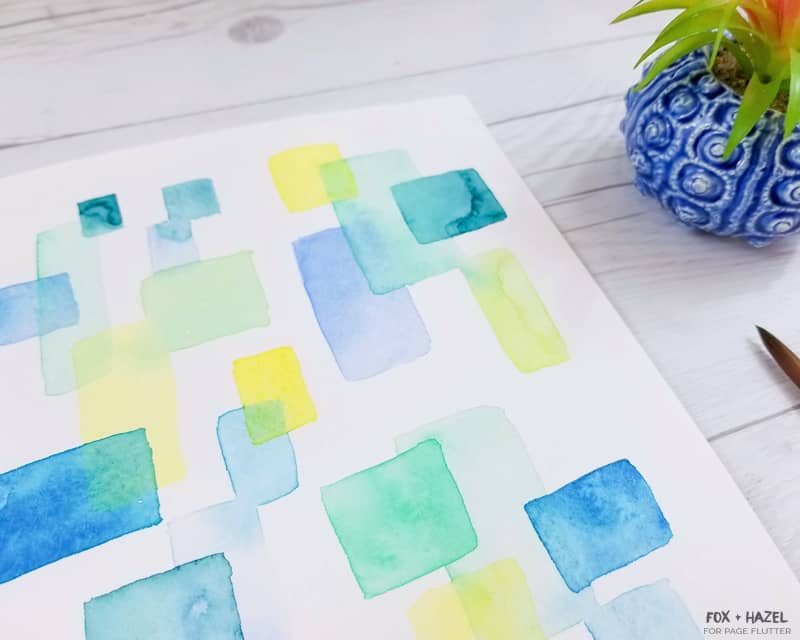
Glazing is when we continue to paint the watercolors in layers, and often cause the paints to darken each time we add a layer. In this case, when you are painting a layer on, you are just allowing the previous rectangles to peek through a bit.
Continue on with this until you’re happy with the final painting. Be sure to lay flat to dry and dry completely before hanging or framing!
Interested in more watercolour paintings for beginners? What watercolor technique would you like to learn? Share below and it might be a future tutorial here on Page Flutter!

