Create a custom pen holder for your bullet journal with this super simple sewing project!
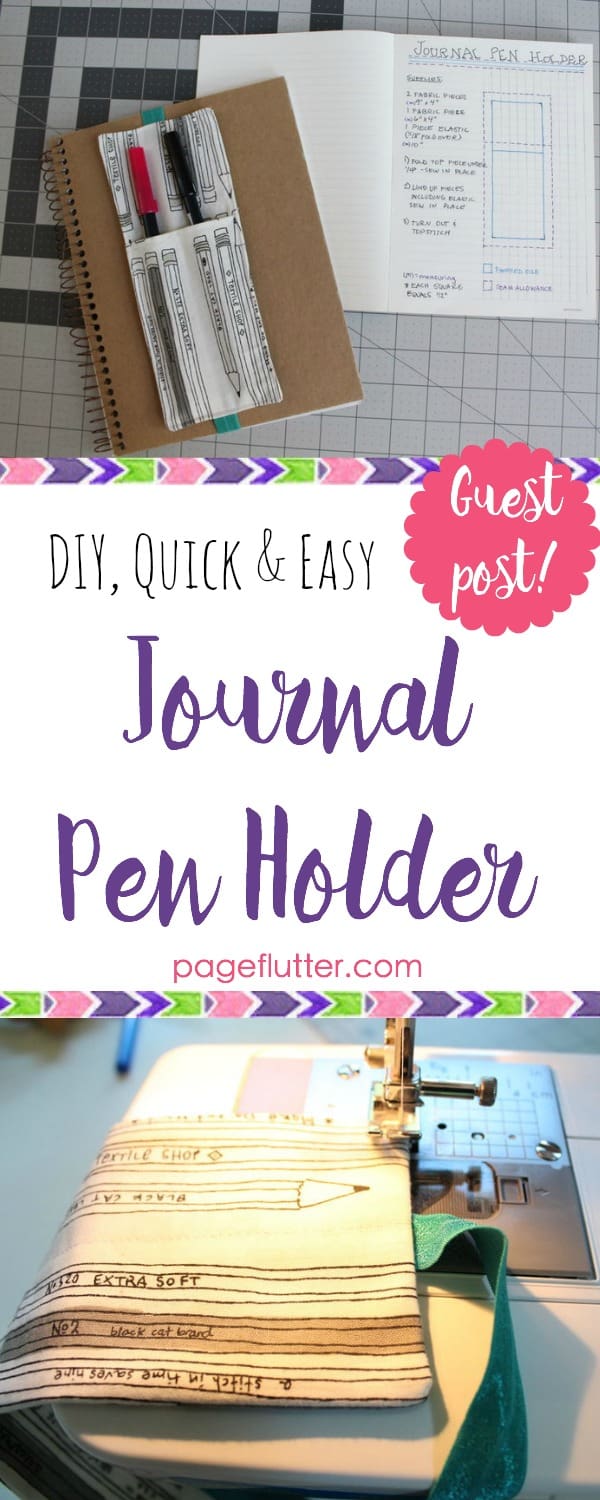
| Journal Pen Holder |
I have a huge treat for everyone today! Since I’m busily unpacking boxes this week, I’ve asked Alicia from Sew What Alicia to teach us how to make a custom pen holder for our journals. A girl after my own heart, she even made sure it could hold more than one pen. Take it away, Alicia!
Hi everyone! I am so excited to be here on Page Flutter with you today! You can usually find me over on Sew What Alicia with lots of sewing tips and tutorials. This journal pen holder is so fun and easy to make, and you’ll always know where your pen is when you think of something to add to your journal!
Journal Pen Holder
Let’s get started shall we?
Supplies:
Fold Over Elastic (I found this really fun aztec print elastic that would be so cute for this project!)
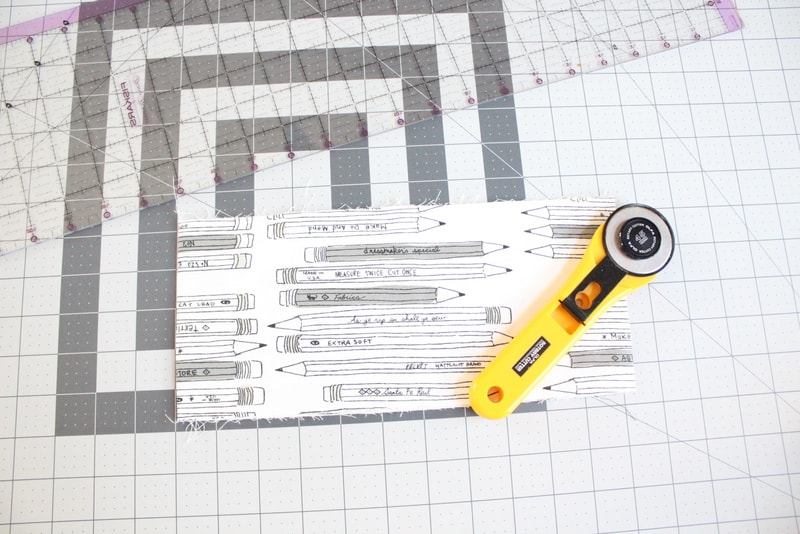
Fabric (I used Cotton + Steel Black and White Pencils)
This is a really quick project and it is great for beginners. If you are new to sewing I promise this one is something that you will be able to do! If you are looking to get into sewing you should definitely check out the Must Have Sewing Supplies and Sewing School posts over on Sew What, Alicia.
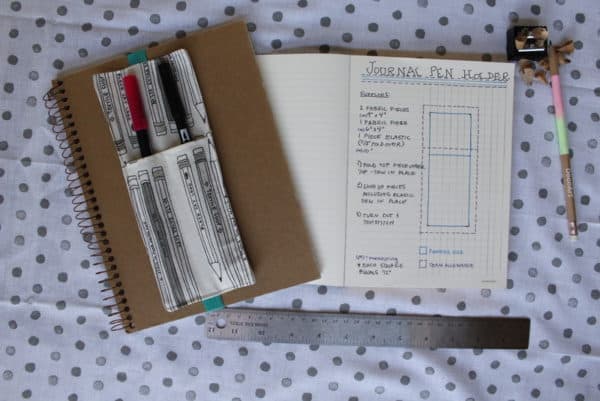
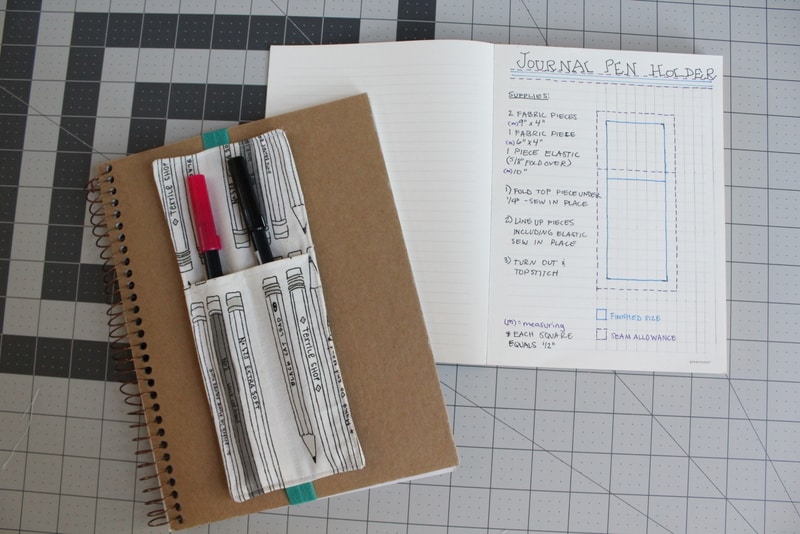
The first thing we need to do is come up with some measurements. Everyone has a different size journal, so start by measuring the length of your journal’s cover. Mine is 8 1/4″. I want the pen holder to be about 1/4″ shorter than the journal on either end so my finished size will be 7 3/4″. When we sew we use a 1/4″ seam allowance. So, for my pen holder length I am going to use a piece of fabric that measures 8 1/4″. The width is also going to vary based on how many pens you want it to hold. I made mine big enough to hold 2 pens. The finished size is 4 1/2″ so I cut a piece that was 5″ wide.
So that is the long way of saying I cut two pieces that measure 5″ by 8 1/4″. Then we need a third piece that is the same width (5″) but considerably shorter. This is going to serve as the pocket for the pen. This third piece measures 5″ by 6″ for me.
To start the actual making of the pen holder we are going to take the smaller piece that we just cut. Fold one of the shorter edges under by 1/4″ and press it into place.

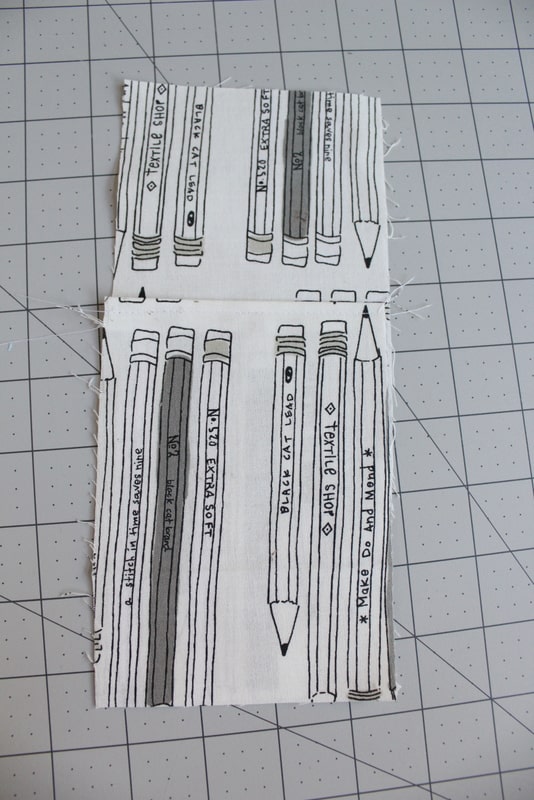
Top-stitch the fold you just made into place. Then line up the shorter piece with one of the larger pieces of fabric. The finished edge you just created should be a facing up and the remaining three raw edges should line up with the raw edges of the bigger piece. As pictured below.
Now we are going to start creating the pocket for the two pens. Start at the top of the finished edge you created and find the middle (2 1/2″ in if you made yours 5″ like mine.) Sew all the way down to the bottom raw edge.
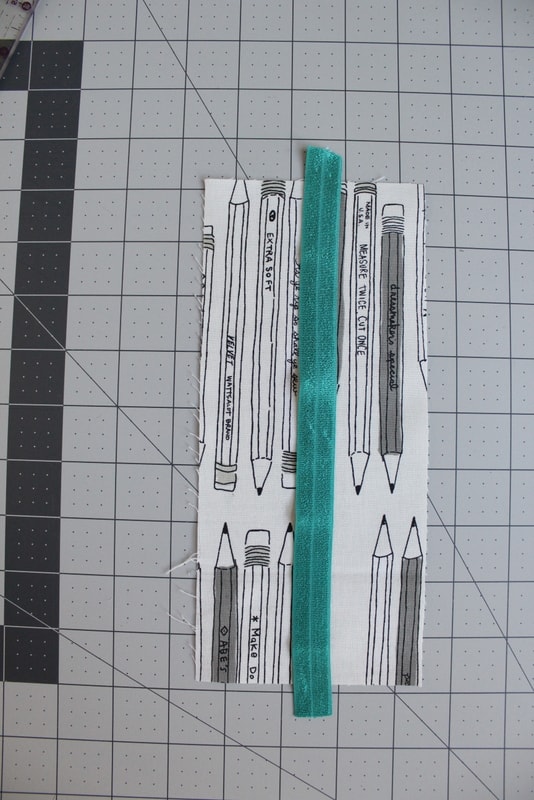
We are ready to assemble the pen holder. Cut a piece of elastic that is 1″ longer than your large piece of fabric. Place the elastic on the last piece of fabric that we haven’t used, as pictured below.
Then place the pocket piece that we just created right side down on top of the elastic and the other piece of fabric. Pin around the edge. Sew around 3 and a half of the edges. Leave a portion un-sewn in the middle of one of the long edges. Trim the corners and turn the entire piece out through the hole that you left.

Now we are ready for the last steps. Press the seams in place around the whole piece. Then pin the opening that you left closed and we are going to top-stitch around the whole thing. Make sure and pull the elastic out of the way as you sew (as pictured below.)

That is it! You have a finished pen holder for your bullet journal!

So fun right? Here is a little sneak peek of how I use my journal to plan out my projects!!
Do you sew?? Do you use your journal to plan your projects?

Thanks for letting me share this fun journal pen holder with you! You can find me over on Sew What Alicia sharing sewing tutorials and other great sewing tips!
Connect with Sew What Alicia
Facebook // Pinterest // Instagram // Twitter
Here are a few of my recent projects that you might enjoy!
Silhouette Tools for Fabric // Boy’s Mustache Tee w/ Cut File // {Almost} No-Sew Pouch